
Subscribe to Our Youtube Channel
Related Manuals for Omega FL-2500


Summary of Contents for Omega FL-2500
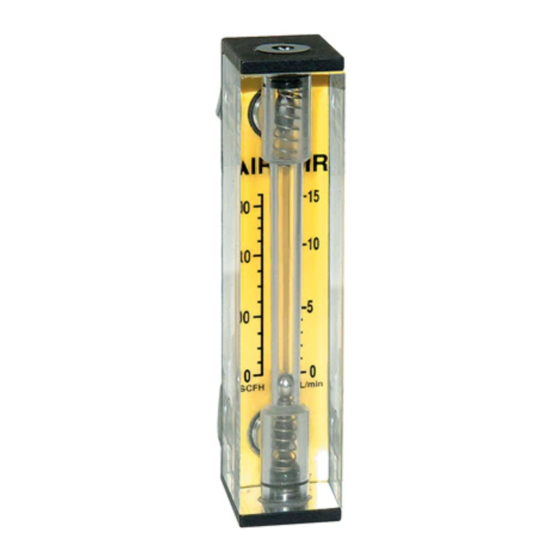
- Page 1 User’ s Guide Shop online at www.omega.com e-mail: info@omega.com FL-2500 Acrylic Flow Meters...
- Page 2 Toll Free in United Kingdom: 0800-488-48 FAX: +44 (0)161 777 6622 e-mail: sales@omega.co.uk It is the policy of OMEGA to comply with all worldwide safety and EMC/EMI regulations that apply. OMEGA is constantly pursuing certification of its products to the European New Approach Directives.
-
Page 3: Specifications
Upon receipt, inspect the package for possible external damage. In case of external damage to the package contact the shipping company immediately. UNPACK THE FL-2500 ACRYLIC FLOW METER Open the carton carefully from the top and inspect for any sign of concealed shipping damage. In addition to contacting the shipping carrier please forward a copy of any damage report to Omega ®... - Page 4 THE FOLLOWING CONFIGURATIONS ARE POSSIBLE: Panel Mounting, using hex nuts at rear of meter. Full In-line Mounting (not available for meters with valve options.) Partial In-line Mountings, i.e. inlet at bottom, outlet at top rear, or inlet at bottom rear and outlet at top center. To Exchange Scales: Select Option A, B, or C A.
- Page 5 Cleaning: Disassembly, Re-Assembly From time to time you may need to clean the meter. Clean with mild soup solution. Dry out with air or inert gas. Disassembly and reassembly has to be done in a clean environment. Disassembly First, follow the common steps, then select Option A, B, or C, based on the block style. Unscrew top Plug Seal (3) using a 5/32"...
- Page 6 Re-assembly: Select Option A, B, or C A. NO VALVE OPTION (Styles 2, 4, 14) Install Bumping Spring (8) in the bottom cavity; secure it by screwing in Plug Seal (3) until it is flush with Bracket (5). Proceed to steps 1-3. B.
- Page 7 In-Line Version ( Styles 2, 4, 14) Valve Option Version (Styles 2, 4)
- Page 8 Panel Mount Version (Styles 2, 4, 14) PARTS LIST ITEM DESCRIPTION MATERIAL Block Acrylic TYPICAL SCALES Back Plate, yellow Polyethylene Brass or Seal Plug 316 Stainless Steel O-ring Bracket Structural aluminum Glass or 316 Float Stainless Steel or Carboloy Scale Film Bumping Spring 316 Stainless Steel...
- Page 9 Valve Option (Styles 14) PARTS LIST (For valve option/style 14 only) ITEM DESCRIPTION MATERIAL Block, style 14 Acrylic Back Plate, yellow Polyethelene Seal Plug Brass or 316 stainless steel O-ring Bracket Structural aluminum Float 316 Stainless Steel Scale Film Bumping Spring 316 Stainless Steel Female Adapter Brass or 316 Stainless Steel...
-
Page 10: Dimensional Drawings
DIMENSIONAL DRAWINGS... - Page 11 Department will issue an Authorized Return (AR) number immediately upon phone or written request. Upon examination by OMEGA, if the unit is found to be defective, it will be repaired or replaced at no charge. OMEGA’s WARRANTY does not apply to defects resulting from any action of the purchaser, including but not limited to mishandling, improper interfacing, operation outside of design limits, improp- er repair, or unauthorized modification.
-
Page 12: Data Acquisition
Where Do I Find Everything I Need for Process Measurement and Control? OMEGA… Of Course! Shop online at www.omega.com TEMPERATURE Thermocouple, RTD & Thermistor Probes, Connectors, Panels & Assemblies Wire: Thermocouple, RTD & Thermistor Calibrators & Ice Point References Recorders, Controllers & Process Monitors...
Need help?
Do you have a question about the FL-2500 and is the answer not in the manual?
Questions and answers