
Related Manuals for SWIT Electronics M-1092H


Summary of Contents for SWIT Electronics M-1092H
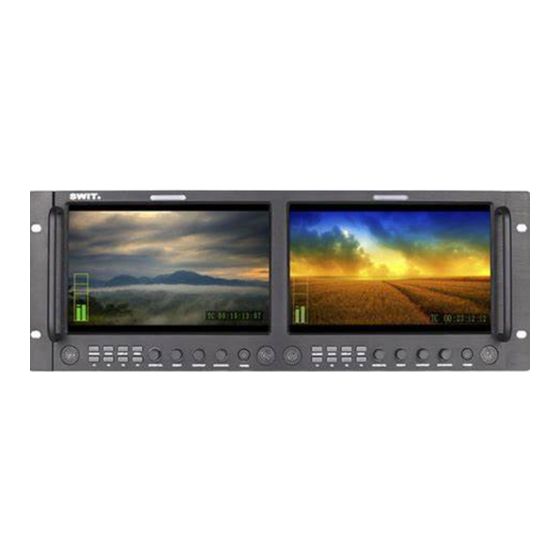
- Page 1 SWIT Electronics Co., Ltd. Model: M-1092H 9” Rack Mount Broadcast 3GSDI LCD Monitor User Manual Ver:V1.0.0V01 Please read this User Manual throughout before using.
- Page 2 All internal technologies of this product are protected, including device, software and trademark. Reproduction in whole or in part without written permission is prohibited. . All brands and trademarks of SWIT Electronics Co., Ltd. are protected and other relative trademarks in this user manual are the property of their respective owners. ....
-
Page 3: Maintenance
Maintenance The Monitor 1. Please keep the signal terminals and the cooling vent away from knife-edge, metal or liquid in order to avoid short-circuit and damage. 2. Please don't try to disassemble any parts of the monitor by yourself, which would probably damage the monitor and do harm to human body, and it will cause the invalidation of product warranty. - Page 4 1. Features Full-HD 9” LCD Panel IPS LCD panel, 1920×1200 resolution, H 170°/V 170° viewing angle, 800:1 contrast, Multiple inputs 3G/HD/SD-SDI, HDMI and Composite input Loop through outputs 3G/HD/SD-SDI, HDMI has loop through output PIP Display Under SDI/HDMI, switch on a sub-window to PIP display another CVBS Under CVBS, switch on a sub-window to PIP display another SDI/HDMI SDI audio de-embed Under SDI and HDMI, it can display the de-embed SDI audio and output via 3.5mm headphone...
- Page 5 2. Panel Instruction Front view ⑴ S peaker: For SDI/HDMI embedded audio and analog audio monitoring. (Will not work if earphone is plugged in) ⑵ ~ ⑸ F 1, F2, F3, F4 User definable function keys ENTER/VOL: Select and Apply ⑹...
- Page 6 Rear view R EMOTE: DB9 socket, external controlling signal input. (See details in “4.REMOTE interface ⑴ definition”) SDI-OUT S DI loop through output (BNC connector) ⑵ : When SDI2 is displayed, the SDI-LOOP outputs the SDI-IN2 signal, and when SDI-IN1 or other input sources are displayed, the SDI-LOOP outputs the SDI-IN1 signal.
- Page 7 3. Menu Operation ⑴ Press “MENU” and it will display menu system ⑵ Revolve “ENTER” to select an item. The selected item will be highlighted display. ⑶ Press “ENTER” to enter the selected item. ⑷ Under menu system, press “MENU” to back to previous menu. *The menu will automatically save and quit if it remains idle.
- Page 8 Marker Back: Normal, Semitransparent, Black ⑹ Normal: Normally display the outer area of scale marker Half: half-tone display the outer area of scale marker Black: Black display the outer area of scale marker 3.4 OSD submenu The OSD submenu includes: ⑴...
- Page 9 3.6 GPI submenu The “GPI” submenu includes: GPI Control: on/off ⑴ On: User can control the monitor through GPI control unit Off: User cannot control the monitor through GPI control unit Terminal1~5: Define each GPI terminal function; see details ⑵ in “4.REMOTE interface definition”...
-
Page 10: Specification
6. Specification LCD Performance Size 9 inches Display area 192 mm×120 mm Resolution 1920×1200 Color Depth 8 bit Aspect ratio 16:9⁄4:3 Brightness 450 cd⁄ ㎡ Contrast 800:1 Input and Output BNC ×4 3G/HD/SD-SDI input ×4 BNC ×2 CVBS input ×2 Input HDMI ×2 HDMI input ×2... -
Page 11: Packing List
7. Packing List 1. Monitor ×1 2. User Manual ×1 3. Warranty card ×1 4. LCD protective film ×2 5. Power adaptor + ×1 Power cable...
Need help?
Do you have a question about the M-1092H and is the answer not in the manual?
Questions and answers