Table of Contents
Advertisement
Quick Links
Item #0000 000 000
Model # FRS60860R-ST1
USE AND CARE GUIDE
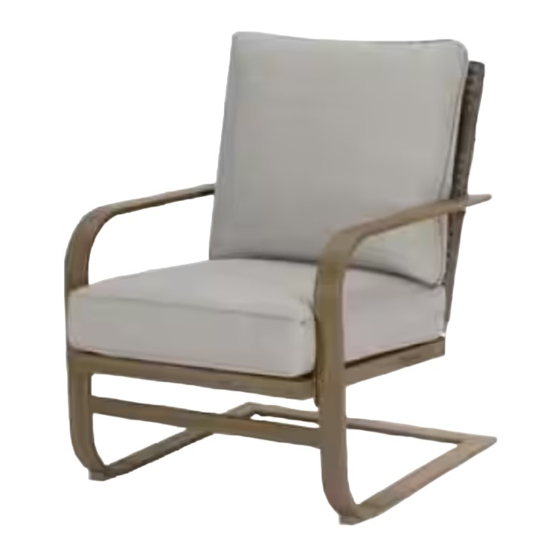
HAMPSHIRE PLACE CHAIR
Questions, problems, missing parts? Before returning to the store,
call Hampton Bay Customer Service
8 a.m. - 7 p.m., EST, Monday – Friday, 9 a.m. – 6 p.m., EST, Saturday
1-855-HD-HAMPTON
HAMPTONBAY.COM
THANK YOU
nually create
quality products designed to enhance your home. Visit us online to see our full line of products available for your home improv
ement needs.
Thank you for choosing Hampton Bay!
Advertisement
Chapters
Table of Contents

Subscribe to Our Youtube Channel
Related Manuals for HAMPTON BAY FRS60860R-ST1


Summary of Contents for HAMPTON BAY FRS60860R-ST1
- Page 1 8 a.m. - 7 p.m., EST, Monday – Friday, 9 a.m. – 6 p.m., EST, Saturday 1-855-HD-HAMPTON HAMPTONBAY.COM THANK YOU nually create quality products designed to enhance your home. Visit us online to see our full line of products available for your home improv ement needs. Thank you for choosing Hampton Bay!
-
Page 2: Table Of Contents
Table of Contents Table of Contents ............2 Pre-Assembly ............... 3 Planning Assembly ..............3 Important Safety Instructions ........2 Hardware Included ..............Save These Instructions ............2 Package Contents ..............Read All Instructions Before Use ..........2 Assembly .............. -
Page 3: Warranty
Warranty 3-YEAR FRAME AND 3-YEAR FABRIC LIMITED WARRANTY WHAT IS COVERED We warrant the frames to be free of manufacturing defects to the original purchaser for three (3) years, and a three-year limited warranty for the fabric. WHAT IS NOT COVERED It remains the customer’s responsibility for freight and packaging charges to and from our service center. -
Page 4: Package Contents
Pre-Assembly (continued) PACKAGE CONTENTS Part Description Quantity Bucket Back Cushion Seat Cushion... -
Page 5: Assembly
Assembly Attaching the Leg to the Bucket Place the bucket (A) and the leg (B) on a soft surface. Attach the leg (B) to the bucket (A) using M6x20 combination bolts (AA), shown as below. Do not tighten all bolts at this step. Attaching the Leg to the Bucket Attach the leg (B) to the bucket (A) using M6x20 combination bolts (AA), shown as below. -
Page 6: Care And Cleaning
Assembly (continued) Attaching the Leg to the Bucket Attach the leg (B) to the bucket (A) using M6x20 combination bolts (AA), shown as below. Do not tighten all bolts at this step. Checking the Chair Once all of the bolts are in place, fully tighten the bolts (AA) using the hex wrench (BB). Turn the chair right side up. - Page 7 1-855-HD-HAMPTON HAMPTONBAY.COM Factory ID # FRS60860R...
- Page 8 THANK YOU We appreciate the trust and con dence you have placed in Hampton Bay through the purchase of this table. We strive to continually create quality products designed to enhance your home. Visit us online to see our full line of products available for your home improv ement needs.
-
Page 9: Important Safety Instructions
Table of Contents Table of Contents ............2 Pre-Assembly ............3 Planning Assembly ..............3 Important Safety Instructions ........2 Hardware Included ..............3 Save These Instructions ............2 Package Contents..............4 Read All Instructions Before Use ..........2 Assembly ................ -
Page 10: Warranty
Warranty 3- YEAR FRAME LIMITED WARRANTY WHAT IS COVERED We warrant the frames to be free of manufacturing defects to the original purchaser for three (3) years. WHAT IS NOT COVERED It remains the customer’s responsibility for freight and packaging charges to and from our service center. This warranty does not cover s warranty. -
Page 11: Package Contents
Pre-Assembly (continued) PACKAGE CONTENTS Part Description Quantity Table Top Table Leg Table Base... -
Page 12: Assembly
Assembly Attaching the Table Legs to the Table Top Place the table top (A) upside down on a soft surface. Attach the table legs (B) to the table top (A) using M6x20 combination bolts (AA). Do not tighten all bolts at this step. Attaching the Table Base to the Table Legs Attach the table base (C) to the table legs (B) using M6x20 combination bolts (AA). -
Page 13: Care And Cleaning
Assembly (continued) Checking the Table Once all of the bolts are in place, fully tighten the bolts (AA) using the hex wrench (BB). Turn the table right side up. Ensure all connections are secure before use. Care and Cleaning For best results, clean the table with a damp cloth and dry thoroughly. This will help prevent mildew by removing dirt particles that may accumulate. - Page 14 1-855-HD-HAMPTON HAMPTONBAY.COM Factory ID # FTS61510D...
Need help?
Do you have a question about the FRS60860R-ST1 and is the answer not in the manual?
Questions and answers