Table of Contents
Advertisement
Quick Links
Item# 1001 431 840
Model# A211030205
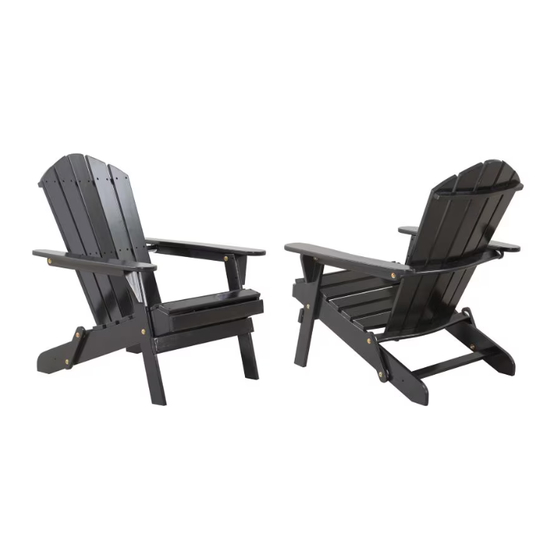
USE AND CARE GUIDE
ADIRONDACK CHAIR - BLACK
Questions, problems, missing parts? Before returning to the store,
call Hampton Bay Customer Service
8 a.m. - 7 p.m., EST, Monday-Friday, 9 a.m. - 6 p.m., EST, Saturday
1-855-HD-HAMPTON
WWW.HOMEDEOPT.CA
THANK YOU
We appreciate the trust and confidence you have placed in Hampton Bay through the purchase of this Chair. We strive to continually create quality
products designed to enhance your home. Visit us online to see our full line of products available for your home improvement needs. Thank you for
choosing Hampton Bay!
Advertisement
Table of Contents

Related Manuals for HAMPTON BAY A211030205


Summary of Contents for HAMPTON BAY A211030205
- Page 1 THANK YOU We appreciate the trust and confidence you have placed in Hampton Bay through the purchase of this Chair. We strive to continually create quality products designed to enhance your home. Visit us online to see our full line of products available for your home improvement needs. Thank you for...
-
Page 2: Table Of Contents
Table of Contents Table of Contents ............2 Hardware Included ..............3 Important Safety Instructions ........2 Package Contents ..............4 Warranty ................. 2 Assembly ................5 Pre-Assembly ..............3 Care and Cleaning ............7 Planning assembly ..............3 Important Safety Instructions SAVE THESE INSTRUCTIONS READ ALL INSTRUCTIONS BEFORE USE Examine occasionally to ensure that there are no loose parts. -
Page 3: Pre-Assembly
Pre-Assembly PLANNING ASSEMBLY Before beginning assembly of this product, make sure all parts are present. Compare parts with the Hardware Included and Package Contents lists. If any part is missing or damaged, do not attempt to assemble the product. Contact customer service for replacement parts. -
Page 4: Package Contents
Pre-Assembly (continued) PACKAGE CONTENTS Part Part Number Description Quantity P001600121 Seat P004000123 Back Support P005400244 Right Leg P005400245 Left Leg P001400143 Right Arm P001400144 Left Arm P000500811 Wood Hinge P003900053 Wood Slat WWW.HOMEDEPOT.CA. Please contact 1-855-HD-HAMPTON for further assistance. -
Page 5: Assembly
Assembly Attaching the Right and Left Leg □ Attach the right leg (C) and left leg (D) to the seat (A) using bolts (AA), washers (HH/EE), and nuts (DD). Use the wrench (II) to hold the nuts (DD) in place while you tighten with the Key (JJ). NOTE: To avoid destroying the finish, do not put the parts on the ground directly. - Page 6 Assembly (continued) Attaching the Hinges and Chair Back to the Seat □ Attach the bottom brace of the chair back (B) to the hinges (G) using bolts (BB), washers (HH/FF). Tighten the bolts (BB) with the Allen Key (JJ). Attach the hinges (G) to each side of the seat (A) using bolts (AA), washers (HH/EE), and nuts (DD) as shown. Use the wrench (II) to hold the nuts (DD) in place while you tighten with the Key (JJ).
-
Page 7: Care And Cleaning
Assembly (continued) Folding the Chair □ You can fold the chair when it is not in use. Care and Cleaning □ Before using, clean the Chair completely with a soft dry towel. □ Do not put your Chair in wet conditions, such as rain where there is a risk of rust developing. □... - Page 8 Questions, problems, missing parts? Before returning to the store, call Hampton Bay Customer Service 8 a.m. - 7 p.m., EST, Monday-Friday, 9 a.m. - 6 p.m., EST, Saturday 1-855-HD-HAMPTON WWW.HOMEDEPOT.CA Retain this manual for future use. For certification use only...
Need help?
Do you have a question about the A211030205 and is the answer not in the manual?
Questions and answers