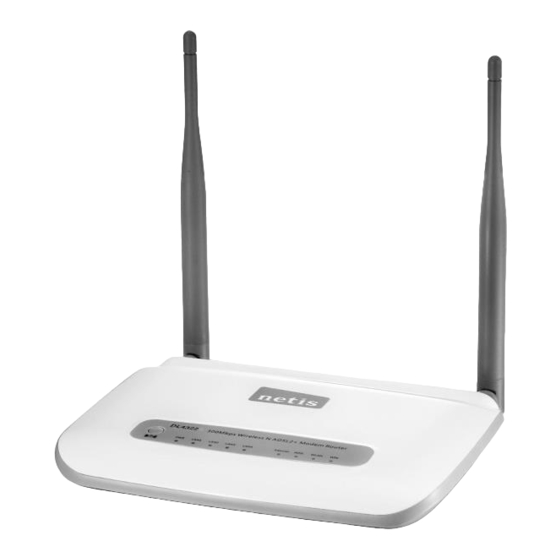
Summary of Contents for Netis DL4322R
-
Page 2: Hardware Installation
Wireless N ADSL2+ Modem Router Quick Installation Guide 1. Hardware Installation Step 1: Connect the ADSL Line. Method one: Plug one end of the twisted-pair ADSL cable into the ADSL LINE port on the rear panel of the modem router, and insert the other end into the wall socket. - Page 3 Wireless N ADSL2+ Modem Router Quick Installation Guide Name Status Indication Power is on Power is off Flash The ADSL negotiation is in progress ADSL The LINE port is linked up. The LINE port is linked down. Flashing Data is being transferred over the Internet.
- Page 4 Wireless N ADSL2+ Modem Router Quick Installation Guide LAN(1-4) Flash Data is being transferred over the 1-4 (LAN) port. There is a successful connection on the corresponding 1-4 (LAN) port but no activity. There connection corresponding 1-4 (LAN) port or the connection is abnormal.
- Page 5 Wireless N ADSL2+ Modem Router Quick Installation Guide Step 3: Click Local Area Connection with the right button of your mouse. Then select Properties. Step 4: Double click the “Internet Protocol Version 4(TCP/IPv4)”.
- Page 6 Wireless N ADSL2+ Modem Router Quick Installation Guide Step 5: Select the “Obtain an IP address automatically” as below. Then click “OK”. 3. Login and Quick Start Step 1:Start your web browser and type the private IP address of the modem router in the URL field: 192.168.1.1.
- Page 7 Wireless N ADSL2+ Modem Router Quick Installation Guide Step 2: And then Click START to start Quick Start guide. Step 3: The Wizard will guide you through these four quick steps. Begin by clicking on NEXT Step 4: Click Cancel if you know the correct PVC(VPI/VCI) from your ISP, you can input the value manually.
- Page 8 Wireless N ADSL2+ Modem Router Quick Installation Guide Step 5: After the PVC value be input or searched, please click NEXT. Step 6: Select the Internet connection type to connect to your ISP, click NEXT to continue. We will take PPPoE/PPPoA for example throughout this Guide. (For most DSL user) Step 7: Enter the PPPoE/PPPoA information provided to you by your ISP, click NEXT to continue.
- Page 9 Step 8: You may enable/disable Wireless, change the wireless SSID and authentication type in this page, then click NEXT to continue. Note: The default SSID and Password are “netis” and “password”. Step 9: Click NEXT to save the current settings, then click CLOSE to...
- Page 10 Wireless N ADSL2+ Modem Router Quick Installation Guide Step 10: Click , then select the SSID you have set on Step 8, and click “Connect” button. Step 11: On the pop-up page, input your password which you have set on Step 8 and click OK.
- Page 11 Wireless N ADSL2+ Modem Router Quick Installation Guide Step 12: Click , it will show like below, then you can surf the Internet. Appendix: Configure the parameters for the WAN interface of your modem router Step 1: Connect your upper device with the LAN4 port (as WAN port) on the router by an Ethernet cable.
- Page 12 Wireless N ADSL2+ Modem Router Quick Installation Guide Step 3: After Reboot, you can continue to configure in the following page.
- Page 13 Wireless N ADSL2+ Modem Router Quick Installation Guide Certification FCC CE FCC Statement This equipment has been tested and found to comply with the limits for a Class B digital device, pursuant to part 15 of the FCC Rules. These limits are designed to pro-vide reasonable protection against harmful interference in a residential installation.
-
Page 14: Fcc Requirements
Wireless N ADSL2+ Modem Router Quick Installation Guide subject to following two conditions: This device may not cause harmful interference This device must accept any interference received, including. Interference that may cause undesired operation. Any changes or modifications not expressly approved by the party responsible for compliance could void the user’s authority to operate the equipment.


Need help?
Do you have a question about the DL4322R and is the answer not in the manual?
Questions and answers