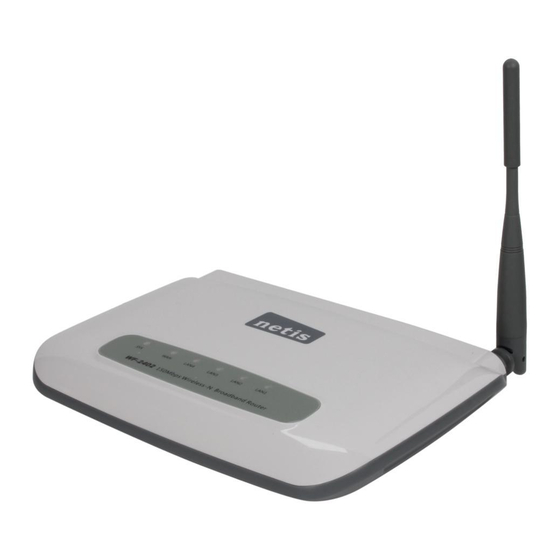
Summary of Contents for Netis WF-2402
- Page 1 WF-2402 Quick Installation Guide netis 150Mbps Wireless-N Broadband Router V1.1 2010-09-24...
-
Page 2: Check Your Package Contents
150Mbps Wireless-N Broadband Router Quick Installation Guide 1. Check Your Package Contents The following items should be found in your package: 150Mbps Wireless-N Broadband Router Power adapter Quick Installation Guide CD-Rom Ethernet cable Make sure that the package contains above items. If any of the above items is missing or damaged, please contact the store you bought this product from. -
Page 3: Hardware Installation
150Mbps Wireless-N Broadband Router Quick Installation Guide 3. Hardware Installation Figure 3-1 Attach one end of an Ethernet cable to your computer’s Ethernet port, and the other end to one of the LAN ports of your router. Connect another Ethernet cable from your Cable/DSL modem to the WAN port of your router. -
Page 4: Configure Your Computer
150Mbps Wireless-N Broadband Router Quick Installation Guide Power on Flashing Router system running WPS working (orange) WAN Connection normal Flashing Data transmitting LAN Connection normal Flashing Data transmitting 5. Configure Your Computer You can manage the 150Mbps Wireless-N broadband router through the Web browser- based configuration utility. - Page 5 150Mbps Wireless-N Broadband Router Quick Installation Guide Figure 5-1 Select obtain an IP address automatically and obtain DNS server address automatically, click OK Figure 5-2 Back in the previous window, click OK...
- Page 6 150Mbps Wireless-N Broadband Router Quick Installation Guide 6. Log In to Router Interface Open a web browser (Safari, Internet Explorer, etc.) on the computer you have just connected to the router, type http://192.168.1.1 in the address bar, and press enter Figure 6-1 In the pop-up window, enter the user name guest and password guest and then click OK Figure 6-2...
-
Page 7: Router Setup
150Mbps Wireless-N Broadband Router Quick Installation Guide 7. Router Setup 7.1. Internet Connection Settings Most connections utilize a dynamic IP (DHCP) and the default is already set to this. If you have another connection type (like static IP), you will need to click on ‘Convenient Setup’... -
Page 8: Advanced Settings
150Mbps Wireless-N Broadband Router Quick Installation Guide Figure 7-2 If you are still not connected, or experience an erratic connection, your modem may have the same IP as the router (192.168.1.1). You will need to change the router's IP. Click on ‘LAN Setup’- ‘LAN IP Address’... -
Page 9: Password Change
150Mbps Wireless-N Broadband Router Quick Installation Guide for a few seconds (2-6s) with a pencil when it is working, then release and it will restore settings to the factory configuration. The other way to restore factory settings is through the same user interface used in setup. Click on ‘System management’- ‘Restore’, and click on the ‘Restore’... - Page 10 150Mbps Wireless-N Broadband Router Quick Installation Guide If you want to use WPA/ WPA2/ WPA&WPA2 to encrypt, you can select ASCII characters (alphanumeric format) or Hexadecimal digits (‘A-F’, ‘a-f’ and ‘0-9’). No matter what type you select, input 64 Hex values (in the ‘A-F’, ‘a-f’ and ‘0-9’ range) or 8-63 ASCII characters.
- Page 11 Please follow the steps below, but keep in mind that if one router in this setup is not netis you should first confirm it is capable of WDS and its interface menu may be considerably different:...
- Page 12 150Mbps Wireless-N Broadband Router Quick Installation Guide Figure 7-7 Click on ‘Wireless Management’- ‘AP Setup’ - ‘WDS.’ You may choose to click on AP Scan to scan for R2, select R2 in the window that appears and click on the connect button at the bottom of the list in this window.
- Page 13 As there are sometimes compatibility issues between brands, you may need to use Wireless-G and not Wireless-N. Change settings in both routers. In the netis router click on ‘Wireless management’- ‘AP Setup’ - ‘Basic’ and select and save a setting that does not include...


Need help?
Do you have a question about the WF-2402 and is the answer not in the manual?
Questions and answers