
Subscribe to Our Youtube Channel
Related Manuals for Daikin ERHQ006BBV3


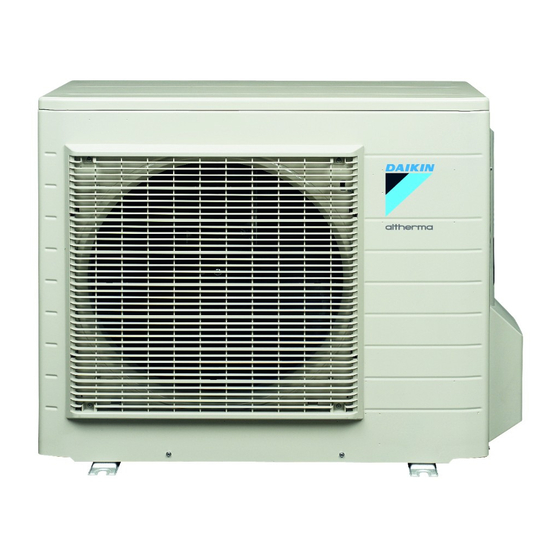
Summary of Contents for Daikin ERHQ006BBV3
- Page 1 INSTALLATION MANUAL Outdoor unit for air to water heat pump ERHQ006BBV3 ERHQ007BBV3 ERHQ008BBV3 ERLQ006BBV3 ERLQ007BBV3 ERLQ008BBV3...
- Page 2 3PW68004-1...
-
Page 3: Table Of Contents
ERHQ006BBV3 ERLQ006BBV3 Installation manual Outdoor unit for air to water heat pump ERHQ007BBV3 ERLQ007BBV3 ERHQ008BBV3 ERLQ008BBV3 Thank you for purchasing this product. ONTENTS Page The original instructions are written in English. All other languages 1. Definitions .................. 1 are translations of the original instructions. -
Page 4: Meaning Of Used Terms
Be sure only to use accessories and optional Sales distributor for products as per the subject of this manual. equipment made by Daikin which are specially designed for use with the products as of subject in this manual and have them installed by Installer: an installer. -
Page 5: Warning
■ During pump down operation, stop the compressor before Warning removing the refrigerant piping. If the compressor is still running and the stop valve is open ■ Ask your dealer or qualified personnel to carry out installation during pump-down, air will be sucked in when the refrigerant work. -
Page 6: Before Installation
■ 3.4. Model identification For use of units in applications with temperature alarm settings it is advised to foresee a delay of 10 minutes for signalling the ERLQ units include special equipment (insulation, bottom plate alarm in case the alarm temperature is exceeded. The unit may heater,...) to ensure good operation in areas where low ambient stop for several minutes during normal operation for "defrosting temperature can occur together with high humidity conditions. -
Page 7: Handling
3.6. Handling 4.2. Main components As shown in the figure below, slowly move the unit by grabbing the left and right grips. CAUTION To avoid injury, do not touch the air inlet or aluminium fins of the unit. VERVIEW OF UNIT 1 Heat exchanger 2 Fan motor 3 Switch box with main pcb (inverter and control pcb) -
Page 8: Selecting Installation Site
■ When installing the unit in a place exposed to strong wind, pay ELECTING INSTALLATION SITE special attention to the following. Strong winds of 5 m/sec or more blowing against the outdoor unit's air outlet causes short circuit (suction of discharge air), 5.1. -
Page 9: Selecting A Location In Cold Climates
5.2. Selecting a location in cold climates RECAUTIONS ON INSTALLATION Refer to "3.4. Model identification" on page 6.1. Foundation work NOTICE When installing the outdoor unit, please refer to "5. Selecting When operating the outdoor unit in a low outdoor ambient installation site"... -
Page 10: Installation Servicing Space
7.1. Outdoor unit installation drawing NSTALLATION SERVICING SPACE ■ Where a wall or other obstacle is in the path of the outdoor unit air intake or exhaust airflow, follow the installation guidelines below. ■ For any of the installation patterns below, the wall height on the exhaust side should be 1200 mm or less. -
Page 11: Refrigerant Pipe Size And Allowable Pipe Length
8.3. Allowable pipe length and height difference EFRIGERANT PIPE SIZE AND ALLOWABLE PIPE LENGTH See the figure and table below concerning allowable lengths and heights. Assume that the longest line in the figure corresponds with the actual longest pipe, and the highest unit in the figure corresponds DANGER with the actual highest unit. -
Page 12: Refrigerant Piping
10. R When loosening a flare nut, always use two wrenches together. EFRIGERANT PIPING When connecting the piping, always use a spanner and torque wrench together to tighten the flare nut to prevent nut cracking 10.1. Flaring the pipe end and leaks. -
Page 13: Leak Test And Vacuum Drying
■ 11. L All refrigerant pipe joints should be tightened with a torque EAK TEST AND VACUUM DRYING wrench at the specified tightening torque. See "10.2. Connecting the refrigerant piping to the outdoor unit" on page 10 for details. When all piping work is complete and the outdoor unit is connected to the indoor unit, it is necessary to: ■... -
Page 14: Charging Refrigerant
12.2. Precautions and general guidelines INFORMATION After opening the stop valve, it is possible that the pressure CAUTION in the refrigerant piping does not rise. This might be When charging a system, care shall be taken that its caused by e.g. the closed state of the expansion valve in maximum permissible charge is never exceeded, in view of the outdoor unit circuit, but does not present any problem the danger of liquid hammer. -
Page 15: Complete Recharging
12.4. Complete recharging NOTICE Take care that while running forced cooling operation the NOTICE water temperature remains higher than 5°C (see Before recharging, make sure to execute vacuum drying of temperature read out of the indoor unit). You can achieve the internal piping of the unit as well. -
Page 16: Internal Wiring - Parts Table
■ Do not use locally purchased electrical parts inside the product Y1E........Electronic expansion valve voil and do not branch the power for the heater tape, etc., from the Y1R ........Reversing solenoid valve coil terminal block. Doing this may cause electrical shock or fire. Z1C~Z7C...... -
Page 17: Notes To Observe
14.4. Electrical characteristics Notes to observe Observe the notes mentioned below when wiring to the power supply CAUTION terminal board. Select all cables and wire sizes in accordance with applicable legislation. CAUTION After finishing the electrical work, confirm that each electric part and terminal inside the electric part box is connected securely. -
Page 18: Trial Operation And Testing
■ 15.2. Trial operation and testing The outdoor fan may rotate due to strong backblow wind, causing the capacitor to charge. This may result in an electric Measure the voltage at the primary side of the safety breaker. shock. Check that it is 230 V. After maintenance, make sure the outdoor fan connector is Carry out the test operation in accordance with the indoor connected again. - Page 20 4PW68002-1A 03.2011...
Need help?
Do you have a question about the ERHQ006BBV3 and is the answer not in the manual?
Questions and answers