
Related Manuals for Daikin ERHQ006BAV3


Summary of Contents for Daikin ERHQ006BAV3
-
Page 1: Installation Manual
INSTALLATION MANUAL Outdoor unit for air to water heat pump ERHQ006BAV3 ERHQ007BAV3 ERHQ008BAV3 ERLQ006BAV3 ERLQ007BAV3 ERLQ008BAV3... - Page 2 3PW54251-4A...
-
Page 3: Table Of Contents
Ask your dealer or qualified personnel to carry out installation work. OTHER DAMAGE TO THE EQUIPMENT. BE SURE ONLY Do not install the machine by yourself. TO USE ACCESSORIES MADE BY DAIKIN WHICH ARE Improper installation may result in water leakage, electric shocks SPECIFICALLY DESIGNED FOR USE WITH THE or fire. - Page 4 Caution Carry out the specified installation work in consideration of strong winds, typhoons, or earthquakes. Earth the unit. Improper installation work may result in accidents due to fall of Earthing resistance should be according to national regulations equipment. Do not connect the earth wire to gas or water pipes, Make certain that all electrical work is carried out by qualified lightning conductor or telephone earth wire.
-
Page 5: Model
Avoid places near a bedroom and the like, so that the operation ODEL noise will cause no trouble. ERLQ units include special equipment (insulation, bottom plate There must be sufficient space for carrying the unit into and out heater,...) to ensure good operation in areas where low ambient of the site. -
Page 6: Selecting A Location In Cold Climates
When installing the unit in a place frequently exposed to snow, Refrigerant piping specifications pay special attention to elevate the foundation as high as Maximum allowable piping length possible. 30 m between outdoor unit and indoor unit If you install the unit on a building frame, Minimum required piping length between outdoor unit and indoor unit please install a waterproof plate (field... -
Page 7: Outdoor Unit Installation Drawing
Outdoor unit installation drawing Drain work Check in the combination table under "Possible options" on page 3 whether drain work is allowed. In case drain work on your unit is allowed and the installation site requires drain work, then follow the guidelines below. -
Page 8: Connecting The Refrigerant Piping To The Outdoor Unit
Connecting the refrigerant piping to the outdoor unit Refrigerant piping work Pipe handling guidelines All field piping must be installed by a licensed refrigeration Protect the open end of the pipe against dust and moisture. technician and must comply with relevant local and national regulations. -
Page 9: Charging Refrigerant
All refrigerant pipe joints should be tightened with a torque Charging refrigerant wrench at the specified tightening torque. See "Connecting the refrigerant piping to the outdoor unit" on page 6 for details. This outdoor unit is factory charged. Important information regarding the refrigerant used Pressure meter Gauge manifold This product contains fluorinated greenhouse gases covered by the... -
Page 10: Wiring
Charging additional refrigerant WARNING If the total length of refrigerant piping exceeds 10 m in length, All components procured on the site and all electric additionally charge with 20 g of refrigerant (R410A) for each construction shall comply with the applicable local and additional meter of piping. - Page 11 Procedure Notes to observe Strip the insulation from the wire (20 mm). Observe the notes mentioned below when wiring to the power supply terminal board. Connect the connection wires between the indoor and outdoor units so that the terminal numbers match (see wiring diagram below).
-
Page 12: Test Run And Final Check
EST RUN AND FINAL CHECK UMP DOWN OPERATION In order to protect the environment, be sure to pump down when NOTE Remark that during the first running period of the unit, relocating or disposing of the unit. The pump down operation will required power input may be higher than stated on the extract all refrigerant from the piping into the outdoor unit. -
Page 13: Maintenance And Servicing
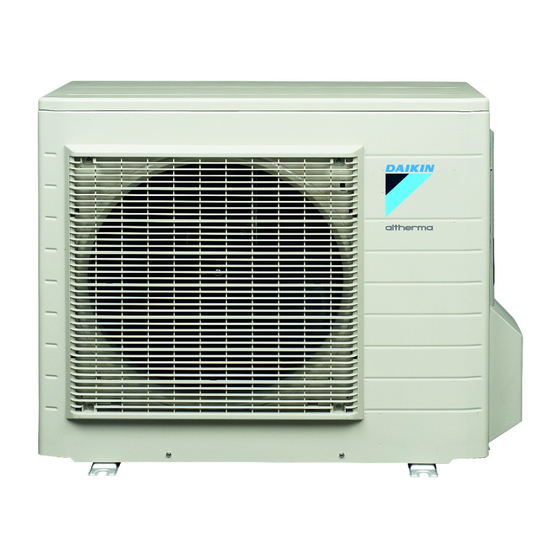
AINTENANCE AND SERVICING NIT SPECIFICATIONS Service precautions Technical specifications Casing material Painted galvanised steel WARNING: ELECTRIC SHOCK Dimensions h x w x d (mm) 735 x 825 x 300 Weight (kg) Caution when performing service to inverter equipment Operation range DANGER •... - Page 14 4PW54246-1A...
Need help?
Do you have a question about the ERHQ006BAV3 and is the answer not in the manual?
Questions and answers
Koliko je kilovata jacine?