Table of Contents
Advertisement
Quick Links
OWNER' S GUIDE
In-Hull, 2-3kW
Transducer
Models: R199, R299, R399
R111LH, R111LM, R599LH, R599LM
U.S. Patent No. 7,369,458. UK Patent No. 2 414 077. U.S. Patent Pending
Follow the precautions below for optimal
product performance and to reduce the risk of
property damage, personal injury, and/or death.
WARNING: Always wear safety goggles and a dust
mask when installing.
CAUTION: The fiberglass hull below the transducer
must be solid. The transducer will not transmit through
coring material such as foam or balsa wood.
CAUTION: CHIRP transducer—Do not install in the
engine compartment or other hot place. The
transducer may fail if the temperature of the liquid in
the tank exceeds 60° C (140° F).
CAUTION: CHIRP transducer—Always operate the
transducer in liquid. Operating in air will allow the
transducer to overheat resulting in failure.
CAUTION: Never pull, carry, or hold the transducer by
the cable. This may sever internal connections.
CAUTION: Never use solvents. Cleaners, fuel, sealant,
paint, and other products may contain solvents that can
damage plastic parts, especially the transducer's face.
IMPORTANT: Please read the instructions
completely before proceeding with the installation.
These instructions supersede any other instructions in
your instrument manual if they differ.
Tools & Materials
Safety goggles
Dust mask
Torque wrench
Rope
Detergent (some installations)
Weak solvent (such as alcohol)
Disk sander (some installations)
Thin sealable plastic bag (some installations)
Cable ties (some installations)
Water-based lubricant (such as K-Y
Carpenter's level
Pencil
Saw
Scissors
Sand paper:
Bonding material (see www.airmar.com for additional brands):
Fiberglass resin:
or Marine-Tex epoxy putty (14 oz. pack)
or 3M™ Marine Adhesive/Sealant 5200
Propylene glycol (non-toxic anti-freeze/coolant)
Funnel
Grommet(s) (some installations)
®
jelly) (some installations)
80 grit
Bondo 401
West Marine #1937762
&
Installation INSTRUCTIONS
Record the information found on the cable tag for future reference.
Part No._________________Date___________Frequency________kHz
Applications
• Fiberglass hulls only
• Recommended for high-speed boats
• Accommodates a deadrise angle up to: (see Figure 1)
12° on the long side of the tank
22° on the short side of the tank
• Operates at tank fill-liquid temperatures up to 60° C (140° F)
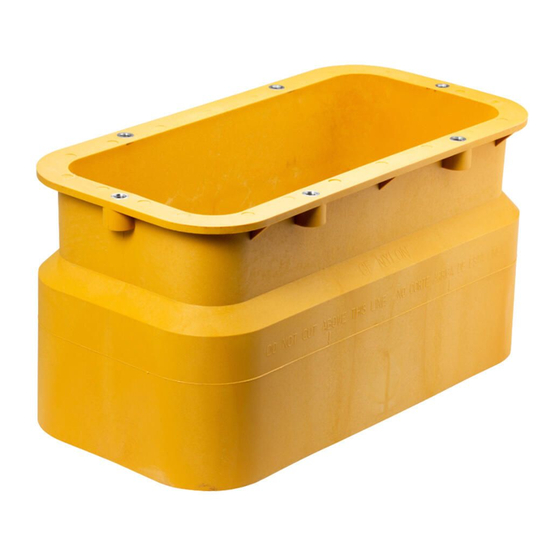
Assembling the Transducer
1. Remove the paper backing from the adhesive side of the gasket.
With the adhesive side facing the plate, align the holes and
edges of the gasket with the under side of the plate (see
Figure 2). Press the gasket firmly into place.
2. Thread the cable through the cable hole in the gasket and plate.
3. Rest the plate on the transducer with the gasket side down and
align the mounting holes. Fasten the plate to the transducer.
Use four of the hex-head bolts and lock washers supplied.
Tighten using a torque wrench with a force not exceeding
85 in-lb. Do not over tighten the bolts.
4. Thread the cable under the handle as seen in the drawing above.
Figure 2. Assembling the transducer
22°
12°
Figure 1. Maximum cutting angle
Copyright © 2006 Airmar Technology Corp.
cable
hole
Copyright © 2006 Airmar Technology Corp.
"
9/16
bolt (4)
lock
washer (4)
plate
gasket
(adhesive
side up)
cable
transducer
(R299/R399 shown)
Advertisement
Table of Contents

Related Manuals for Airmar R299


Summary of Contents for Airmar R299
- Page 1 (adhesive Scissors side up) Sand paper: 80 grit cable Bonding material (see www.airmar.com for additional brands): Fiberglass resin: Bondo 401 transducer West Marine #1937762 or Marine-Tex epoxy putty (14 oz. pack) or 3M™ Marine Adhesive/Sealant 5200 Propylene glycol (non-toxic anti-freeze/coolant) Funnel Figure 2.
- Page 2 Best location for the transducer 1. Take the boat to the maximum depth in which you will be Copyright © 2006 Airmar Technology Corp. operating the echosounder. If deep water is not available, find a location with at least 30m (100').
- Page 3 Figure 6. Marking the cutting guidelines Figure 7. Fitting the cork liner (22° angle shown) Copyright © 2006 Airmar Technology Corp. Copyright © 2006 - 2011 Airmar Technology Corp.
- Page 4 4. Grasp the transducer by the handles and lower it into the tank. There is no fore or aft to the transducer; it fits either way. The information needed to order a replacement Airmar transducer 5. Attach the transducer to the tank. Use the six remaining 9/16"...
Need help?
Do you have a question about the R299 and is the answer not in the manual?
Questions and answers