Advertisement
Quick Links
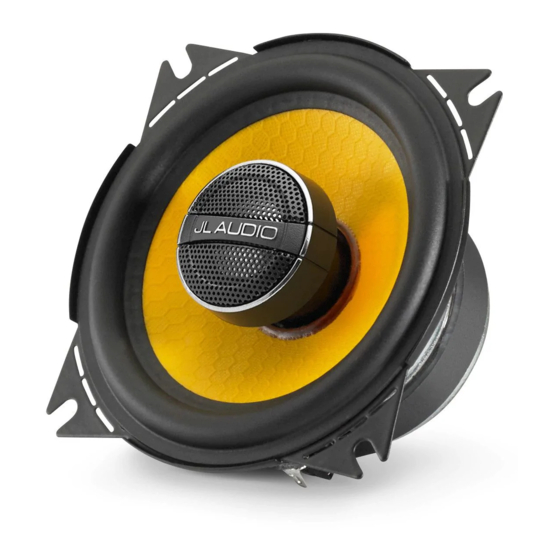
OWNER'S MANUAL
4-inch (100 mm) Coaxial Loudspeakers
Thank you for choosing JL Audio loudspeakers for
your automotive sound system.
We strongly recommend that you have your new loudspeakers installed by
an authorized JL Audio dealer. Your authorized dealer has the training,
expertise and installation equipment to ensure
optimum performance of these loudspeakers in your vehicle.
If you decide to install the loudspeakers yourself, please read this manual
thoroughly to familiarize yourself with their installation
requirements and setup procedures.
Should you have any questions regarding the instructions in this manual,
please contact your authorized JL Audio dealer for assistance, or call the
JL Audio Technical Support Department at (954) 443-1100
during business hours (USA - Eastern Time Zone).
Advertisement

Related Manuals for JL Audio C1-400 series


Summary of Contents for JL Audio C1-400 series
- Page 1 Should you have any questions regarding the instructions in this manual, please contact your authorized JL Audio dealer for assistance, or call the JL Audio Technical Support Department at (954) 443-1100 during business hours (USA - Eastern Time Zone).
- Page 2 0.61 in. / 16 mm Motor Outer Diameter (D) 2.33 in. / 59 mm Mounting Depth (E) 1.81 in. / 46 mm Due to ongoing product development, all specifications are subject to change without notice. 2 | JL Audio - C1-400x Owner’s Manual...
-
Page 3: Getting Started
C1-400x SPECIFICATIONS: GETTING STARTED • Turn off the audio system. It is also advisable to disconnect the negative (–) Continuous Power Handling: 35 Watts terminal of your vehicle’s battery whenever Recommended Amp Power: 10-50 Watts per channel (RMS) performing installation work. Efficiency: 84.5 dB @ 1W / 1m | 90.5 dB @ 1W / 0.5m •... -
Page 4: Installation Overview
Speaker Wiring: adaptor rings to achieve correct clearances and If you will be using the factory speaker wires, it may spacing. Consult your JL Audio dealer for details on be necessary to change the terminations. This may your particular vehicle... - Page 5 DIAGRAM A: 4-hole Speaker Installation DIAGRAM B: 2-hole Speaker Installation...
- Page 6 JL AUDIO dealer. Should service be necessary under this warranty for any reason due to manufacturing defect or malfunction, JL AUDIO will (at its discretion), repair or replace the defective product with new or remanufactured product at no charge. Damage caused by the following is not covered under warranty: accident, misuse, abuse, product modification or neglect, failure to follow installation instructions, unauthorized repair attempts, misrepresentations by the seller.
Need help?
Do you have a question about the C1-400 series and is the answer not in the manual?
Questions and answers