Advertisement
Quick Links
O W N E R ' S M A N U A L
1. Read this manual carefully before starting assembly. Read each step completely before beginning
each step.
2. Some smaller parts may be shipped inside larger parts. Check inside all parts and cartons
before assembling or ordering parts.
3. To make assembly easier, use the Hardware Identifier on page 7 to identify and sort all
fasteners. Check all cartons for kits. All hardware may not be located in one kit.
4. Do not tighten hardware until instructed to do so. If hardware is tightened too soon, mounting holes
may not align and parts may not easily fit together. Leave locknuts slightly loose until you are instructed to
tighten them.
5. Tools required for assembly:
wrench may be substit
Please Do Not Return This Product To The Store!
Contact Escalade
Phone:
1-866-873-3528
Fax:
1-866-873-3533
E-mail:
tabletennis@escaladesports.com
Mailing Address (correspondence only):
Escalade Sports
PO Box 889
Evansville, IN 47706
Please visit our World Wide Web site at:
ON-LINE TROUBLE SHOOTING
ON-LINE PARTS REQUESTS
ADDITIONAL ESCALADE® SPORTS PRODUCT INFORMATION
Escalade® Sports products may be manufactured and/or licensed under the following patents.
6120397, 5816957, 5769744, 5119741, 4911085, 4717157, D460140, D420563
Additional patents may be pending. One or more of the listed patents and/or pending patents may cover specific product.
Phillips Screwdriver, Two 7/16 Wrenches, One 3/8 Wrench (an adjustable
uted for the wrenches), Flat Blade Screw Driver
Sports customer service department at:
®
Toll – Free !
Toll – Free !
www.escaladesports.com
TECHNICAL ASSISTANCE
FREQUENTLY ASKED QUESTIONS
MODEL NO.
T8502
T8502
T8502
T8502
T8502
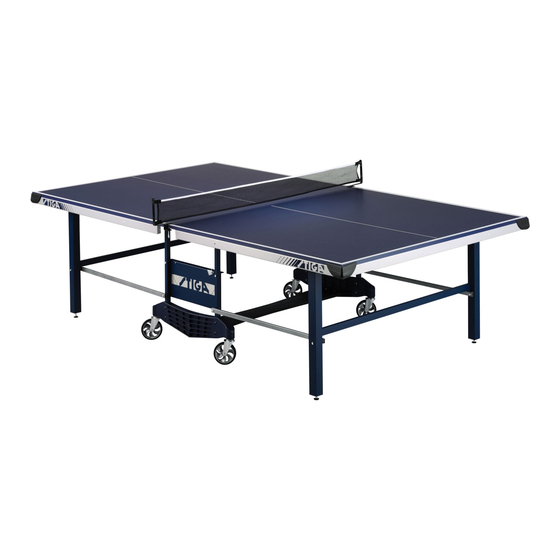
TABLE TENNIS TABLE
© © © © © 2007Escalade
2L-7117-01
® ® ® ® ®
Sports
Advertisement

Related Manuals for Stiga T8502


Summary of Contents for Stiga T8502
- Page 1 MODEL NO. T8502 T8502 T8502 T8502 T8502 TABLE TENNIS TABLE O W N E R ' S M A N U A L 1. Read this manual carefully before starting assembly. Read each step completely before beginning each step. 2. Some smaller parts may be shipped inside larger parts. Check inside all parts and cartons before assembling or ordering parts.
- Page 2 AT LEAST TWO ADULTS ARE NEEDED TO COMPLETE THE ASSEMBLY! CAUTION: DO NOT LEAVE TABLE UNATTENDED UNTIL ASSEMBLY IS COMPLETE! 1. Open the hardware kit and sort all the hardware. For your help in identifying hardware, see the hardware identifier on page 7. 2.
- Page 3 5. Attach Name Panel #17 to inside of Upright Tubes #15 using two bolts #21, two bolts #22, and four locknuts #26. See Figure 4. Short bolts #22 go in top holes and long bolts #21 go in bottom holes. Tighten top bolts #22 but do not overtighten, crushing tubes.
- Page 4 AT LEAST TWO ADULTS ARE NEEDED TO COMPLETE THE CAUTION: FOLLOWING STEPS! Figure 6 8. When doing this step, you may want to place a towel between 10. Screw a Leg Leveler #13 into end of each leg on leg assembly table top and wall to keep from scratching wall.
- Page 5 UNTIL THE TABLE HALVES ARE CONNECTED THEY WILL NOT STAND ON THEIR OWN. IT IS RECOMMENDED TO HAVE THREE PEOPLE TO CONNECT CAUTION: TABLE HALVES. TWO TO STABILIZE TABLE AND ONE TO BOLT TABLE TOGETHER Figure 7 While holding table half up, pull the base assembly under this 13.
- Page 6 AT LEAST TWO ADULTS ARE NEEDED TO COMPLETE THE CAUTION: FOLLOWING STEPS! Figure 8 16. With first table half (that you just attached) braced against a 17. Remove bottom bolts #21 from bottom holes that attach name wall, attach second table half. panels to Upright Tubes.
- Page 7 18. Attach Corner Protectors #8 to all four outer corners of table tops. See Figure 9. 19. Congratulations! You have completed assembly of your new Table Tennis Table. Please read and understand the Opening and Closing Instructions before using your table. Figure 9 TO LEVEL TABLE IN PLAYING POSITION You can raise, or lower, outer ends of table by screwing the leg...
- Page 8 OPENING AND CLOSING INSTRUCTIONS READ OPERATING INSTRUCTIONS CAREFULLY BEFORE OPERATING TABLE! DO NOT ALLOW CHILDREN TO OPEN TABLE! DO NOT CLIMB, STAND OR JUMP ON TABLE! SERIOUS OR FATAL INJURY MAY RESULT! THIS IS NOT A CAUTION: TOY! TABLE IS TO BE OPENED OR CLOSED BY ADULTS ONLY! FAILURE TO COMPLY WITH OPENING AND CLOSING INSTRUCTIONS COULD RESULT IN PERSONAL INJURY OR PROPERTY DAMAGE.
-
Page 9: Care And Maintenance
CARE AND MAINTENANCE You have purchased a quality product that will give you years of enjoyment. By following these simple maintenance steps, you will add to the life of your new table. THE TABLE TOP The top (playing surface) of your table is made of particle board. Like all products made of wood, it can be affected by atmospheric changes in both temperature and humidity. - Page 10 PRODUCT PARTS LIST - T8502 Item No. Part No. Description Qty. Item No. Part No. Description Qty. 4A-6407-00 Table Half Top 2W-7641-01 Wood Bottom Board 2S-6715-05 Side Rail - Right Hand 2S-6496-02 Safety Latch 7B-6161-00 Plastic Spacer 2S-6716-05 Side Rail - Left Hand...
Need help?
Do you have a question about the T8502 and is the answer not in the manual?
Questions and answers