Table of Contents
Advertisement
Quick Links
01: Overview
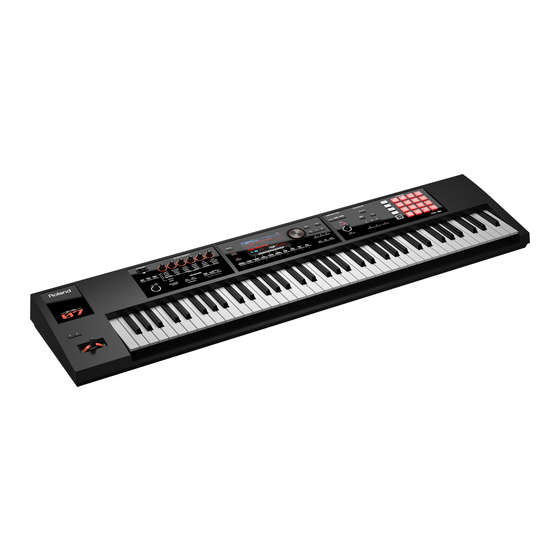
Describes the top and rear panels of the FA, and the
structure of its sound engine and memory.
02: Performing
Explains basic performance operations, such as how to
select tones.
03: Performance Functions
Explains convenient functions that you'll use while
performing, such as modifying the sound in real time.
04: Editing
Explains how to edit studio sets, tones, and effects.
05: Sequencer (Creating Songs)
Explains how to use the sequencer to play, record and edit
songs.
About the PDF manual
The PDF manual lets you quickly search for a term, or view an explanation simply by clicking a link.
*
You'll need Adobe Reader (a free download) in order to view the PDF manual.
Copyright © 2017 ROLAND CORPORATION
06: Sampler
Explains sampling and sample editing.
07: Pads
Explains how to use the pads.
08: DAW
Explains how to use the FA in conjunction with a computer
or DAW controller.
09: Settings
Explains convenient functions, and settings that apply to
the entire FA.
10: Appendix
Provides troubleshooting information and lists error
messages.
Advertisement
Table of Contents


Need help?
Do you have a question about the FA-07 and is the answer not in the manual?
Questions and answers