Table of Contents

Related Manuals for Suzohapp Vision Pro 150TFT 1910 Series


Summary of Contents for Suzohapp Vision Pro 150TFT 1910 Series
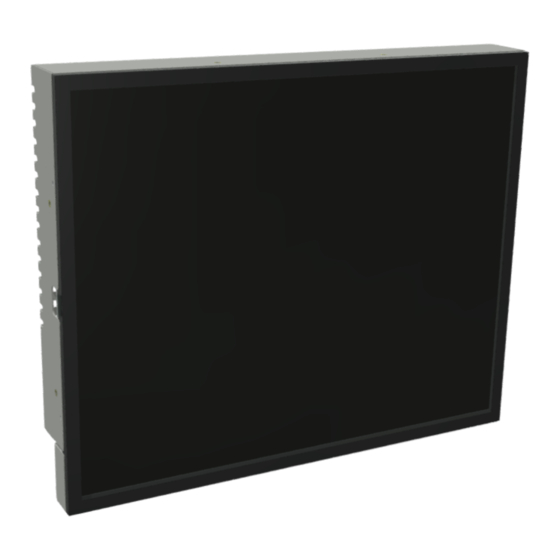
- Page 1 19" LCD Monitor Model: 150TFT[X]1910[XX] Manual Version 1.0 /Oct. 2014 Antonie van Leeuwenhoekstraat 9 3261 LT Oud Beijerland The Netherlands Phone : +31(0)186-643333 Fax : +31(0)186-643322 Email : info@suzohapp.nl Web : eu.suzohapp.com...
-
Page 2: Table Of Contents
Index Introduction ............................. 3 Safety ............................... 3 Model descriptions .......................... 3 Monitor connection ......................... 3 Monitor specifications ........................4 Operation ............................5 OSD MENU ............................6 Driver software touch screen (optional 150TFTS1910[XX]) ............8 Mounting instructions ........................9 Accessories ..........................10 Page 2 of 10... -
Page 3: Introduction
1. Introduction Congratulations with the purchase of your monitor. This LCD monitor is a color active matrix thin-film- transistor (TFT) liquid crystal (LCD) to provide superior display performance. 2. Safety This monitor is only be suitable for use in an interior environment where there are not sealed, not subject to dust, dirt, condensation (Pollution Degree 2) (IP20). -
Page 4: Monitor Specifications
5. Monitor specifications Panel Manufactures Part No. LM190E0A-SLA1 Absolute Maximum Ratings Item Unit Typical Remarks Operating Temperature °c Storage Temperature °c Operation Humidity Storage Humidity Input characteristics Description Signal Unit Typical Remarks Power in (2,5mm plug) Input 11.4 12,6 Consumption Mosaic pattern (8 x 6) RGB Input Analog RGB... -
Page 5: Operation
6. Operation Color LED: This LED shows the state of controller. Green is the “normal state”. Red is the “Off mode”. (Can’t find Sync. signals) Amber is the “DPMS mode” (Display Power Management Signaling). PC Settings: The PC needs to be set to an appropriate graphics mode that has the same resolution with the LCD panel to have clear screen image. -
Page 6: Osd Menu
7. OSD MENU The chosen OSD settings will be stored in memory. The OSD menu can be cleared from the screen by pressing the MENU button otherwise it will be automatically cleared after a few seconds of non‐use. OSD Main Menu [PICTURE] [COLOR] [SCREEN]... - Page 7 OSD GUI Control Table MAIN SUB MENU CONTROL MENU Brightness 50(0~100) Contrast 50(0~100) Picture Sharpness 2( 0 ~ 4) Color Status Management User(User, Warm, Normal, Cool) Picture 50(0~100) Color Green 50(0~100) PC ONLY Blue 50(0~100) Auto Color To Start Auto Configure To Start H Position 50(0~100)
-
Page 8: Driver Software Touch Screen (Optional 150Tfts1910[Xx])
8. Driver software touch screen (optional 150TFTS1910[XX]) 3M TouchSystems provides driver software that allows your touchmonitor to work with your computer. Drivers are located on “3M Touch Systems” web site for the following operating systems: • Windows • Linux (2.6/3.0 Kernel) •... -
Page 9: Mounting Instructions
9. Mounting instructions Monitor Mounting This monitor can be mounted with eight M4 mount holes. Follow the steps described below: Place the monitor into the machine. Place the M4 screws on all sides of the monitor. Tighten the nuts until the monitor is firmly secured to the machine (do not use screws longer then 5mm in the monitor). -
Page 10: Accessories
10. Accessories Part number Description Power supply input 100/240V output 150-0049 12V 5A 22-0012-4 Power cable Euro lead 1.80M 149-0112-11 VGA cable 1.80m 149-0147 USB cable type a-b m/m 1.80M 149-0121 DVI-D Cable 2 mtr 18+1 19 “ Touch screen (without controller) 98-0003-2661-5 Page 10 of 10...
Need help?
Do you have a question about the Vision Pro 150TFT 1910 Series and is the answer not in the manual?
Questions and answers