
Related Manuals for Stern Engineering TUBULAR DM Series


Summary of Contents for Stern Engineering TUBULAR DM Series
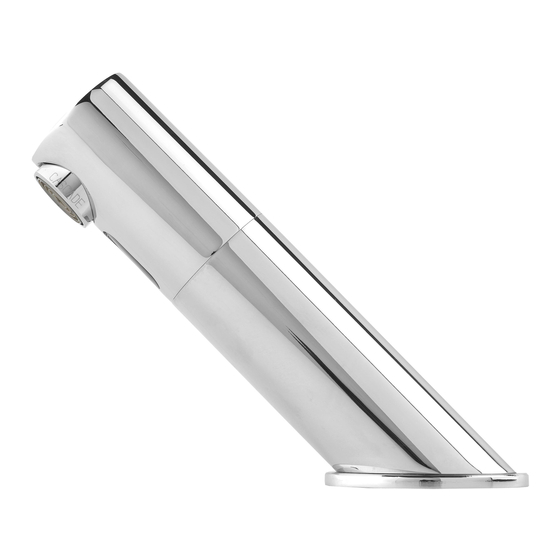
- Page 1 INSTALLATION AND MAINTENANCE GUIDE TUBULAR DM E L E C T R O N I C L A V A T O R Y F A U C E T...
- Page 2 I N DE X TECHNICAL DATA PACK CONTENTS Tubular DMB Tubular DME PRE INSTALLATION INFORMATION FAUCET INSTALLATION SETTINGS ADJUSTMENT BATTERY REPLACEMENT INSTRUCTIONS How to replace the battery at Tubular DMB MAINTENANCE Filter cleaning instructions Care and cleaning of chrome and special finishes TROUBLE-SHOOTING SPARE PARTS LIST LIMITED WARRANTY...
-
Page 3: Technical Data
T E C H N ICA L DATA TUBULAR DMB 350700 TUBULAR DME 350750 Electronic faucet for cold or premixed Electronic faucet for cold or premixed water to be powered by battery. water to be powered by electricity. Power Supply: 9V battery or 9V transformer IP 67 battery box for 6 x 1.5 V AA batteries Optional:... -
Page 4: Pack Contents
PAC K CON TENT S Familiarize yourself with the parts names and confirm that the parts are included. TUBULAR DME 1. 1x Tap and attachments 2. 1x Solenoid valve, housing, filter and adapter 3. 1x Transformer 4. 1x Allen key TUBULAR DMB 1. -
Page 5: Pre Installation Info
PRE INSTALLATION INFO Check contents Separate all parts from the packaging and check each part with the Pack contents section. Pay attention to the different models variations. Make sure all parts are accounted for before discarding any packaging mate- rial. If any parts are missing, do not attempt to install your electronic faucet until you obtain the missing parts. -
Page 6: Faucet Installation
FAUC E T I NSTAL LAT ION Step 1 – Remove all mounting hardware Shut off the water supply and remove the hexagonal nut, the disk and the gasket. Do not remove the O-ring from the base of the faucet. O-Ring Gasket Disk... - Page 7 FAUCE T I NSTAL L AT ION Step 4 – Connecting the power source 1. For Tubular DMB: Install the battery box at the wall under the sink using the two sided adhesive foam tape. Important: cable connection must point down.
-
Page 8: Settings Adjustment
SETTINGS ADJUSTMENT Adjusting the sensor range with the remote control This faucet was supplied with Stern’s new Self Adjusting Sensor. The ideal sensor range for the specific location will be set automatically. Only if necessary, use the remote control to adjust the sensor range as follows: Shut off the water supply. - Page 9 SETTINGS ADJUSTMENT Adjusting other settings with the remote control ENTRANCE TO THE SELF ADJUSTMENT MODE: Check that no objects are in front of the sensor. Press the ADJ button. Once a quick flashing of the red light of the sensor eye is perceived, remove your hand holding the remote control from the sensor area.
- Page 10 SETTINGS ADJUSTMENT 24 HOUR HYGIENE FLUSH: It is possible to program a 24 hours hygiene flush also in faucets upon request. This function is ideal to maximize hygiene and prevent Legionella and other diseases. It also helps to prevent pipes from freezing, keeping the water moving through the pipes every 24 hours.
-
Page 11: Battery Replacement
BATTERY REPLACEMENT Battery models only When the battery weakens, the red indicator light will blink at a constant rate. The battery must be replaced within two weeks. To replace the battery at battery models: 1. Carefully open the battery’s box. 2. -
Page 12: Maintenance
M A I N T EN ANC E Filter cleaning instructions This tap is provided with a stainless steel filter preventing foreign particles to enter the lines. If the water flow has decreased, this may be because the filter is clogged. -
Page 13: Troubleshooting
T RO U B LE SH OOT IN G PROBLEM INDICATOR CAUSE SOLUTION 1.Sensor flashes No water Low battery. Replace battery. continuously when coming out of the user’s hands are within faucet: the sensor’s range. 2. Red light in the sensor 1. -
Page 14: Spare Parts List
S PA R E PAR TS LI ST Self adjusting sensor kit Cat.No. 07220056 Solenoid valve kit Cat. No. 07230002 Solenoid housing kit Cat. No. 07231001 Battery box (Battery models only) Cat. No. 06530008 Transformer (Transformer models only) Cat. No. 06522025 Optional accessories: Extension cable (Battery models only) Cat. -
Page 15: Limited Warranty
LI M I T ED WA RR AN T Y This product is covered by a limited warranty of two years from date of purchase. During this period, STERN undertakes, at its option, to repair or replace any faults caused by defective materials or manufacturer defaults that may arise (see STERN Warranty). - Page 16 15 Gan Rave Blvd., 81222 Gan Rave, Yavne, Israel 15 Gan Rave Blvd., 81222 Gan Rave, Yavne, Israel Tel: 972-8-9326000, Fax: 972-8-9326025, export@sternfaucets.com Tel: 972-8-9326000, Fax: 972-8-9326025, export@sternfaucets.com www.sternfaucets.com www.sternfaucets.com...
Need help?
Do you have a question about the TUBULAR DM Series and is the answer not in the manual?
Questions and answers