Table of Contents
Advertisement
Quick Links
OWNER'S MANUAL
AIR CONDITIONER
Read this owner's manual thoroughly before operating the
appliance and keep it handy for reference at all times.
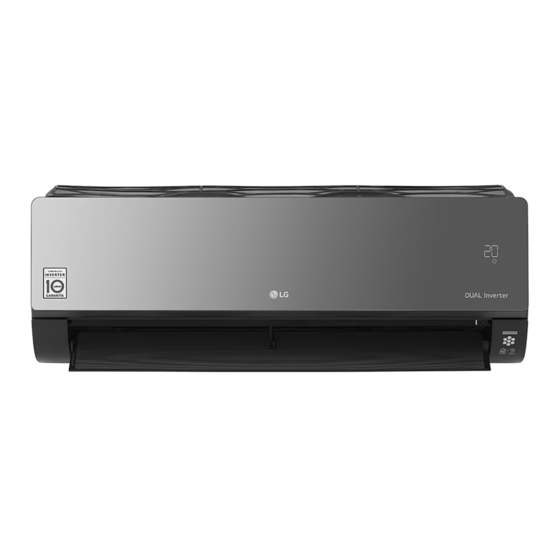
TYPE: WALL MOUNTED
EN ENGLISH
UA11MJH0
NJ0
UA13MJH0
UP11MAH0
NJ0
UP13MJH0
MFL69781506
Rev.00_012621
FR
FRANÇAIS
NJ0
UA19MKH0 NJ0
NJ0
Copyright © 2021 LG Electronics Inc. All Rights Reserved
AR العربية
UA24MKH0 NJ0
www.lg.com
Advertisement
Table of Contents


Need help?
Do you have a question about the UA11MJH0 NJ0 and is the answer not in the manual?
Questions and answers