
Related Manuals for Ovislink Air Live GW-300R


Summary of Contents for Ovislink Air Live GW-300R
- Page 1 Copyright and Disclaimer GW-300R Wireless 2T2R 300Mbps Giga Router User’s Manual AirLive GW-300R User’s Manual...
- Page 2 Copyright and Disclaimer Copyright & Disclaimer The contents of this publication may not be reproduced in any part or as a whole, stored, transcribed in an information retrieval system, translated into any language, or transmitted in any form or by any means, mechanical, magnetic, electronic, optical, photocopying, manual, or otherwise, without the prior written permission.
- Page 3 Copyright and Disclaimer CE Declaration of Conformity This equipment complies with the requirements relating to electromagnetic compatibility, EN 55022/A1 Class B. The specification is subject to change without notice. AirLive GW-300R User’s Manual...
-
Page 4: Table Of Contents
Table of Contents Table of Contents 1.Introduction ........................1 1.1 Packing List ......................2 1.2 Spec Summary Table....................3 1.3 Hardware Configuration................... 4 1.4 LED indicators ......................5 1.5 Procedure for Hardware Installation ................ 6 2.Getting Start ........................8 3.Making Configuration ....................14 3.1 Login to Configure from Wizard ................ -
Page 5: Introduction
1. Introduction 1.Introduction Congratulations on your purchase of this outstanding Wireless Broadband Router. This product is specifically designed for Small Office and Home Office needs. It provides a complete SOHO solution for Internet surfing, and is easy to configure and operate even for non-technical users. -
Page 6: Packing List
1. Introduction 1.1 Packing List items Description Contents Quantity WiFi Gigabit Router Power adapter AirLive GW-300R User’s Manual... -
Page 7: Spec Summary Table
1. Introduction 1.2 Spec Summary Table Device Interface Ethernet WAN RJ-45 port, 10/100/1000Mbps, auto-MDI/MDIX Ethernet LAN RJ-45 port, 10/100/1000Mbps, auto-MDI/MDIX Antenna 3.23 dBi detachable antenna WPS Button For WPS connection Wireless To enable or disable Wireless Radio Enable/disable LED Indication Power/Status / WAN / LAN1 ~ LAN4/ WiFi DC Power Jack, powered via external Power Jack... -
Page 8: Hardware Configuration
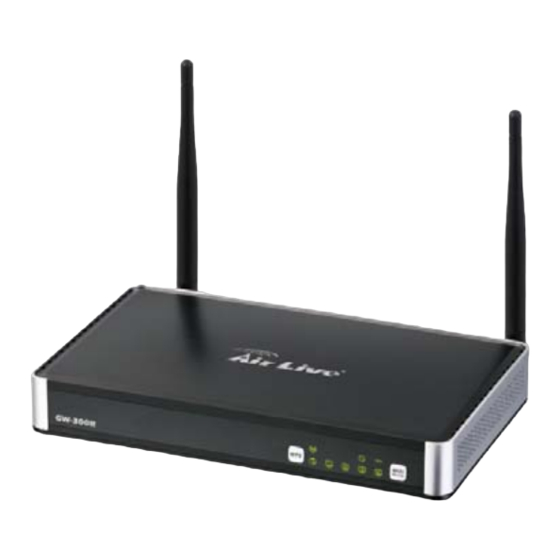
1. Introduction Environment & Certification Package dimension (mm) Package Information Package weight (g) Temp.: 0~40oC, Humidity 10%~90% Operation Temp. non-condensing Temp.: -10~70oC, Humidity: 0~95% Storage Temp. non-condensing EMI Certification CE/FCC compliance RoHS RoHS compliance 1.3 Hardware Configuration Figure 2-1 Front Panel AirLive GW-300R User’s Manual... -
Page 9: Led Indicators
1. Introduction 1.4 LED indicators LED status Description Status Green in flash Device status is working. WAN LED Green RJ45 cable is plugged Green in flash Data access Green RJ45 cable is plugged LAN LED Green in flash Data access Green WLAN is on Green in flash... -
Page 10: Procedure For Hardware Installation
1. Introduction 1.5 Procedure for Hardware Installation Step 1. Attach the antenna. 1.1. Remove the antenna from its plastic wrapper. 1.2. Screw the antenna in a clockwise direction to the back panel of the unit. 1.3. Once secured, position the antenna upward at its connecting joint. - Page 11 1. Introduction Step 3 Insert the Ethernet patch cable into Wired WAN port: Insert the Ethernet patch cable form DSL Modem into Wired WAN port on the back panel of Router. Step 4. Power on Router: 4.1. Connect the power adapter to the receptor on the back panel of your Router and Push Power switch Step 5.
-
Page 12: Getting Start
2. Getting Start 2.Getting Start Insert the CD into CD reader on your PC. The program, AutoRun, will be executed automatically. And then you can click the Easy setup Icon for this utility. Configure the settings by the following steps. 2.1.Select Language then click “Next”... - Page 13 2. Getting Start 2.2 Setup mode You can select Wizard mode to run the setup step-by-step or run advanced mode to diagnose the network settings of the router. 2.3 Advanced mode Setup. Check the PC, Router or Internet icons for the Status of PC, Router or Internet.
- Page 14 2. Getting Start 2.4 Quick Wizard Install mode Setup 1. Make sure the router is powered 2. Make sure your network adapter is connected to the LAN port of the router 3. Make sure your network adapter has an IP address. Click “Next”...
- Page 15 2. Getting Start 2.6 Auto Detect WAN Service. Click “Next” for continue. Click the button, “Let me select WAN service by myself”, to disable this function. Note: The Item supports to detect the Dynamic and PPPoE WAN Services only Example, the Dynamic WAN type is detected.
- Page 16 2. Getting Start 2.7. Manual select WAN Service In the manual mode, Click the any icons for continues. 2.8 Summary of the settings and Next to “Reboot” Click “Next” for continue. 2.9 Apply the Settings or Modify. Click “Next” for continue. AirLive GW-300R User’s Manual...
- Page 17 2. Getting Start 2.10 Test the Internet connection. Test WAN Networking service. Click “Next” for continue. You can ignore the by select the “Ignore Test”. 2.11 Setup Completed. The EzSetup is finish, you can open the default web browser to configure advanced settings of the Router.
-
Page 18: Making Configuration
3. Making Configuration 3.Making Configuration This product provides Web based configuration scheme, that is, configuring by your Web browser, such as Mozilla Firefox or or Internet Explorer. This approach can be adopted in any MS Windows, Macintosh or UNIX based platforms. AirLive GW-300R User’s Manual... -
Page 19: Login To Configure From Wizard
3. Making Configuration 3.1 Login to Configure from Wizard Type in the IP Address (http://192.168.1.254) Type password, the default is “airlive” and click ‘login’ button. Press “Wizard” for basic settings with simple way. Press “Next” to start wizard. AirLive GW-300R User’s Manual... - Page 20 3. Making Configuration Step 1: Set up your system password. Step 2: Select Wan Type. Auto Detecting or Setup Manually. AirLive GW-300R User’s Manual...
Need help?
Do you have a question about the Air Live GW-300R and is the answer not in the manual?
Questions and answers