Sign In
Upload
Download
Table of Contents
Contents
Add to my manuals
Delete from my manuals
Share
URL of this page:
HTML Link:
Bookmark this page
Add
Manual will be automatically added to "My Manuals"
Print this page
×
Bookmark added
×
Added to my manuals
Manuals
Brands
Dahua Manuals
Security Camera
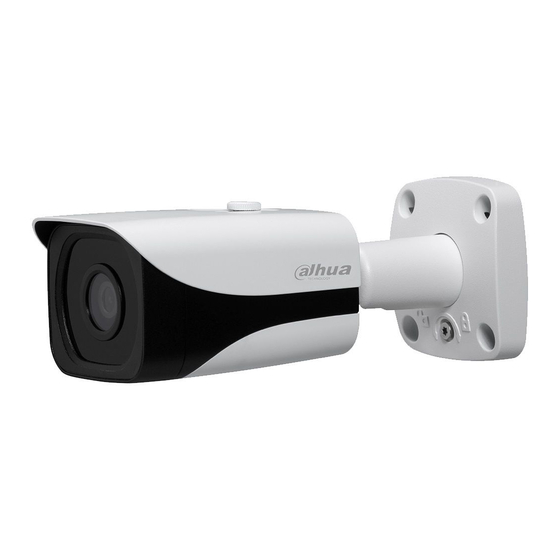
N24CB33
Quick start manual
Dahua N24CB33 Quick Start Manual
Hd ir mini bullet network camera
Hide thumbs
1
2
3
4
5
Table Of Contents
6
7
8
9
10
11
12
13
14
15
page
of
15
Go
/
15
Contents
Table of Contents
Bookmarks
Table of Contents
Table of Contents
Device Framework
Device External Cable
Framework and Dimension
Installation
Device Installation
SD Card Installation
Network Configuration
Modify IP Address
Login WEB Interface
Advertisement
Quick Links
Download this manual
Dahua HD IR Mini Bullet Network Camera Quick Start Guide
V 1.0.0
Zhejiang Dahua Vision Technology Co., LTD
Table of
Contents
Previous
Page
Next
Page
1
2
3
4
5
Advertisement
Table of Contents
Need help?
Do you have a question about the N24CB33 and is the answer not in the manual?
Ask a question
Questions and answers
Related Manuals for Dahua N24CB33
Security Camera Dahua N28BB7Z Quick Start Manual
2mp network bullet camera (19 pages)
Security Camera Dahua N53AM5Z Quick Installation Manual
5mp vari-focal network dome camera (26 pages)
Security Camera Dahua NKB1000 How-To
How to control the ptz camera with keyboard (10 pages)
Security Camera Dahua N42BJ62 Quick Installation Manual
Fixed network eyeball camera (23 pages)
Security Camera Dahua 27.HDBW3441R-ZS Quick Start Manual
Vari-focal dome network camera (20 pages)
Security Camera Dahua N45EYN2 Quick Start Manual
Dome network camera (17 pages)
Security Camera Dahua N51BI22 Quick Start Manual
5 mp fixed eyeball bullet network camera (16 pages)
Security Camera Dahua N42AM3Z Quick Start Manual
Network mini dome camera (19 pages)
Security Camera Dahua N53AF5Z Quick Installation Manual
5mp vari-focal network bullet camera (25 pages)
Security Camera Dahua N53AJ52 Quick Installation Manual
5mp fixed network eyeball camera (28 pages)
Security Camera Dahua N53AB52 Quick Installation Manual
5mp fixed network bullet camera (24 pages)
Security Camera Dahua N45EFNZ Quick Start Manual
Bullet network camera (18 pages)
Security Camera Dahua N43AB52 Quick Start Manual
Hd ir bullet network camera (18 pages)
Security Camera Dahua N45DB7Z Quick Start Manual
Ir bullet network camera (21 pages)
Security Camera Dahua N43AM5Z Quick Start Manual
Vari-focal dome network camera (21 pages)
Security Camera Dahua N45EJN2 Quick Start Manual
Eyaball network camera (17 pages)
This manual is also suitable for:
N84cb34
N44cb33
Hfw4231eps
Ipc-hfw4231e-se
Table of Contents
Print
Rename the bookmark
Delete bookmark?
Delete from my manuals?
Login
Sign In
OR
Sign in with Facebook
Sign in with Google
Upload manual
Upload from disk
Upload from URL


Need help?
Do you have a question about the N24CB33 and is the answer not in the manual?
Questions and answers