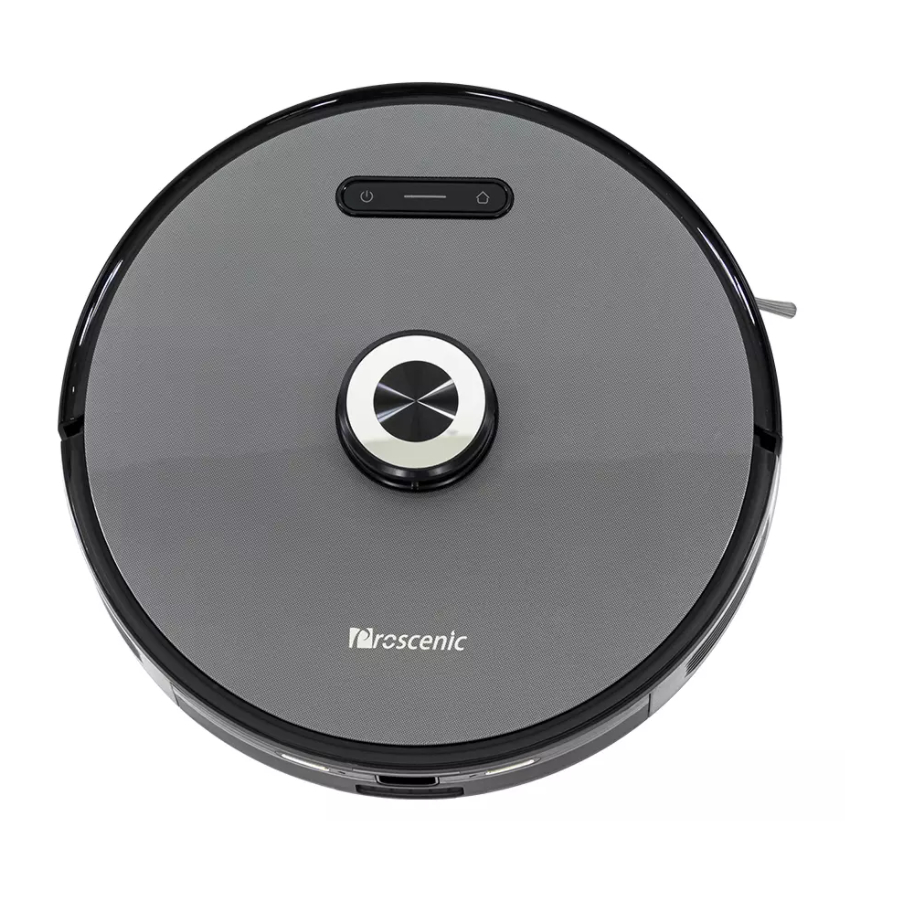
Summary of Contents for Proscenic M8 PRO
- Page 1 Instruction manual Bedienungsanleitung Notice d’instructions Manuale di istruzioni Manual de instrucciones ユーザーガイド M8 PRO Proscenic Technology Co., Ltd. Service support Web:www.proscenic.com E-mail:support@proscenic.com...
-
Page 2: Product Description
Product description Robot Laser ranging sensor Button Speaker Infrared recharge/anticollision sensor Wall-mounted TOF sensor / infrared Anti-collision sensor auxiliary recharge sensor Laser head cover pressure sensor Charging pole piece Dust box release button Infrared auxiliary recharge sensor Dust collection port Air outlet 2-in-1 Dust bin &... -
Page 3: Start/Stop Button
Robot Start/Stop Button • Extended press to turn on / off • Short press to start / pause cleaning Recharge button • Short press to start/pause recharging • Solid blue light: Normal working/pause/standby • Blue light flash: Is powering on/configuring network/ upgrading firmware •... - Page 4 Host and sensor Universal wheel Side brush Charging pole piece Cliff sensor Left drive wheel Right drive wheel Rolling-Brush Middle sweep cover...
- Page 5 2-in-1 Dust bin & water tank Dust bin buckle Water inlet Dust box release button Release button Dust bin buckle Dust collection port Dust box Filter mesh bracket Mop cloth Primary filter Filter sponge HEPA filter Paste area Charging pole piece Dust box flip Mop cloth holder Dust collection port...
- Page 6 Dust collector unit Flip cover Dust collection duct cover Control panel Air outlet Power interface Infrared lens Charging/Dust collection clips Dust collector port Flip cover sealing ring Dust bag handle Fan filter Dust bag...
-
Page 7: Charging Indicator
Dust collector unit Start/Stop Button • Short press: Start auto cleaning / pause cleaning • Press and hold for 3s: Start spot cleaning Home button • Short press: Return to collect dust and charge • Press and hold for 3 seconds: Return to collect dust and then continue to clean from the place where it left off last time Fan indicator •... -
Page 8: Installation Notes
Installation Notes Install dust collector 1. The dust collector should be placed on flat ground more than 6cm away from the wall. 6cm from the wall 2. Ensure there is a space of more than 1.2m at the front, and more than 0.5m on both sides of the dust collector. About your Dust Collector The dust collector unit is designed to collect dust and charge the robot cleaner. - Page 9 Instructions for use Instructions for robot Power on / off Charging Press and hold the “ ” button to power on, and the host enters the standby Automatic recharge: The host will automatically return to the dust collector unit state. After booting, press and hold the “ ”...
-
Page 11: Remote Control
Remote control Recharge button Arrow key Start/Pause button Mopping mode Spot cleaning Mute button Gear plus Gear reduction Max button Note: 1. To ensure remote control effectively, it is recommended to use it in the front area of the host; 2. - Page 12 Install 2-in-1 Dust bin & water tank ① Open the rubber cover of the water tank and fill the water ② Install the water tank into the robot according to the direction tank with water, then fasten the rubber cover; shown in the figure, and make sure that the buckle is in place;...
-
Page 13: Routine Maintenance
Routine maintenance 2-in-1 Dust bin & water tank (recommended weekly) ① Press the dust box release button and take out the dust box; ② Open the dust box and dump the garbage in the dust box; ③ Take out the primary filter, sponge and HEPA filter, clean the ④... - Page 14 Universal wheel (recommended monthly cleaning) ⑤ Pour out the remaining water in the water tank and dry the water tank; Flip the main unit and pull out the universal wheel upwards; Clean the hair and dust on the wheel, axle and support; Reinstall the universal wheel and press it tight.
- Page 17 Host and sensor (recommended monthly cleaning) Wipe the sensor on the main unit with a soft, dry cloth, including: ① 4 cliff sensors at the bottom of the main unit ② Wall sensor on the right side of the host Cliff sensor ③...
- Page 19 Cleaning the dust collector infrared lens and Cleaning the fan filter screen bracket the charging/dust collector clips Check the infrared lens and charging / dust collection clips of the dust Check whether there is any lint or debris accumulation on the filter collection unit for dirt.
-
Page 20: Basic Parameters
Basic parameters Robot Dust collector unit Name Parameters Name Dimension/Rating Dimensions φ350mmxφ350mmx98mm Overall Dimensions 282mmx361mmx202mm Product weight ≈ 3.6kg Power Rating 1050W Rated voltage 14.4V Input Rating 100-240V ~50/60Hz Rated power Output Rating DC24V 1.2A Battery capacity 5200mAh FCC Statement 1. -
Page 21: Common Problem
Common problem Question type Solution The battery is low, please charge it before using it Can not boot Ambient temperature is too low (less than 0° C) or too high (higher than 50° C) Unable to start cleaning The battery is low, please charge it before starting it There are too many obstacles near the dust collector. -
Page 22: Troubleshooting
Troubleshooting Robot Fault prompt Solution Abnormal 1. Please confirm that the laser radar is Please check or remove foreign objects around the lidar or move the device to a new not blocked location to restart Abnormal 2. Please wipe the cliff sensor and Wipe the main power cliff...


Need help?
Do you have a question about the M8 PRO and is the answer not in the manual?
Questions and answers
Red light flashes when start button is pressed
The red light flashes quickly on the Proscenic M8 PRO when the start button is pressed to indicate an abnormality or error.
This answer is automatically generated