Solax X1 Series Quick Installation Manual
Hide thumbs
Also See for X1 Series:
- User manual (49 pages) ,
- Quick installation manual (3 pages) ,
- User manual (29 pages)
Advertisement
Quick Installation Guide
X1 Series 3.0KW-6.0KW
Packing Lists
I
Female DC connector * 2
Male DC connector * 2
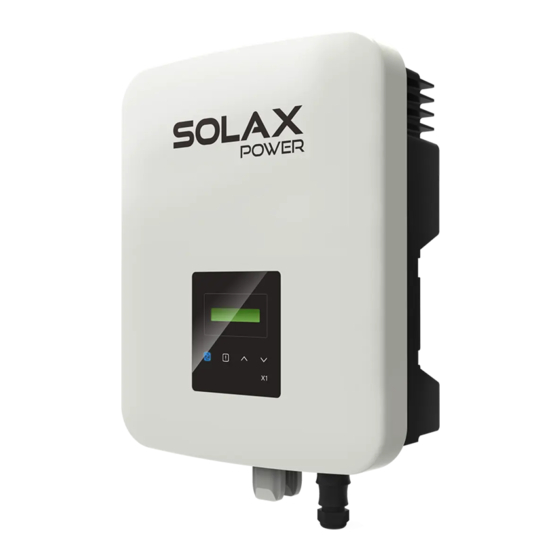
X1 Series inverter
AC connector * 1
(with bracket)* 1
X1 Series User Manual
3.0kW - 6.0kW
Copyright Declaration
Any corporation or individual should not plagiarize, partitially or fully copy (including
The copyright of this manual belongs to Solax Power Network Technology(Zhe jiang) Co,. Ltd.
software,etc.), and no reproduction or distribution of it in any form or by any means. All rights
interpretation.
reserved. SolaX Power Network Technology (Zhe jiang) Co.,Ltd. reserves the right of nal
Positive DC pin contact * 2
Negative DC pin contact * 2
User manual * 1
Pocket Wi-Fi,
Earth terminal*1
Pocket LAN/GPRS(optional) *1
PH1 cross screwdriver, torque: 0.8±0.1 N·m
- Tighten the expansion
III
Cable size: 4 mm²
strip length:
Expansion bolt*3
Flat gasket*3
Self-tapping screw*3
X1 Series 3.0KW-6.0KW
Quick installation guide * 1
×
Inverter Installation
II
- Unscrew the bracket from the back of the inverter.
- And mark the position(223 mm*30 mm) of three holes.
bolt
s.
- Screw the expansion screws.
PV Connection
7.0 mm
positive DC
pin contact
negative DC
pin contact
cable
clamp contact
+
-
+
-
PV array
- Drill holes with φ10 drill.
- Depth: at least 60 mm.
- Match the inverter with the bracket.
- Screw the cross recessed screw on the right side.
- make sure available space
torque: 0.8±0.1 N·m
300 mm
300 mm
300 mm
300 mm
300 mm
-Align the four halves connectors.
male plug
female plug
nut
tight nut
+
Note!
+
PV1
-
The PV connection
mode as the diagram
+
PV2
shown is not allowed!
-
-
Inverter
Advertisement
Table of Contents

Related Manuals for Solax X1 Series


Summary of Contents for Solax X1 Series
- Page 1 X1 Series 3.0KW-6.0KW Copyright Declaration The copyright of this manual belongs to Solax Power Network Technology(Zhe jiang) Co,. Ltd. Any corporation or individual should not plagiarize, partitially or fully copy (including software,etc.), and no reproduction or distribution of it in any form or by any means. All rights reserved.
- Page 2 X1-5.0/5.5/6K Model 3.3 3.6K L,N cable(mm²) Inverter+BMU Please contact SolaX service to get the latest firmware. Then add a new folder named "Update" in the root directory on your U-disk, and PE cable(mm²) 2.5-6 2.5-6 2.5-6 two more sub-folders named "ARM" and "DSP" under "Update". Please copy the firmware files into ARM and DSP respectively. It will be 5.Connect the AC plug to the inverter.
Need help?
Do you have a question about the X1 Series and is the answer not in the manual?
Questions and answers