Advertisement
Quick Links
Advertisement

Related Manuals for AUDAC VIRO5


Summary of Contents for AUDAC VIRO5
- Page 1 User manual VIRO5 audac.eu...
- Page 2 This manual is put together with much care, and is as complete as could be on the publication date. However, updates on the specifications, functionality or software may have occurred since publication. To obtain the latest version of both manual and software, please visit the Audac website @ www.audac.eu. VIRO5 - User manual...
- Page 3 Connecting VIROs � � � � � � � � � � � � � � � � � � � � � � � � � � � � � � � � � � � � � � � � � � � � � � � � � � � � � � � � � � � � � � � 010 Technical specifications VIRO5 - User manual...
- Page 4 VIRO5 - User manual...
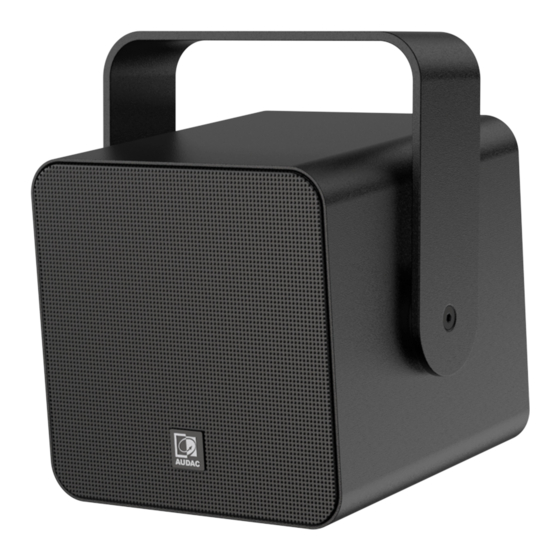
- Page 5 The combination of the cloth, sealing rubbers and drainage holes on the bottom of the speaker make it IP55 compliant. The VIRO loudspeaker is available in Black (/B) or White (/W). VIRO5 - User manual...
- Page 6 PLACE THE UNIT ON A STABLE BASE OR MOUNT IT IN A STABLE RACK ONLY USE ATTACHMENTS & ACCESSORIES SPECIFIED BY THE MANUFACTURER UNPLUG THIS APPARATUS DURING LIGHTNING STORMS OR WHEN UNUSED FOR LONG PERIODS OF TIME USE THE APPARATUS ONLY IN MODERATE CLIMATES VIRO5 - User manual...
- Page 7 Chapter 1 Connections and connectors CONNECTION STANDARDS The in- and output connections for AUDAC audio equipment are performed according to international wiring standards for professional audio equipment 4-Pin Terminal block: For signal input and output linking connections...
- Page 8 2) Drop safety bushing the drainage holes. The VIRO5 has a M6 safety bushing. This provides the Install VIRO at a minimum down tilt of 5°. Standing water is option of mounting drop safety wires. Please check your avoided trough this installation.
- Page 9 The correct polarity is indicated above the connector. Make sure that the polarity is correct throughout the system. VIRO5 - User manual...
- Page 10 Connect the amplifier to the far left +/- of the 4-pin terminal block. The right-hand +/- at the terminal block is the connection to the next VIRO. If the optional transformer module is installed, the linktrough must be done at the primary side of the transformer. VIRO5 - User manual...
- Page 11 Black (RAL9004) VIRO5/B & VIRO5D/B Dimensions (w x h x d) 198 x 235 x 191 mm Weight 4.2 Kg Optional accessories 70-100V transformer module TRV106 SpeakON connection plate CVS102 Ground pin MBK523/G Pole mount MBK530 VIRO5 - User manual...
- Page 12 Discover more on audac.eu...
Need help?
Do you have a question about the VIRO5 and is the answer not in the manual?
Questions and answers