Advertisement
Quick Links
PREVIOUS DOCUMENT
START
FOOD WASTES
upadated may 2007
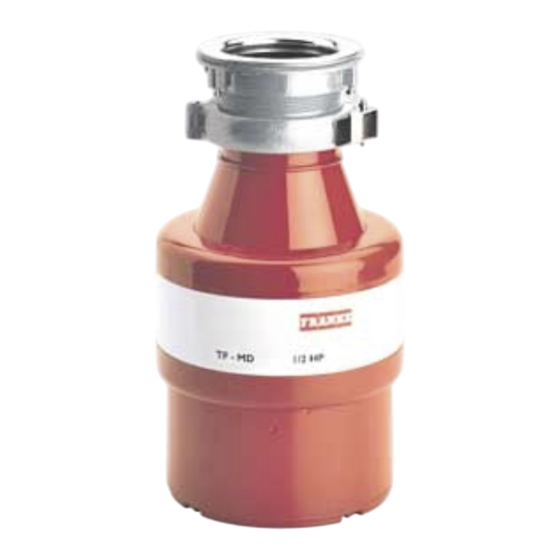
DISPOSER TF LO , DS LO, DS MD ,TF MD, TF UP,
SPARE PARTS -EXPLODED VIEW
PNEUMATIC KIT FOR DISPOSER
RADIO CONTROL for DISPOSER
page 2
page 5
page 6
pag
16
pag
17
DS UP
PAG 13
1
Advertisement


Need help?
Do you have a question about the TF LO and is the answer not in the manual?
Questions and answers