Table of Contents
Advertisement
Quick Links
Imported by Amart Furniture Pty Ltd, Qld, Brisbane Australia.
For any assistance with assembly or for missing parts please phone
Amart Furniture, Customer Service Free call 1800 351 084
ASSEMBLY INSTRUCTION
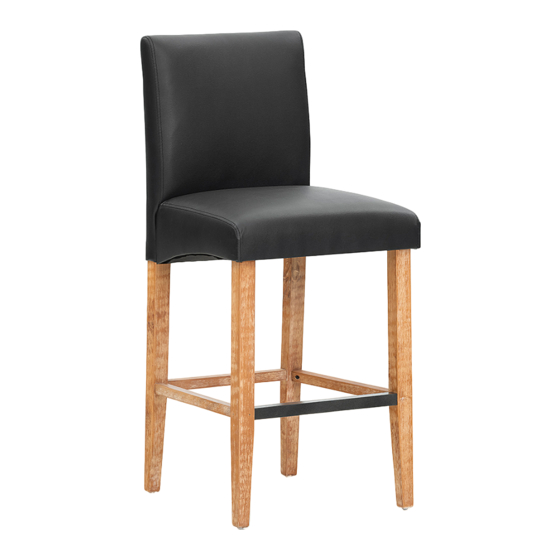
SILVERWOOD MK2 STOOL
ITEM CODE 67407
Imported by Amart Furniture Pty Ltd, Qld, Brisbane Australia.
For any assistance with assembly or for missing parts please
phone Amart Furniture.
Customer Service Free call 1800 351 084
1
ITEM CODE 67407
Advertisement
Table of Contents

Subscribe to Our Youtube Channel
Related Manuals for Amart Furniture SILVERWOOD MK2 67407


Summary of Contents for Amart Furniture SILVERWOOD MK2 67407
- Page 1 ASSEMBLY INSTRUCTION SILVERWOOD MK2 STOOL ITEM CODE 67407 Imported by Amart Furniture Pty Ltd, Qld, Brisbane Australia. For any assistance with assembly or for missing parts please phone Amart Furniture. Customer Service Free call 1800 351 084 Imported by Amart Furniture Pty Ltd, Qld, Brisbane Australia. For any assistance with assembly or for missing parts please phone Amart Furniture, Customer Service Free call 1800 351 084 ITEM CODE 67407...
-
Page 2: Pre-Assembly Preparation
PRE-ASSEMBLY PREPARATION Before you start: 1.Choose a clean, level, spacious assembly area. Avoid hard surfaces that may damage the product 2.Take care when lifting. Product should be assembled as near as possible to the point of use 3.Ensure that you have all required contents for complete assembly 4.Always read the assembly instructions carefully before beginning assembly. -
Page 3: Parts List
PARTS LIST BACK FRAME SEAT FRONT LEG(LEFT) FRONT LEG(RIGHT) FRONT STRECHER SIDE STRECHER(LEFT) SIDE STRECHER(RIGHT) ITEM CODE 67407... -
Page 4: Hardware List
HARDWARE LIST STEP 1 Connect the 2 front legs(3)&(4)with the front stretcher(5) using • screws(G) ITEM CODE 67407... - Page 5 STEP 2 Locate the corners of the seat(2) opposite to the center • hole. Insert the front legs(3)&(4) into the corners of the box seat(2). Assemble bolts(B), lock washers(F) and flat washers (E) through each corner block of the seat(2), using Allen Key (D). Do not fully tighten all the bolts at this point. • Insert the side stretchers(6)&(7)into the wholes of the front legs • and connect with screws (G). Note the distinction between left and right ITEM CODE 67407...
- Page 6 STEP 3 Place the seat(2) on the back frame(1). Insert the side • stretchers(6)&(7) into the wholes of the back frame(1) and connect with screws(G). Assemble the bolts(A), lock washers(F) and flat washers(E)on to the back frame(1), using Allen Key(D). Do not fully tighten all the bolts at this point. ITEM CODE 67407...
- Page 7 STEP 4 Assemble bolts(C), lock washers(F) and flat washers(E) through each • corner block of the seat(2) to the back frame(1). Do not fully tighten all the bolts at this point. • ITEM CODE 67407...
- Page 8 STEP 5 Carefully turn the chair over, and put the chair on the floor. Tighten • each loose bolt a little at a time while marking sure the chair remain level. Repeat until all loose bolts are tight. • ASSEMBLY IS COMPLETE ITEM CODE 67407...
-
Page 9: Regular Care
Care and maintenance REGULAR CARE: • Protect from direct sunlight • Vacuum regularly using low suction • Rotate reversible cushions regularly CLEANING: • Do not remove cushion covers for separate cleaning even though they may have zippers • Do not wash , Do not dry clean , Do not shampoo clean •...
Need help?
Do you have a question about the SILVERWOOD MK2 67407 and is the answer not in the manual?
Questions and answers