Advertisement
Quick Links
ASSEMBLY & PRODUCT CARE
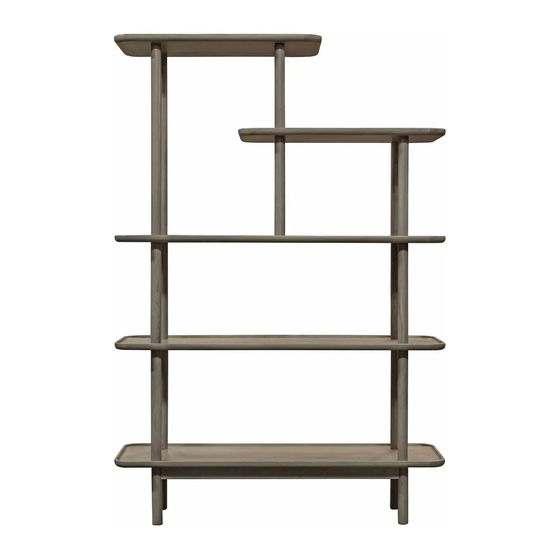
OPEN DISPLAY
5059413122835
Thank you for purchasing this PRODUCT. Please read the instructions carefully before use to
ensure safe and satisfactory operation of this product.
Pre-assembly preparation
Please ensure instructions are read in full before attempting to assemble this product
You will need
Allen key
Please check the pack contents before attempting to assemble this product. A full checklist of
components is given in this leaflet. If any components are missing, please contact the retailer
from whom you bought this product.
This product is HEAVY, it should be assembled as near as possible to the point of use. TAKE
CARE WHEN LIFTING to avoid personal injury and (or) damage to the product.
This product takes approximately 10 MINUTES to assemble with 2 PEOPLE.
The fittings pack contains SMALL ITEMS which should be KEPT AWAY FROM YOUNG
CHILDREN.
Read this leaflet in full before commencing assembly.
1
Advertisement

Related Manuals for Cult 5059413122835


Summary of Contents for Cult 5059413122835
- Page 1 ASSEMBLY & PRODUCT CARE OPEN DISPLAY 5059413122835 Thank you for purchasing this PRODUCT. Please read the instructions carefully before use to ensure safe and satisfactory operation of this product. Pre-assembly preparation Please ensure instructions are read in full before attempting to assemble this product...
-
Page 2: Parts Checklist
Parts checklist Part Description Shelf 1 Shelf 2 Shelf 3 Shelf 4 Shelf 5... - Page 3 Leg 1 Leg 2 Leg 3 Leg 4 Leg 5 Leg 6...
- Page 4 Fittings checklist Fixing Description Bolt M6 x 35 Bolt M6x60 Flat Washer M6 Lock Washer M6 Allen key Wall plate Wall strap...
- Page 5 Step by step assembly instructions Step One Attach leg 1 (6) & leg 2 (7) on to shelf (1) IMPORTANT: Hand tighten only to avoid damage to the legs. Step Two Attach leg 2 (7) & leg 3 (8) on to shelf (2) IMPORTANT: Hand tighten only to avoid damage to the legs.
- Page 6 Step Three Attach leg 3 (8) on to shelf (3) use both (A) and allen key (E) at mid per-drill hole. IMPORTANT: Hand tighten only to avoid damage to the legs. Step Four Attach leg 5 (10) on to shelf (4) IMPORTANT: Hand tighten only to avoid damage to the legs.
- Page 7 Step Five Attach shelf (5) on to leg (5) use both (A) and allen key (E) IMPORTANT: Hand tighten only to avoid damage to the legs.
- Page 8 Step Six Attach leg 6 (11) at per-drill hole onto shelf (5) using Both (B) and Flat Washer (C) Clock Washer (D) Allen key (E) as show in figure. IMPORTANT: Hand tighten only to avoid damage to the legs.
- Page 9 Finish. IMPORTANT: PLEASE NOTE WHEN LIFTING OR MOVING THE TABLE ALWAYS DO SO FROM THE UNDER FRAME AND NOT THE TABLE TOP...
-
Page 10: Safety Instructions
Safety Instructions Never drag furniture when moving it, always lift it. When lifting or moving a table always do so from under frame and not the table top. Periodically check all fixings to ensure none have come loose and re-tighten where necessary. Please take care when handling or moving the furniture as careless handling may cause damage or injury. - Page 11 Our furniture will endure most temperatures in the home but it is best to avoid placing furniture next to heat sources such as radiators or fires. Be particularly careful with solid wood as the lack of humidity caused by central heating can cause damage such as warping. How to care for Painted Wood furniture Hand painted brush stroke finish's will hold up to everyday wear and tear quite nicely.
- Page 12 Cleaning your metal furniture is very simple. Use a soft cotton cloth and clean with mild detergent or water, using a towel immediately dry the furniture afterwards. Metal furniture is usually damaged due to rust, as a precaution a soft wax after cleaning will help seal it.
- Page 13 We recommend you attach this anti tip-kit to your piece of furniture. Securing your furniture to the wall with this kit could prevent injury/property damage from unexpected tipping furniture. To secure Furniture Cabinet to wall...
- Page 14 1. Choose and mark location of fixing onto the wall, should be approximately 10mm below the top of the furniture surface . 2. Screw the strap provided onto the wall at located position. (Screw not included) seek professional advice in unsure of wall construction. 3.
Need help?
Do you have a question about the 5059413122835 and is the answer not in the manual?
Questions and answers