Advertisement
Quick Links
Advertisement

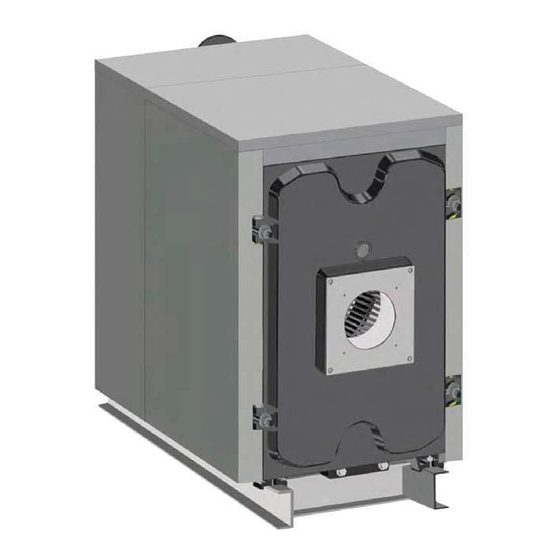
Summary of Contents for Riello RTT 76
- Page 1 RTT 76-145 EN ASSEMBLY MANUAL...
- Page 2 RANGE Dear client, Thank you for choosing a Riello boiler, a modern and high qua- lity product, providing you with the utmost well-being and with MODEL CODE a high level of reliability and safety; and this is particularly the case if entrusted to a Riello Technical Assistance Centre which is...
- Page 3 1.1 INSTALLATION SPECIFICATIONS OF RTT CAST IRON BOILERS This installation manual is for certified and authorised installers and technical assistance personnel, operating domestically and abroad. The manual has the purpose that the cast iron boiler is installed correctly. Make sure that the room where the installation will occur is suitable for the minimum dimensions set out in the bur- ner's instruction booklet and that the base on which the boiler will sit is adequate for its weight and dimensions.
- Page 4 • If you do not have one, create a base suitable for the weight • Clean the housings of the fittings of the rear element and and size of the boiler it needs to support, respecting the put the sealing coating on them (in orange) to improve their provisions and the dimensions indicated in the technical seal.
- Page 5 • Depending on the boiler model (number of intermediate • The last two intermediate elements are marked by the elements), the assembly operations described will have to numbers 3, 2 and they should all be assembled in the same be repeated for each of the unnumbered intermediate ele- direction, which is shown.
- Page 6 Fill the boiler with water and carry out a hydraulic test at a pressure lower than 9 bar. Boiler model RTT 76 RTT 93 RTT 110 RTT 128 RTT 145 • Apply Blakite between the elements to fill the empty spaces.
- Page 7 • For each RTT boiler there are 2 retarder diffuser disc holder • When the burner door has been fitted, the assembly of the assemblies in the third passage of the boiler flue gases. boiler body is finished. • The diffuser disc holder assemblies should be fixed before the installation of the burner door, and are fixed using spe- cial pins to prevent them sliding inside.
- Page 8 • Once the insulation has been applied, you can proceed with • Insert 8 M8 x 40 screws into the assembly holes of the panels the assembly of the casing. of the casing on the front element and on the rear element. •...
- Page 9 • With the installation of the rear panel, the assembly of the casing is complete. • Fit the top panel into the slots of the casing by inserting the four pins into the corresponding holes on the side panels. • Once the assembly of the body, the control unit and the ca- sing is finished, the boiler is ready for the installation of the burner and the connections to the system and to the flue...
- Page 12 RIELLO S.p.A. 37045 Legnago (VR) Tel. 0442630111 - Fax 044222378 - www.riello.it As part of the company’s ongoing commitment to perfecting its range of products, the appearance, dimensions, technical data, equipment and accessories may be subject to variation.


Need help?
Do you have a question about the RTT 76 and is the answer not in the manual?
Questions and answers