Advertisement
Quick Links
Advertisement

Related Manuals for Riello RTT 163


Summary of Contents for Riello RTT 163
- Page 1 RTT 163-355 EN ASSEMBLY MANUAL...
- Page 2 Thank you once again RTT 355 20091309 Riello S.p.A. ACCESSORIES CONFORMITY For the RTT 163-355 r boilers the following accessories are avai- TheRTT 163-355 r boilers comply with: lable: − 2009/142/EC (ex 90/396/EEC-Gas Directive) − 92/42/EEC (Efficiency Directive) Two stage kit – 4031067 −...
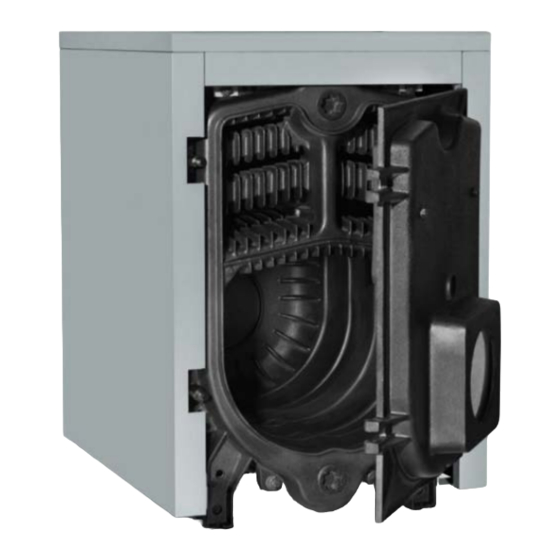
- Page 3 1.1 INSTALLATION SPECIFICATIONS OF RTT CAST IRON BOILERS This installation manual is for certified and authorised installers and technical assistance personnel, operating domestically and abroad. The manual has the purpose that the cast iron boiler is installed correctly. Make sure that the room where the installation will occur is suitable for the minimum dimensions set out in the bur- ner's instruction booklet and that the base on which the boiler will sit is adequate for its weight and dimensions.
- Page 4 • If you do not have one, create a base suitable for the weight • Clean the housings of the fittings of the rear element and and size of the boiler it needs to support, respecting the put the sealing coating on them (in orange) to improve their provisions and the dimensions indicated in the technical seal.
- Page 5 • Pass the tie-rods (M10 x 200) into the assembly holes of the • Depending on the boiler model (number of intermediate rear element and the intermediate element. elements), the assembly operations described will have to • Using an M10 wrench, tighten the nuts at the ends of the be repeated for each of the unnumbered intermediate ele- pins to bring the elements closer and in contact.
- Page 6 • The size of the flue gas pipe varies according to the following table: Tightening torque: 7 kg·m Boiler model Flue gas pipe dimensions RTT 163 RTT 195 RTT 227 RTT 259 RTT 291 RTT 323 RTT 355 Assembling the flanges: •...
- Page 7 Third pass Boiler model Second pass • The installation of the casing will begin after finishing the Lower Upper assembly of the body. RTT 163 2 large 2 medium 2 small RTT 195 2 large 2 medium 2 small RTT 227...
- Page 8 • First of all, fix the casing's assembly bracket to the front and • For the assembly of the two shelves, use the holes in the rear feet of the boiler. front element and on the rear element of the boiler body, as shown in the figure.
- Page 9 • After installing the side walls, connect the control panel on the top front wall of the casing. • Fit the top panel into the slots of the casing by inserting the four pins into the corresponding holes on the side panels. •...
- Page 10 • After fitting the top and side panels of the casing, proceed • Once the assembly of the body, the control unit and the ca- to install the rear insulating panel. sing is finished, the boiler is ready for the installation of the •...
- Page 12 RIELLO S.p.A. 37045 Legnago (VR) Tel. 0442630111 - Fax 044222378 - www.riello.it As part of the company’s ongoing commitment to perfecting its range of products, the appearance, dimensions, technical data, equipment and accessories may be subject to variation.
Need help?
Do you have a question about the RTT 163 and is the answer not in the manual?
Questions and answers