Advertisement
Quick Links
Advertisement

Related Manuals for Amart Furniture FILLMORE 61351


Summary of Contents for Amart Furniture FILLMORE 61351
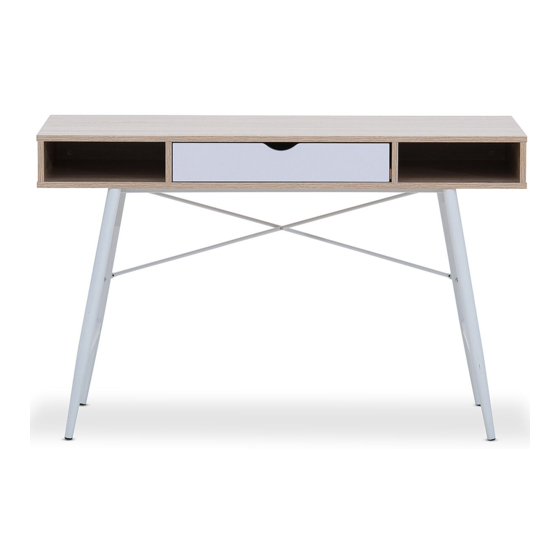
- Page 1 FILLMORE DESK GY/WT 61351 1-10 61351...
-
Page 2: Pre-Assembly Preparation
PRE-ASSEMBLY PREPARATION BEFORE YOU START: 1. Choose a clean, level, spacious assembly area. Avoid hard surfaces that may damage the product 2. Take care when lifting. Product should be assembled as near as possible to the point of use 3 . E n s u r e t h a t y o u h a v e a l l r e q u i r e d c o n t e n t s f o r c o m p l e t e a s s e m b l y 4 . - Page 3 STEP 1 Assemble metal tube (15) to left metal frame (13) and right metal frame (14) using (B1). STEP 2 Assemble metal tube (16) to left metal frame (13) and right metal frame (14) using (B1). Then connect metal tube (15) to left metal frame (13) and right metal frame (14) using bolt (G) and nut (H).
-
Page 4: Parts List
PARTS LIST Top panel Drawer Left Panel Bottom Panel Drawer Right Panel Back Panel Drawer Back Panel Bottom Drawer Panel Left Side Panel Right Side Panel Left Metal Frame Left iddle Panel Right Metal Frame Metal Tube Right iddle Panel Front Drawer Panel Metal Tube M6X30mm... - Page 5 STEP 4 Assemble back panel (3) to left side panel (4) and right side panel (5) using bolt (A). STEP 5 Assemble back panel (3),left side panel ( 4),right side panel (5),left middle panel ( 6) , right middle panel ( 7) to bottom panel (2) using screw ( F)and bolt ( G). STEP 6 Assemble back panel (3),left side panel (4),right side panel (5) ,left middle panel ( 6) , right middle panel ( 7) to top panel ( 1) using bolt (A)and screw (F).
- Page 6 STEP 7 Assemble bottom panel ( 2) to left metal frame (13) and rightmetl frame ( 14) and metal tube ( 15) using bolt (B2) and screw (D). STEP 8 Assemble drawer back panel (11)to drawer left panel (9) and drawer right panel (10) using screw (F).
- Page 7 STEP 10 Assemble drawer runner (E2) to drawer left panel (9) and drawer right panel (10) using screw (C). STEP 11 Insert drawer (8). STEP 12 Assemble is completely 7-10 61351...
- Page 8 STEP 13 Insert wall nut (L) to the wall,assemble metal (M) to top panel (1) using screw (C),then connect metal (M) and wall nut (L) using screw (K). 61351 8-10...
- Page 9 SAFETY BRACKETS INSTRUCTIONS Attach one Mounting Plate to the wall with the Large Screws. Make sure to attach the Mounting Plate into a stud. If mounting into brick or masonry you will need to acquire wall anchors. Attach the second Mounting Plate to the furniture frame with the Short Screws. Move the furniture to its final position.
-
Page 10: Care And Maintenance
CARE AND MAINTENANCE A multi-step finish is applied to all of our furniture, but all wood comes from nature. Because of this, there will be natural variations in surface texture and grain like knots, mineral streaks and sap runs that may affect the finish. These differences in characterare not defects, but distinctions that make each piece of furniture unique.
Need help?
Do you have a question about the FILLMORE 61351 and is the answer not in the manual?
Questions and answers