Advertisement
Table of Contents
Advertisement
Table of Contents

Subscribe to Our Youtube Channel
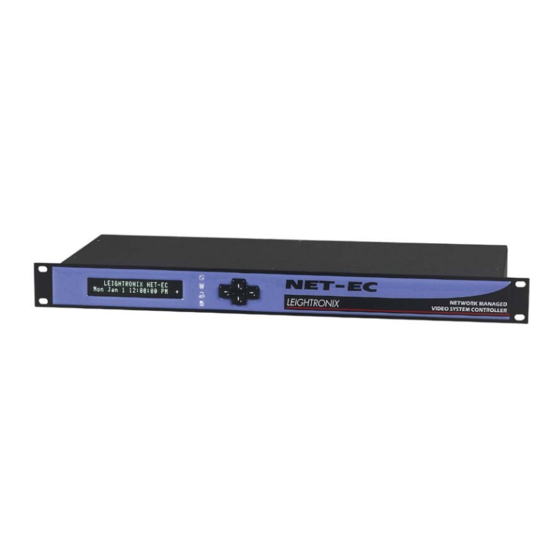
Summary of Contents for Leightronix NET-EC
- Page 2 © 2004 LEIGHTRONIX, INC. All rights reserved. This information is subject to change without notice. MINI-T-NET, NET-EC, NET-EC, and WinNET are trademarks of: LEIGHTRONIX, INC. 2330 Jarco Drive Holt, MI 48842 Ph: (517) 694-8000 or 1-800-243-5589 Fax: (517) 694-1600 www.LEIGHTRONIX.com E-mail: support@LEIGHTRONIX.com...
-
Page 3: Table Of Contents
TABLE OF CONTENTS INTRODUCTION ..........................2 OVERVIEW OF NET-EC WIRING CONNECTIONS................3 SIGNAL WIRING AND PRO-BUS INSTALLATION INSTRUCTIONS ..........4 ETHERNET NETWORK CONFIGURATION INSTRUCTIONS ............5 NET SERIES: SELECTED FRONT PANEL SETTINGS ..............6 Front Panel Password............................... 6 TCP/IP Configuration ................................ 6 2007-09-10 Page 1 of 7... -
Page 4: Introduction
INTRODUCTION The purpose of this quick guide is to provide the basic steps for the following: • Connecting signal wiring and PRO-BUS interfaces to NET-EC and switcher • Configuring the NET-EC for Ethernet network access For more detailed instructions, refer to the NET Series Manual. -
Page 5: Overview Of Net-Ec Wiring Connections
OVERVIEW OF NET-EC WIRING CONNECTIONS The drawing below shows a sample connection scenario for the NET-EC. The NET-EC controls a video system through an external routing switcher (32 inputs by 32 outputs maximum). Video and audio sources (VCRs, DVD players, satellite or studio feeds, character generator, etc.) are connected to the external switcher inputs, while the switcher outputs are connected to the desired destination equipment (such as modulators). -
Page 6: Signal Wiring And Pro-Bus Installation Instructions
SIGNAL WIRING AND PRO-BUS INSTALLATION INSTRUCTIONS NOTE: Refer to “Illustration 1, NET-EC Typical Playback System Diagram” in the “Overview of NET-EC Wiring Connections” section of this quick guide and the illustrations on this page. Start Rear View of NET-EC Connect switcher (A) -
Page 7: Ethernet Network Configuration Instructions
ETHERNET NETWORK CONFIGURATION INSTRUCTIONS 2007-09-10 Page 5 of 7... -
Page 8: Net Series: Selected Front Panel Settings
NET SERIES: SELECTED FRONT PANEL SETTINGS ACTION STEPS CORRESPONDING SCREEN DISPLAY 1. From any status screen, press “→” to Front Panel Password display password entry screen. • Enter password to access event controller and display “MAIN MENU.” 2. Press “→” 5 times to enter the factory- Use arrow keys to enter default password and display the Password:*****... - Page 9 ACTION STEPS CORRESPONDING SCREEN DISPLAY 11. Either press “→” again to save your Press ~ to confirm changes or “←” to abort changes. Subnet Mask. 12. Press “↑” to proceed to “Edit Gateway IP CONFIG MENU Use `/ˆ Address.” Edit Subnet Mask 13.


Need help?
Do you have a question about the NET-EC and is the answer not in the manual?
Questions and answers