Advertisement
Table of Contents
Advertisement
Table of Contents

Subscribe to Our Youtube Channel
Related Manuals for Leightronix MINI-T-NET


Summary of Contents for Leightronix MINI-T-NET
- Page 2 © 2004 LEIGHTRONIX, INC. All rights reserved. This information is subject to change without notice. MINI-T-NET, NET-164, NET-EC, and WinNET are trademarks of: LEIGHTRONIX, INC. 2330 Jarco Drive Holt, MI 48842 Ph: (517) 694-8000 or 1-800-243-5589, Fax: (517) 694-1600 www.LEIGHTRONIX.com E-mail: support@LEIGHTRONIX.com...
-
Page 3: Table Of Contents
TABLE OF CONTENTS INTRODUCTION ..........................2 OVERVIEW OF MINI-T-NET WIRING CONNECTIONS...............3 SIGNAL WIRING AND PRO-BUS INSTALLATION INSTRUCTIONS ..........4 ETHERNET NETWORK CONFIGURATION INSTRUCTIONS ............5 NET SERIES: SELECTED FRONT PANEL SETTINGS ..............6 Front Panel Password............................... 6 TCP/IP Configuration ................................ 6 2007-09-10 Page 1 of 7... -
Page 4: Introduction
INTRODUCTION The purpose of this quick guide is to provide the basic steps for the following: • Connecting the signal wiring and PRO-BUS interfaces to the MINI-T-NET • Configuring the controller for Ethernet network access For more detailed instructions, refer to the NET Series Manual. -
Page 5: Overview Of Mini-T-Net Wiring Connections
PRO-BUS interface to the Event Controller. Input 8 on the MINI-T-NET is the designated fallback input. This means that if valid video is lost on the output and a fallback time has been set, the MINI-T-NET will switch to input 8 when video has been absent for the entered time. -
Page 6: Signal Wiring And Pro-Bus Installation Instructions
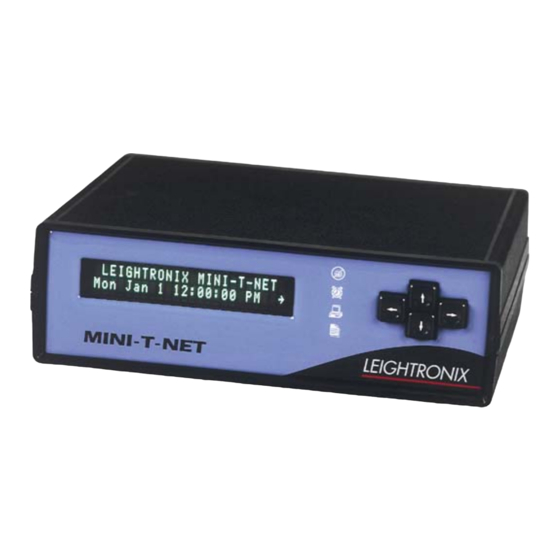
SIGNAL WIRING AND PRO-BUS INSTALLATION INSTRUCTIONS NOTE: Refer to “Illustration 1, MINI-T-NET Typical Playback System Diagram,” in the “Overview of MINI-T-NET Wiring Connections” section of this quick guide and the illustrations on this page. Start Rear View of MINI-T-NET Connect the following to your MINI-T-NET: ●... -
Page 7: Ethernet Network Configuration Instructions
ETHERNET NETWORK CONFIGURATION INSTRUCTIONS 2007-09-10 Page 5 of 7... -
Page 8: Net Series: Selected Front Panel Settings
NET SERIES: SELECTED FRONT PANEL SETTINGS ACTION STEPS CORRESPONDING SCREEN DISPLAY 1. From any status screen, press “→” to Front Panel Password display password entry screen. • Enter password to access event controller and display “MAIN MENU.” 2. Press “→” 5 times to enter the factory- Use arrow keys to enter default password and display the Password:*****... - Page 9 ACTION STEPS CORRESPONDING SCREEN DISPLAY 11. Either press “→” again to save your Press ~ to confirm changes or “←” to abort changes. Subnet Mask. 12. Press “↑” to proceed to “Edit Gateway IP CONFIG MENU Use `/ˆ Address.” Edit Subnet Mask 13.
Need help?
Do you have a question about the MINI-T-NET and is the answer not in the manual?
Questions and answers