Advertisement
Quick Links
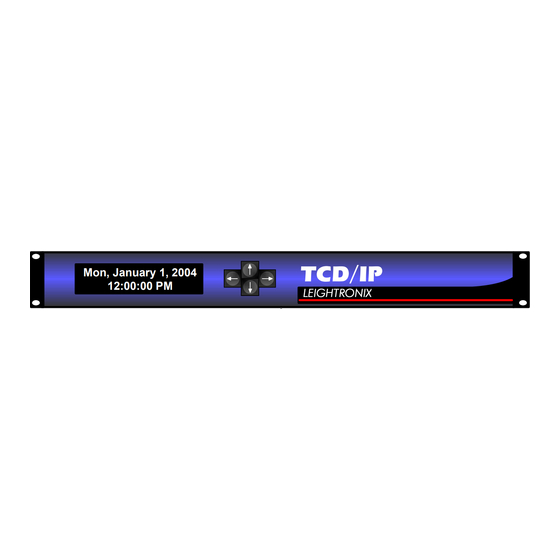
LEIGHTRONIX, INC.
CONTROL PRODUCTS
2005-08-18
NOTES
Refer to the TCD/IP Manual for more detailed instructions.
Refer to the labeled "TCD/IP Rear Panel" illustration below while installing your TCD/IP.
START
Rack mount your TCD/IP, ensuring
the ventilation holes on the side of the
unit are not covered.
Connect the signal wiring to your TCD/IP's
rear panel, using the "Descriptions of
TCD/IP Rear Panel Components" box on
the right as a guide.
Attach the included power cord to the power
supply connecter on the rear panel of the TCD/IP
(L), and then plug it into an AC power source.
LEIGHTRONIX strongly recommends the
use of an Uninterruptable Power Supply
(UPS) with the TCD/IP. Damage from power
CAUTION
loss or spikes is not covered under warranty.
Use the power switch to
turn on the TCD/IP.
J
A
B
A
GPI Inputs: connect up to three contact closure and/or TTL GPI sources
B
GPI Outputs: connect up to three devices that accept GPI contact closure sources
C
"COM 1" and "COM 2": if using, connect a LEIGHTRONIX-supported external time
source and/or tone decoder
D
"PLUS-BUS" Port: attach up to 16 PLUS-BUS device interfaces in a daisy chain to
the PLUS-BUS port and connect each interface to the corresponding devices (see
PLUS-BUS Manuals for more information).
E
"PRO-BUS" Ports 1-4: attach up to 16 PRO-BUS device interfaces in a daisy chain
to each PRO-BUS port and connect each interface to the corresponding VCRs and/
or DVD players. Perform the following steps (see PRO-BUS Manuals for more
information):
1. Set each PRO-BUS interface's dip switches to assign each interface an
address #. Number the interfaces consecutively, starting with "01" at the
interface connected to the TCD/IP.
2. Set control mode dip switches on each interface.
3. If possible, ensure each device's switcher input numbers correspond to its
PRO-BUS address #.
4. Document your PRO-BUS/device setup.
DEVICE: any resource controlled by PLUS-BUS or PRO-BUS interface
GPI: General Purpose Interface; contact closure with two states—"ON" or "OFF"
LED: Light Emitting Diode
NTSC: National TV Standards Committee; federally regulated U.S. TV transmission standard
VGA: Video Graphics Array; graphics display system for PCs
TCD/IP REAR PANEL
K
C
D
E
DESCRIPTIONS OF TCD/IP REAR PANEL COMPONENTS
F
Ethernet Port: connect a straight-through or cross-over cable (see page 2 of this
document)
G
Alarm Output: if using, connect a pager dialer or other contact closure warning
device
H
Power Switch
I
Power Cord Connector
J
VGA Port: if using, connect an NTSC scan converter per the following steps:
1. Connect supplied VGA cable to the VGA port on the TCD/IP and the scan
converter's input.
2. Connect an output on the scan converter to a free input on your external
switcher.
K
"COM 3": connect up to a 250x250, LEIGHTRONIX-supported external switcher
TCD/IP INSTALLATION QUICK GUIDE
DEFINITIONS
I
F
G
H
Continue steps on
page 2 of this document.
TCD/IP
PAGE 1
PAG
E 1
Advertisement

Related Manuals for Leightronix TCD/IP


Summary of Contents for Leightronix TCD/IP
- Page 1 PLUS-BUS Manuals for more information). CAUTION 1. Connect supplied VGA cable to the VGA port on the TCD/IP and the scan loss or spikes is not covered under warranty. “PRO-BUS” Ports 1-4: attach up to 16 PRO-BUS device interfaces in a daisy chain converter’s input.
- Page 2 2. Enter each address into its corresponding entry screen: IP address: “Edit unit IP Address” screen 5. Ensure the TCD/IP and PC have been properly configured for Ethernet network access by checking to see that Subnet mask address: “Edit unit Subnet Mask” screen the yellow LED above the Ethernet port is on.
Need help?
Do you have a question about the TCD/IP and is the answer not in the manual?
Questions and answers