Advertisement
Owner/Operator Manual – Livret de l'opérateur/du propriétaire –
Betriebsanleitung – Manuale del proprietario/operatore –
Käyttöohjekirja – Manual del propietario/operador – Brukerhåndbok –
Instruktionsbok – Руководство владельца/пользователя – Instrukcja
Obslugi / Operatora – Mal Sahibi/Kullanici El Kitabi – Návod k obsluze/
pro obsluhu - Ръководство за работа за ползвателя/оператора -
Tulajdonosi/kezelői útmutató - Manualul proprietarului / operatorului -
Príručka majiteľa/obsluhy - Navodila za uporabo
ENGLISH
БЪЛГАРСКИ
ČESKY
SUOMI
FRANÇAIS
DEUTSCH
MAGYAR
ITALIANO
NORSK
POLSKI
ROMÂNĂ
РУССКИЙ ЯЗЫК
SLOVENSKY
SLOVENSKO
ESPAÑOL
SVENSKA
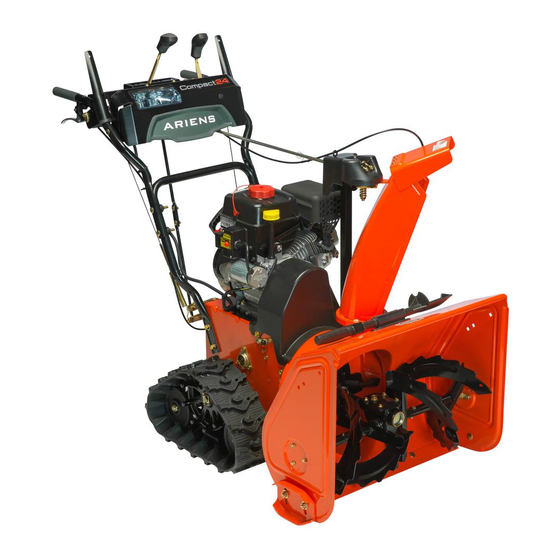
920 Series
Sno-Thro
920303 – Compact 20
920307 – Compact 24
920308 – Compact 26LE
920311 – Compact 22
920312 – Compact 24E
®
Models
04135515E 4/11
Printed in USA
Advertisement
Table of Contents


Need help?
Do you have a question about the Sno-Thro 920 Series and is the answer not in the manual?
Questions and answers