Advertisement
Quick Links
Advertisement

Related Manuals for Matt Blatt MBCESC2CSNA


Summary of Contents for Matt Blatt MBCESC2CSNA
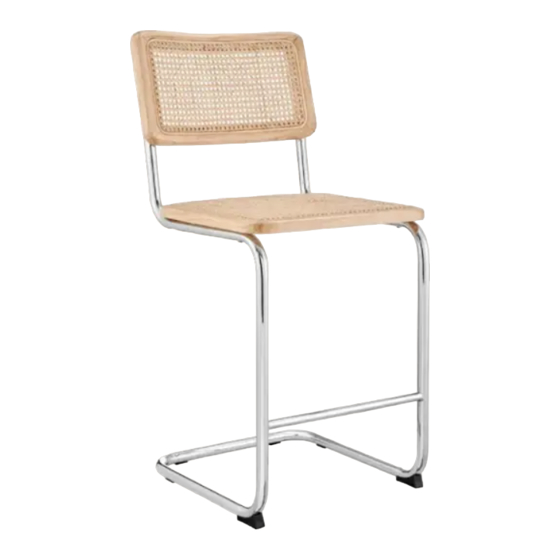
- Page 1 MARCEL BREUER CESCA STOOL REPLICA SET OF 2 COUNTER STOOL MBCESC2CSNA, MBCESC2CSBA...
-
Page 3: Safety And Warnings
SAFETY & WARNINGS Ensure to read all instructions and warnings in this user guide prior to assembly and use. Retain for future reference. • Do not use power tools to assemble these stools. They can cause damage to the components and hardware. •... - Page 4 COMPONENTS 1 Bottom frame (x1) 2 Back frame (x2) 3 Seat (x1) 4 Back (x1) Hardware A 12mm M6 screw (x4) B 35mm M6 screw (x8) C Allen key (x1)
- Page 5 ASSEMBLY Step 1: Insert the back frames (2) into the bottom frame (1). Secure the components together by inserting 12mm M6 screws (A) through the bottom frame (1). Tighten with the Allen key (C). This creates the frame assembly. 12mm M6 screw (x4) Allen key (x1)
- Page 6 Step 2: Align the holes of the seat (3) to the holes on the base of the frame assembly. Secure the seat (3) to the frame assembly by inserting 35mm M6 screws (B) through the holes. Tighten with the Allen key (C). 35mm M6 screw (x4) Allen key...
- Page 7 Step 3: Align the holes of the back (4) to the holes on the back frames (2). Secure the back (4) to the back frames (2) by inserting 35mm M6 screws (B) through the holes. Tighten with the Allen key (C). 35mm M6 screw (x4) Allen key...
- Page 8 Complete!
-
Page 9: Cleaning And Care
CLEANING & CARE This stool contains rattan. Rattan is a natural material that will respond to humidity in the environment. Low humidity may cause the rattan to shrink. High humidity may cause the rattan to absorb moisture and expand, causing the weaving to look loose and wavy. - Page 10 NOTES...
-
Page 12: Need More Information
NEED MORE INFORMATION? We hope that this user guide has given you the assistance needed for a simple set-up. For the most up-to-date guide for your product, as well as any additional assistance you may require, head online to help.mattblatt.com.au...
Need help?
Do you have a question about the MBCESC2CSNA and is the answer not in the manual?
Questions and answers