
Related Manuals for Victa 881873


Summary of Contents for Victa 881873
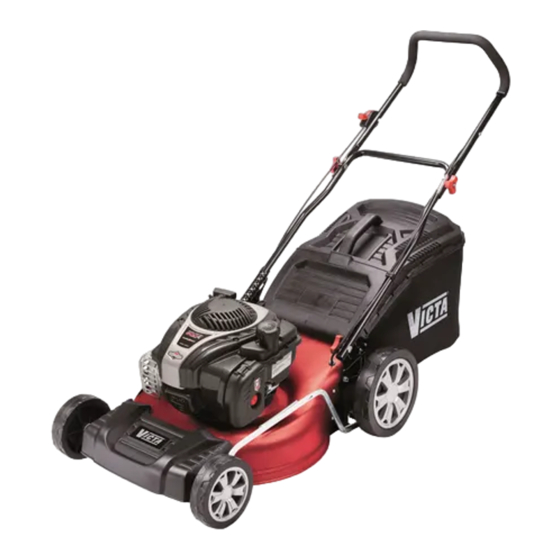
- Page 1 MODEL 881873 Lawnmower Assembly and Owner’s Manual WARNING! Read this manual before operating your Classic Cut Lawnmower.
- Page 2 IMPORTANT INFORMATION Labels The following warning labels are attached to your mower on purchase. Please read labels before discarding. 4 Stroke Label Engine must have SAE 30 Oil added to the Engine Sump before starting. Refer to the Engine Manual for oil filling information. Please use the engine's dipstick to ensure correct oil fill level.
-
Page 3: Table Of Contents
Table of Contents Important Notes Unit Details Safety & Handling Transporting the mower Before using the mower Operating the mower Maintaining the mower Refuelling the mower Hazards Personal Safety Equipment Assembly Procedures Fabric Grasscatcher Assembly Fitting the Grasscatcher Handle Knobs/Toggles Handle assembly parts Attaching the lower handles Attaching upper handle... -
Page 4: Important Notes
IMPORTANT NOTES Congratulations on your purchase of a top quality RAPID MULCHER lawnmower. This instruction manual will aid in the assembly, operation and maintenance of your new lawnmower. Please read carefully to ensure safety and the long life of your product. Do not operate the unit before reading this manual. - Page 5 Safety Instructions Transporting the mower • Turn the engine off, by moving the throttle lever to the 'STOP' position and switching the fuel tap off (where fitted). • Disconnect the spark plug lead and wedge it away from the spark plug. •...
- Page 6 Safety Instructions cont'd • Stop the engine whenever you leave the mower, even for a moment. • Mow only in good daylight. • Keep hands and feet away from rotating parts beneath mower when engine is running. • Do not over speed the engine or alter the governor settings. Excessive engine speed is dangerous and shortens mower life.
- Page 7 Hazards The following safety precautions must be strictly observed to avoid the risk of damage or personal injury. • Do not smoke while operating or refuelling the mower. Never add fuel or remove the fuel cap while the engine is running or hot. If fuel is spilt, do not start the engine. Move the mower away from the area of the spill.
-
Page 8: Assembly Procedures
ASSEMBLY PROCEDURES Grasscatcher - fabric Type Grasscatcher - fabric type Your hard topped fabric catcher comes fully assembled. Grasscatcher Clip edge A to frame. Fitting the Grasscatcher • Stop the engine. • Raise the rear flap and hook the grass catcher on the bar at the rear of the mower as shown in the above figure. -
Page 9: Handle Knobs/Toggles
ASSEMBLY PROCEDURES Handle Knobs/Toggles Mowers will have knobs to fix the handles in position. Refer to the instructions below to assemble the upper handles. • Tighten the handle knobs to secure the upper handle to the lower handle. • Flip the handle toggles to secure the upper handle to the lower handle. -
Page 10: Attaching Upper Handle
ASSEMBLY PROCEDURES Attaching upper handle Attach the upper handle Upper handle to the lower handles using the knobs and bolts provided. The knobs should Knob be on the outside. Lower handle Bolt Attaching the throttle control Attach the throttle Secure the throttle Upper control to the cable to the lower... -
Page 11: Starting & Stopping
OPERATING INSTRUCTIONS Starting & Stopping See engine manual and procedure below. STEP-1. Move the throttle control lever to the start/run position. See fig 1. COLD START: press the primer bulb three times pausing each time. (where fitted) HOT START: priming may only be necessary if the mower fails to start. FIGURE-1 STEP-2 Pull the starter grip lightly until resistance is felt, then pull briskly. -
Page 12: Cleaning
Cleaning Before cleaning the mower, ensure the throttle lever is in the 'STOP' position. Disconnect the spark plug lead and wedge it away from the spark plug, and disconnect the battery on Keystart models. • Remove grass build up from the air intakes on the top of the mower cowl, around the engine and carburettor, and around the air filter body. -
Page 13: Blade Replacement
Blade Replacement For Your Safety • Never use the mower unless the grasscatcher or the guards supplied by the manufacturer are in position. • Before starting the mower check blades and bolts for damage or wear. • If you strike an obstruction, stop the engine and check the blades for damage. Worn and damaged blades are major hazards. -
Page 14: Maintenance Chart
Maintenance Chart Time Period Refer to the following table for routine maintenance. Features Requirements • • Lawnmower Visual inspection (leaks) • Throttle lever Check operation • • Remote air filter hose Check • Cutting system Inspect and check assembly (Blades) •... -
Page 15: Troubleshooting
Troubleshooting Problem Possible cause Correction Does not start Out of fuel Refill tank with correct fuel Throttle lever in incorrect position Refer to 'Starting Procedures' Spark plug lead not connected Press terminal cover fully onto the spark plug Engine flooded Turn fuel tap 'OFF'. - Page 16 ©2016 Briggs & Stratton ABN 13 006 576 656 All rights reserved. No part of this booklet may be reproduced by any means without prior written permission. All information herein is subject to change without notice. 1964 REVISED 16/06/16 1964 REVISED 14/06/16 1964...
Need help?
Do you have a question about the 881873 and is the answer not in the manual?
Questions and answers