Table of Contents
Advertisement
Quick Links
Advertisement
Table of Contents

Related Manuals for Planar PL2210MW


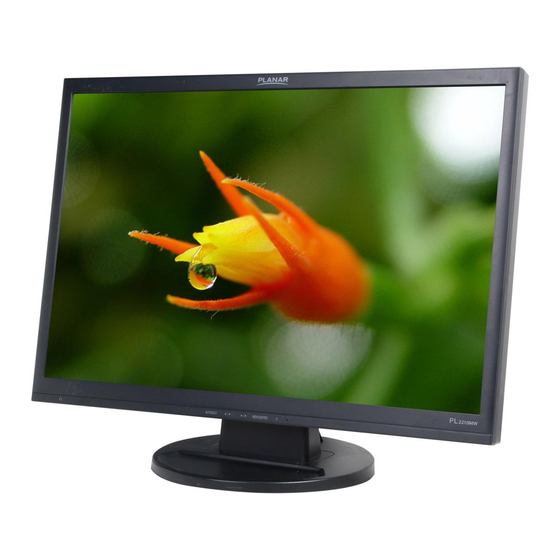
Summary of Contents for Planar PL2210MW
-
Page 2: Table Of Contents
Contents Contents...1 Preface ...2 Installation ...4 Unpacking...4 Connecting the LCD Monitor and Base...5 Viewing Angle Adjustment ...5 Detaching LCD Monitor from Its Stand...5 Interface for Arm Applications ...5 Connecting the Display ...5 Connecting the AC Power ...6 Connecting the Audio Cable ...6 Setting Up the LCD Monitor...6 Power Management System...6 Display Controls ...7... -
Page 3: Preface
Preface This manual is designed to assist users in setting up and using the LCD Monitor. Information in this document has been carefully checked for accuracy; however, no guarantee is given to the correctness of the contents. The information in this document is subject to change without notice. -
Page 4: Important Safety Instructions
Important Safety Instructions Please read the following instructions carefully. This manual should be retained for future use. 1. To clean LCD Monitor screen; -- Power off LCD Monitor and unplug the AC Cord. -- Spray a non-solvent cleaning solution onto a rag. -- Gently clean the screen with dampened rag. -
Page 5: Installation
Installation Unpacking Before unpacking the LCD Monitor, prepare a suitable workspace for your Monitor and computer. You need a stable and clean surface near a wall power outlet. Make sure that LCD Monitor has enough space around it for sufficient airflow. Though the LCD Monitor uses very little power, some ventilation is needed to ensure that the Monitor does not become too hot. -
Page 6: Connecting The Lcd Monitor And Base
Connecting the LCD Monitor and Base When you open the box, place the base and put on the desk first. Then connect the LCD monitor and base. (See fig. 1-1) Viewing Angle Adjustment The LCD Monitor is designed to allow users to have a comfortable viewing angle. -
Page 7: Connecting The Ac Power
Connecting the AC Power 1. Connect the power cord to the LCD Monitor.(See Fig. 1-6) 2. Connect the power cord to an AC power source. Connecting the Audio Cable 1. Connect the audio cable to the "LINE OUT" jack on your PC's audio card or to the front panel's “AUDIO OUT”... -
Page 8: Display Controls
Display Controls User Controls A brief description and the location of all LCD Monitor functions controls and indicators: Power LED will be Green when monitor is on, be yellow when in power saving mode, be dark when monitor in off mode. Power ON/OFF switch. -
Page 9: Adjusting The Monitor's Display
Adjusting the Monitor's Display Main OSD Main Menu icon Menu item Preset Mode Brightness Contrast Auto Contrast Black Level Sharpness Sub Menu item STANDARD Default Setting. Reflects native display capability. Displays scenes in clearest detail. Pictures and MOVIE photographs appear in vibrant colors with sharp detail. - Page 10 FULL Expansion Mode ASPECT Auto Adjustment H. Position V. Position Clock Phase 9300K 7500K 5000K sRGB User R/G/B Language H. Position V. Position Turn Off Volume D-SUB Input Select 720/640x400 Resolution Select 1360/1280/1024x768 1680/1400x1050 DDC/CI ON/OFF Recall Selects wide format for display. Selects 4:3 format for display.
- Page 11 Information Icon Function CIE coordinated Color Temperature of 9300°K 9300 CIE coordinated Color Temperature of 7500°K 7500 CIE coordinated Color Temperature of 6500°K 5000 Three colors (Red, Green, Blue) can be User adjusted from the OSD menu Shows the resolution, H/V frequency and input port of current input timing.
-
Page 12: Technical Information
Technical Information Specifications LCD Panel Size Display Type Resolution Display Dot Display Color Video Input Signal Input Impedance Polarity Amplitude Multi-mode Supported Control Power switch (hard and soft types) Audio Input Output Brightness Contrast Horizontal Position Vertical Position Phase Clock Display Mode Setup 22W"... - Page 13 Power Management Mode DPM On DPM Off DC switch off Off Disconnected *Meeting VESA DPM requirements measured from AC Input end of AC power cord. Sync Input Analog Separate TTL compatible horizontal and vertical Signal synchronization. Polarity Positive and negative Plug &...
-
Page 14: Standard Timing Table
Standard Timing Table If the selected timing is NOT included in table below, this LCD monitor will use the most suitable available timing. FH (KHz) TIMING NAME FV (Hz) 640x350 31.469 VGA-350 70.087 640x400 31.469 VGA-GRAPH 70.087 640x480 31.469 VGA-480 59.94 640x480 APPLE MAC-480... - Page 15 FH (KHz) TIMING NAME FV (Hz) 1024x768 60.023 VESA-768-75Hz 75.029 1024x768 60.24 1152x864 54.054 (60Hz) 59.27 1152x864 63.851 (70Hz) 70.012 1152x864 67.5 (75Hz) 1152x870 68.68 (75Hz) 75.06 1280x720 44.772 (60Hz) 59.855 1280x960 (60Hz) 1280x960 (70Hz) 1280x960 (75Hz) 1280x1024 VESA-1024-60Hz 1280x1024 VESA-1024-75Hz 1360x768 60Hz...
-
Page 16: Troubleshooting
Troubleshooting This LCD Monitor has pre-adjusted using factory standard VGA timings. Due to the output timing differences among various VGA cards in the market, users may initially experience an unstable or unclear display whenever a new display mode or new VGA card is selected. Attention This LCD Monitor Supports Multiple VGA Modes. -
Page 17: Product Registration And Technical Support
Product Registration and Technical Support Register Your Planar Products Today Thank you choosing Planar. To assure you receive all the benefits of your Planar product and services, register your Planar product today. Visit our website to register your product at http://www.planar.com/support/product_registration.html...
Need help?
Do you have a question about the PL2210MW and is the answer not in the manual?
Questions and answers