Table of Contents
Advertisement
Quick Links
Advertisement
Table of Contents

Related Manuals for Planar PL1910W


Summary of Contents for Planar PL1910W
- Page 1 PL1910W...
-
Page 3: Table Of Contents
Features ..4 Unpacking ..5 Attaching the Base ..6 Removing the Base ..7 Preparing The Monitor For Wall-Mounting ..8 Screen Position Adjustment ..9 Connecting Cables..10 Display Controls ...11 Front Panel Controls...11... -
Page 4: Preface
• Increase the separation between the equipment and the receiver. • Connect the equipment into an outlet on a circuit different from that to which the receiver is connected. • Consult the dealer or an experienced monitor technician for help. Warning Use only shielded signal cables to connect I/O devices to this equipment. -
Page 5: Canadian Doc Notice
Canadian DOC Notice This Class B digital apparatus meets all requirements of the Canadian Interference-Causing Equipment Regulations. Cet appareil numérique de la classe B repecte toutes les exigences du Règlement sur le matériel Important Recycle Instruction: Lamp(s) inside this product contain mercury. This product may contain other electronic waste that can be hazardous if not disposed of properly. -
Page 6: Safety Precaution
Safety Precaution Avoid placing the monitor, or any other heavy object, on the power cord to prevent it from fire or electrical shock. Do not expose the monitor to rain, excessive moisture, or dust to avoid fire or shock hazard. -
Page 7: Installation
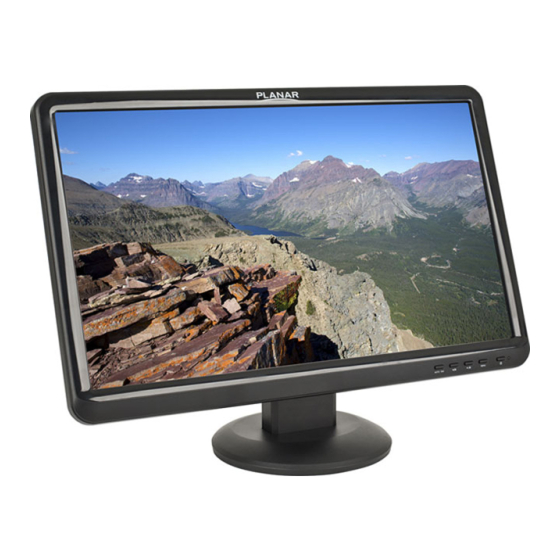
Installation Introduction Congratulations on your purchase of PL1910W, a high performance 18.5 inch wide color TFT LCD monitor. Features * 18.5" TFT Color LCD monitor * 16:9 Widescreen * Recommended resolution: 1366 x 768 @ 60Hz * Direct analog signal input... -
Page 8: Unpacking
Unpacking Please check that the following items are present when you unpack the box. We recommend you save the packaging for future use. PJ19W User Guide AC Power Cord LCD Monitor 15-pin D-Sub Cable DVI Cable... -
Page 9: Attaching The Base
Attaching the Base: 1. Lay the TFT LCD monitor on a flat surface with the LCD screen face down. To prevent the monitor from being scratched, put a soft cloth on the table. 2. Unpack the stand and attach to monitor as shown. -
Page 10: Removing The Base
Removing the Base 1. Lay the TFT LCD monitor on a flat surface with the LCD screen face down. To prevent the monitor from being scratched, put a soft cloth on the table. Press the release button on the base while pulling away from the stand. -
Page 11: Preparing The Monitor For Wall-Mounting
Please use M 4mm x 10mm (L) Screw for this application. 3. Follow the instructions included with the mounting fixture to ensure that the monitor is safely attached. The four threaded holes that are on the back of the panel are compliant with the VESA standard for ... -
Page 12: Screen Position Adjustment
Screen Position Adjustment In order to optimize the best viewing position, you can adjust the tilt of the monitor as shown in the figure below. -
Page 13: Connecting Cables
3. Turn on the monitor and computer Turn on the monitor first, then turn on the computer. This sequence is very important. 4. If the monitor still does not function properly, please refer to the troubleshooting section to diagnose the problem. 1-2 1-1... -
Page 14: Display Controls
Decease the value after sub-menu selected. Forward selection of the OSD menu. Increase the value after sub-menu selected. Displays the OSD menu on the screen. Selects the OSD sub-menu. Turns the monitor on or off . Lights up to indicate the power status. -
Page 15: Lock Function
All Lock Function OSD & Power button lock – all 5 buttons including the “POWER” button are locked. When monitor is in normal condition, hold “Auto/Exit” and “ ” button to lock Repeat this step to unlock. The monitor will show the “All Lock” or “All Unlock” messa automatically. -
Page 16: Osd Operation
Adjusts how long OSD menu remains open. Item Display Mode Expands image to full screen or 4:3. Preset Modes Selects between different preset modes. If on, sets the monitor to a decreased backlight value. Sharpness Adjusts clarity and sharpness. Content Content... - Page 17 Miscellaneous Item Content English, Deutsch, Français, Español, Italiano, Language Simplified Chinese, Chinese traditional, Japanese. Input Select Select the input source for VGA or DVI. Reset Resets monitor to original setting. Information Content Shows important information about the monitor.
-
Page 18: Technical Information
Humidity Operating Humidity: Storage Humidity: Safety & EMI Plug and Play * All specifications are subject to change without notice. Planar PL1910W 18.5" TFT LCD 409.8 mm(H) x 230.4 mm(V) 100-240Vac F : 30-61 kHz, F : 50-75 Hz 16.7M 1366x768 @ 60 Hz (max.) -
Page 19: Supported Timing
Supported Timing Resolution IBM, VGA Apple, Mac II VESA VESA VESA VESA VESA VESA Apple, Mac II VESA VESA VESA VESA 640x480 @ 60Hz 640 x 480 @ 67Hz 640x480 @ 72Hz 640x480 @ 75Hz 720x400 @ 70Hz 800x600 @ 56Hz 800x600 @ 60Hz 800x600 @ 72Hz 800x600 @ 75Hz... -
Page 20: Troubleshooting
Troubleshooting Before sending your LCD monitor for servicing, please check the troubleshooting list below to see if you can self-diagnose the problem. (VGA Mode) Problems Current Status No Picture LED ON LED OFF LED displays amber color Abnormal Unstable Picture... -
Page 21: Product Registration And Technical Support
Product Registration and Technical Support Register Your Planar Products Today Thank you choosing Planar. To assure you receiv e all the benefits of your Planar product and services, register your Planar product today. Visit our website to register your product at http://www.planar.com/support/product_registration.html... - Page 24 49.7G901.001...
Need help?
Do you have a question about the PL1910W and is the answer not in the manual?
Questions and answers