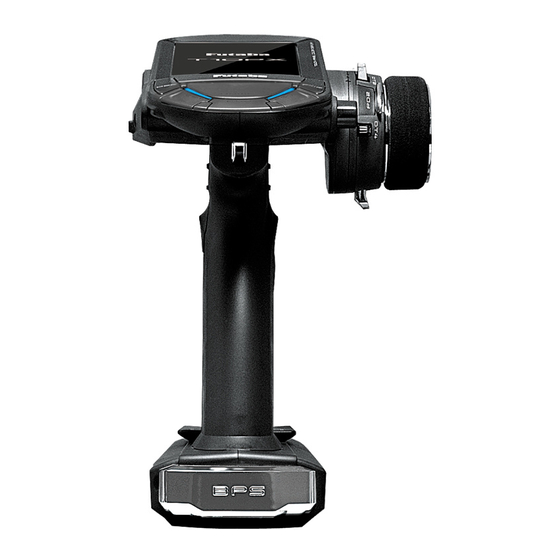
FUTABA T10PX Quick Start Manual
Software update method
Hide thumbs
Also See for T10PX:
- Full manual (215 pages) ,
- Short manual (40 pages) ,
- Full manual (215 pages)
Advertisement
Quick Links
1M23Z08104
Whenever improvements and new functions are available, the software of your T10PX radio transmitter can
be updated easily via online free of charge. The updated software file will be shown on our website. You
can download it and make a copy on your microSD card. Below is the procedure for the software update.
Required for update (Purchase separately)
Updating procedure
1.
Download the zip file of the update data from our
website or your local distributor's website.
https://futabausa.com/
2.
Extract the zip file on your computer.
3.
Insert the micro SD card into the PC and copy the
FUTABA folder expanded on the PC to the micro
SD card.
If you already have a microSD
card FUTABA folder, overwrite it.
T10PX
Software Update Method
Note:
Before you update the software, the
battery that is connected to the T10PX
should be fully charged.
Note:
During the software update, the model
data that is stored in the T10PX should be
kept without any change. (NOT erased
and NOT changed.) However, for your
safety, making a backup of your model
data before the software update is highly
recommended.
Futaba WEB site
Software
Download
Advertisement

Summary of Contents for FUTABA T10PX
- Page 1 T10PX Software Update Method 1M23Z08104 Whenever improvements and new functions are available, the software of your T10PX radio transmitter can be updated easily via online free of charge. The updated software file will be shown on our website. You can download it and make a copy on your microSD card. Below is the procedure for the software update. Required for update (Purchase separately) Note: Before you update the software, the battery that is connected to the T10PX should be fully charged. Note: During the software update, the model data that is stored in the T10PX should be kept without any change. (NOT erased and NOT changed.) However, for your safety, making a backup of your model data before the software update is highly recommended. Updating procedure Download the zip file of the update data from our ...
- Page 2 Insert the micro SD card with the copied FUTABA folder into the T10PX. Turn on the transmitter power while pressing down the "HOME" button. The update screen appears on the LCD display of your T10PX and the software update is started. When the software update is completed, Possible Problems "Completed" message is shown on the LCD When one of the error messages shown below appears on the LCD display of your T10PX. (Show below picture.) screen your T10PX, the software update will not be completed. "Low battery." Software update is postponed because of low battery. Retry the software update after the battery is recharged. "Update file not found." The T10PX cannot find the update file on the microSD card. Check to be sure all the update files have been copied onto the microSD card. "Broken file." The T10PX detects the update file error. The update file may be broken or for another transmitter. "Write error." The software update procedure is stopped for an unknown reason. Contact your local service center when this error message appears on the LCD screen of your T10PX. 7. ...
- Page 3 T10PX Version check Home Menu System menu Information The version of the T10PX transmitter is displayed. R404SBS(E) Version check Receiver Link switch R404SBS(E) T10PX transmitter in link mode. Turn on the power of R404SBS (E) and press SW. When using the UR servo, make sure that it is Ver2.0. Ver1.0 cannot be set wirelessly for UR ...
-
Page 4: Software Update
The T10PX F-4G system provides the fastest Futaba response (as of 2022/5) when used in combination with the Futaba New UR Servo. Follow the steps below to switch the settings. UR mode can only be used with F-4G systems. It can be used with T10PX / R404SBS (E) Ver.2 or later. -
Page 5: Receiver Mode Precautions
Under other conditions, the set will not operate, or the specified performance will not be displayed even if it operates. In addition, it may cause servo trouble. Futaba will not be responsible for problems caused by the use of other than genuine Futaba parts. Use the parts specified in the instruction manual and catalog. - Page 6 UR servo setting change procedure The initial setting of the UR servo is normal mode. To use it in UR mode, you need to switch to UR mode by following the steps below. The initial setting is Normal mode The following modes can be selected for the UR servo. Normal SR type 1 SR type 2 SR type 3 UR type 1 UR type 2 UR type 3 UR type 4 Connect the UR servo as shown.
- Page 7 S.Bus servo screen. HOME screen Menu Accessory menu S.Bus servo Home button Read the connected UR servo data into the T10PX. Tap the [Read] Tap the [Close] Read the warning Tap the [Communica- The data of the and tap [Close]...
- Page 8 2. Compatible with HPS-CT701 HPS-CT701 has been added to the UR mode / SR compatible servos. 3. Compatible with MC971CR It corresponds to MC971CR. MC971CR is added to the selection screen of the MC (ESC)-Link function. *[Important] "Torque level" and "Torque end point" function can operate only when using ACUVANCE brushless motor "LUXON AGILE"...
- Page 9 Touch [Normal] on the Upper side in the Home screen settings of the Accessories menu. Touch the Instrument panel to be set on the home screen to select it. Select [Brake]. 6. Fixed an issue where the current time might be initialized at startup in rare cases. ©FUTABA CORPORATION 2022, 5 (1)


Need help?
Do you have a question about the T10PX and is the answer not in the manual?
Questions and answers