
Subscribe to Our Youtube Channel
Related Manuals for Rexing V1PGW-4K


Summary of Contents for Rexing V1PGW-4K
- Page 1 V1PGW-4K User Manual The information in this manual is subject to change without notice. Rexing All Rights Reserved www.rexingusa.com...
- Page 2 (877) 740-8004 Our support team will respond to you as soon as possible. Always a surprise in Rexing. Check us out here • https://www.facebook.com/rexingusa/ • https://www.instagram.com/rexingdashcam/ • https://www.rexingusa.com/support/registration/ •...
-
Page 3: Package Contents
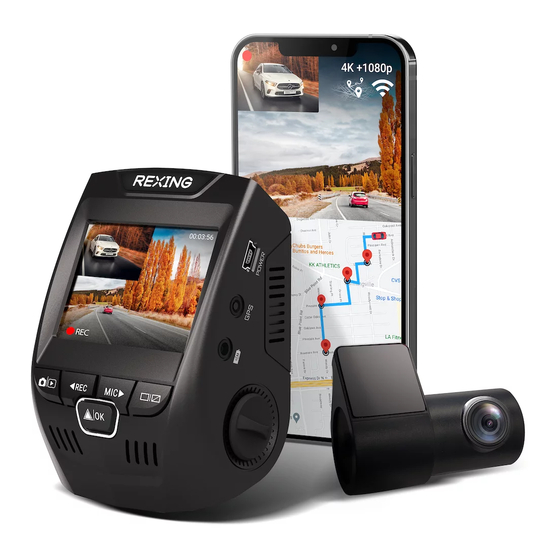
Safety Guide 安全ガイド The information in this manual is subject to change without notice. Rexing All Rights Reserved www.rexingusa.com www.rexingusa.com Rexing V1PGW-4K Dash Cam Car Charger Rear camera with rear camera cable Cable Management Tool Mini-USB Cable Safety Guide Mount Plate & 3M Adhesive... -
Page 4: Camera Overview
Camera Overview Micro SD Card Slot OK (Confirm) Button Power Button MIC (Microphone) Button Reset Button Screen Button Menu Button Mini-USB Power Port Mode Button Rear Camera Port REC (Record) Button Lens Angle Adjustment Dial... - Page 5 00:00:20 00:00:20 UHD P24+FHDP24 UHD P24+FHDP24 A A A AAAAA AAAAAAAA 04 / 10 / 2021 17 : 25 : 45 04 / 10 / 2021 17 : 25 : 45 Recording Mode Time (24H) Recording (On) Current Date Time WDR Mode (On) MIC (Off) G-Sensor Sensitivity Level...
-
Page 6: Get Started
Get Started Step 1 Installing Adhesive Mount Place the 3M adhesive on the mount plate and properly orient the mount piece to the roof and hood line of the vehicle. Important! Ensure the T-interlock on the mount is oriented in the correct direction. Firmly press the mount onto the windshield. - Page 7 Step 2 Mount the Rear Camera Mount the rear camera as shown below. Use the included rear camera cable to connect the rear camera to the front camera. Plug the rear Rear camera camera into the wiring rear camera port instructions...
- Page 8 Step 3 Insert the Memory Card The Rexing V1PGW-4K accepts Class 10/ UHS-1 or higher Micro SD memory cards up to 256GB. You will need to insert a memory card before recording. Before inserting or removing a memory card, ensure you've powered down the device.
- Page 9 To ensure the V1PGW-4K records to your memory card properly and without error, we strongly recommend you to format the card within the camera when you're using the dash cam for the first time.
- Page 10 To format the memory card, first press the REC button to stop recording. Then press the MENU button twice to enter the Setup Settings. Use the REC and MIC buttons and toggle to the Format. Press the OK button to confirm the format. Setup All data will be Screen Saver...
-
Page 11: Basic Operation
Basic Operation Device Power The device is automatically powered on when plugged into a 12V accessory socket or cigarette lighter and receives a charge (i.e.: the vehicle is started). To turn the device on manually, press and hold the POWER button until the welcome screen appears. -
Page 12: Menu Settings
Menu Settings Power the camera on, then press the REC button to stop recording. Press the MODE button and switch among video mode, image mode and playback mode. Press the MENU button once to enter the Video Settings, or press the MENU button twice to enter the Setup Settings menu. -
Page 13: Video Recording
Video Recording The camera will automatically start recording when the device receives a charge. The LED lights and the red dot will blink when the device is recording. Press the REC button to stop recording. 00:00:20 UHD P24+FHDP24 These indicators will blink in red when the dash cam is recording. -
Page 14: Video Playback
Video Playback To playback a video on the device, press the REC button to stop recording. Press and hold the MODE button twice to enter the Playback mode. Use the REC and MIC buttons to toggle to the desired video. Press the OK button to play. During playback, use the OK (pause), MIC (fast forward) and REC (rewind) buttons to control the video playback. - Page 15 To playback a video by using an SD card reader, remove the memory card and insert it into an SD card adapter. Place the adapter in the computer. Parking Mode (Parking Monitor) To activate the Parking Mode, you'll need to connect to a smart hardwire kit or an intelligent hardwire kit.
- Page 16 Time-lapse Recording: Record video in one frame per second to conserve memory and reduce the time it takes to review the video. G-Sensor Trigger Recording: The G-sensor detects significant or sudden movement (such as an impact or collision), it will trigger an event recording. We suggest setting the “Gravity Sensing” to High sensitivity for Parking Mode Recording.
- Page 17 Wi-Fi Connect Download the Rexing Connect app from the App Store/Google Play. Press the REC button to stop recording then press the MENU button once to enter the Video Settings. Use REC/MIC buttons and toggle to Wi-Fi to turn it on.
- Page 18 Built-in GPS Logger GPS logger will record the speed and location of your vehicle as you drive. You can then access this information while playing back your recordings using the GPS Video player. Press the MENU button twice and enter the Setup Settings. Toggle to the GPS Speed Unit and select your preferred speed unit.
- Page 19 Taking and Reviewing Photos To take a photo, press REC button to stop recording. Press the MODE button twice to enter photo mode. Then press the OK button to take a photo. To view/delete a photo, stop video recording and enter the Playback Mode. Toggle through the videos and photos to the one you want to view/delete.
-
Page 20: Warranty And Support
Warranty & Support Warranty The Rexing V1PGW-4K Dash Cam comes with a full 12-month warranty. If you register your product on our official site (https://www.rexingusa.com/support/registration), you can extend the warranty to 18 months. Support If you have any questions regarding your product, please do not hesitate to contact us at care@rexingusa.com, or call us at... - Page 21 FCC ID: 2AW5W-V1PGW This device complies with part 15 of the FCC Rules. Operation is subject to the following two conditions: (1) This device may not cause harmful interference, and (2) this device must accept any interference received, including interference that may cause undesired operation. Changes or modifications not expressly approved by the party responsible for compliance could void the user's authority to operate the equipment.
Need help?
Do you have a question about the V1PGW-4K and is the answer not in the manual?
Questions and answers