Advertisement
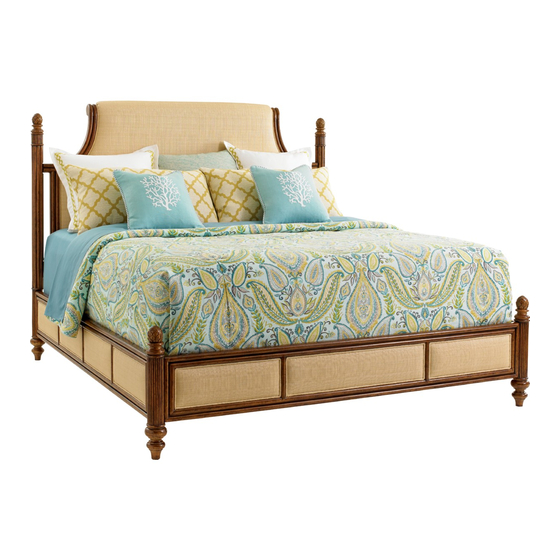
593-143C/144C/145C Orchid Bay Upholstered Panel Bed
F
FINIAL (4)
LEVELER (4)
*Insert bolted end of finial into top of each post on headboard and footboard. Twist each finial clockwise until tight.
How to Attach Side Rails to Headboard/Footboard
* All needed hardware is located in a hardware bag which should be taped to inside of side rail.
1. Insert threaded rod (E) into metal dowel in post thru open hole. Twist clockwise until tight.
2. With both threaded rods in place, and side rail positioned with T-slots to inside, slide side rail over threaded rods.
3. Add flat washer (D) and lock washer (C) to threaded rod (E).
4. Add hex nut (B) with barrel end towards washer.
5. Tighten nut with wrench (A) until tight. Repeat process for other three corners.
ASSEMBLY INSTRUCTIONS
E
D
C
B
A
SLAT (4)
FOOTBOARD (1)
LEVELER (4)
CENTER SUPPORT
LEG (4)
HEADBOARD (1)
SIDE
RAIL (2)
PART
HARDWARE LIST
QTY
WRENCH
1 PC
A
B
HEX NUT
8 PCS
LOCK WASHER
C
8 PCS
D
FLAT WASHER
8 PCS
E
8 PCS
THREADED ROD
1
F
1
" SCREW
8 PCS
2
08/27/14
Advertisement
Table of Contents

Related Manuals for LEXINGTON Orchid Bay 593-143C


Summary of Contents for LEXINGTON Orchid Bay 593-143C
- Page 1 08/27/14 ASSEMBLY INSTRUCTIONS 593-143C/144C/145C Orchid Bay Upholstered Panel Bed HEADBOARD (1) FINIAL (4) SLAT (4) SIDE RAIL (2) FOOTBOARD (1) LEVELER (4) PART HARDWARE LIST WRENCH 1 PC HEX NUT 8 PCS CENTER SUPPORT LEG (4) LOCK WASHER 8 PCS FLAT WASHER 8 PCS 8 PCS...
- Page 2 4. Secure slats with wood screws (F) provided. Note that top side of slat has larger hole. For additional consumer assistance please contact your Lexington dealer or call our Consumer Services Department at 1-336-474-5300, Monday-Friday, 8-5 Eastern...
Need help?
Do you have a question about the Orchid Bay 593-143C and is the answer not in the manual?
Questions and answers