Advertisement
All manuals and user guides at all-guides.com
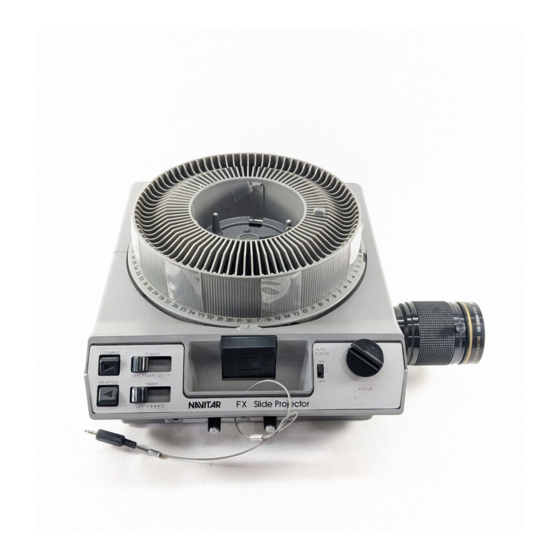
FX
Special Effects Slide Projector
Instruction Manual
Introduction ............................................................... 2
Projector Set-up .......................................................... 2
Changing the Lamp ..................................................... 3
Operating the Fader .................................................... 3
Optional Remote & External Dissolve Controller ........ 4
Specifications .............................................................. 4
Warranty .................................................................... 5
NAVITAR, Inc., 200 Commerce Drive , Rochester, NY 14623 USA
(585) 359-4000 phone (585) 359-4999 fax navitar.com info@navitar.com
Advertisement
Table of Contents

Related Manuals for Navitar FX


Summary of Contents for Navitar FX
- Page 1 Changing the Lamp ............. 3 Operating the Fader ............ 3 Optional Remote & External Dissolve Controller ..4 Specifications .............. 4 Warranty ..............5 NAVITAR, Inc., 200 Commerce Drive , Rochester, NY 14623 USA (585) 359-4000 phone (585) 359-4999 fax navitar.com info@navitar.com...
- Page 2 1. Read your Kodak operating instruction manual to understand the operation of your projector’s primary functions. 2. Plug the Navitar FX Projector into the wall outlet. Turn the projector’s power switch to FAN ONLY. Do not turn the projector lamp power switch to the high setting, the...
- Page 3 FAN position. Set the TIMER switch to ON. Set the TIMER DELAY control to the desired time between cycles. The Navitar FX will wait your set DELAY time between slides, then will operate the dissolve cycle at your selected RATE. It will continue this process for each slide as long as the TIMER ON/OFF switch is ON.
- Page 4 Optional Remote & External Dissolve Controller Operating Optional Proportional Remote To manually fade the lamp on and off, you must use the optional Navitar Propor- tional Remote Control. Shut the TIMER ON/OFF switch to OFF. Then turn the remote full counterclock- wise (zero ohms) and connect the proportional remote to the Navitar FX remote socket located next to the dissolve knob.
- Page 5 Navitar. However, Navitar reserves the right to refund the purchase price if the replacement or repair is not commercially practical or timely. Parts not manufactured by Navitar carry only the warranty of their manufacturer.
Need help?
Do you have a question about the FX and is the answer not in the manual?
Questions and answers