Table of Contents
Advertisement
Quick Links
AWNINGS
TRIM LINE
944X07.00(X), 944X08.00(X), 944X09.00(X), 944X10.00(X), 944X11.00(X),
944X12.00(X), 944X13.00(X)
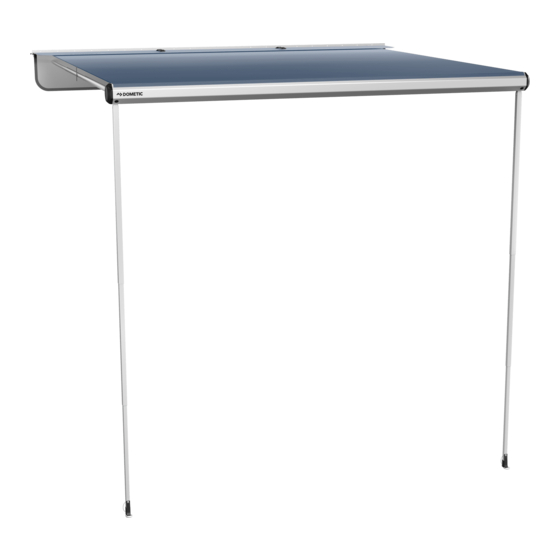
Trim Line Awning
EN
Installation and Operation Manual . . . . . . . .2
WARNING
EN
REVISION A Form No. 3308723.026 05/22 | ©2022 Dometic Corporation
Cancer and Reproductive Harm
www.P65Warnings.ca.gov
RÉVISION A Document no 3309146.029 05/22 | ©2022 Dometic Corporation
FR
Advertisement
Table of Contents

Related Manuals for Dometic 944 07.00 Series


Summary of Contents for Dometic 944 07.00 Series
- Page 1 Trim Line Awning Installation and Operation Manual ..2 WARNING REVISION A Form No. 3308723.026 05/22 | ©2022 Dometic Corporation Cancer and Reproductive Harm www.P65Warnings.ca.gov RÉVISION A Document no 3309146.029 05/22 | ©2022 Dometic Corporation...
-
Page 2: Table Of Contents
For up-to- A signal word will identify safety messages and property date product information, please visit www.dometic.com. damage messages, and also will indicate the degree or Contents level of hazard seriousness. -
Page 3: General Safety Messages
This awning is only suitable for the intended serious injury: purpose and application in accordance with these instructions. • Use only Dometic replacement parts and components that are specifically approved for use This manual provides information that is necessary for with the appliance. -
Page 4: General Information
Components and component locations may vary according to specific product models. Measurements may vary ±0.38 in. (10 mm). 3.1 Tools and Materials Dometic recommends that the following tool be used while installing the appliance. Recommended Tools Screwdriver 1 Part Identification... -
Page 5: Installation
Trim Line Awning Installation 5.1 Installing the Awning 3. With the white side of the awning fabric facing up, slide the entire length of the awning rope into the groove in the front bar. 4. Roll up the awning into the attached awning bag. 5. -
Page 6: Installing The Sockets
Operation Trim Line Awning If the awning is to be left mounted during travel, 4. Mount the bottom pair of sockets with #8 x 3/4 in. secure each end by driving a #6 x 1/2 in. drill point sheet metal screws at each end of the awning. screw approximately 3 in. -
Page 7: Opening The Awning
Trim Line Awning Operation 6.1 Opening the Awning f. Repeat this process to lock the middle and top ground tubes together. g. Unfold the rafter tubes. h. Extend the rafter tubes into the top socket under the awning rail. i. Hold the top rafter tube (nearest to the lead rail) and twist the middle and lower tubes to lock. -
Page 8: Closing The Awning
Operation Trim Line Awning 6.2.1 Securing the Awning in the Carport 6.2.2 Securing the Awning in the Patio Position Position Galvanized steel tent stakes and wire loops for the tent This section describes how to secure the awning into the stakes are provided to position the ground poles upright patio position using previously installed sockets. -
Page 9: Disposal
LIMITED ONE-YEAR WARRANTY LIMITED ONE-YEAR WARRANTY AVAILABLE AT DOMETIC.COM/EN-US/TERMS-AND-CONDITIONS- CONSUMER/WARRANTY. IF YOU HAVE QUESTIONS, OR TO OBTAIN A COPY OF THE LIMITED WARRANTY FREE OF CHARGE, CONTACT: DOMETIC CORPORATION CUSTOMER SUPPORT CENTER 5155 VERDANT DRIVE ELKHART, INDIANA 46516 1-800-544-4881... - Page 10 Disposal Trim Line Awning...
- Page 11 Trim Line Awning Disposal...
- Page 12 YOUR LOCAL YOUR LOCAL YOUR LOCAL DEALER SUPPORT SALES OFFICE dometic.com/dealer dometic.com/contact dometic.com/sales-offices...
Need help?
Do you have a question about the 944 07.00 Series and is the answer not in the manual?
Questions and answers
we need a lower ground tube, and middle ground tube, lower needs to have end ball, for our 94407.00, how to i go about getting one from dometic,