Advertisement
Quick Links
Advertisement

Related Manuals for Minka AIRE URBAIN


Summary of Contents for Minka AIRE URBAIN
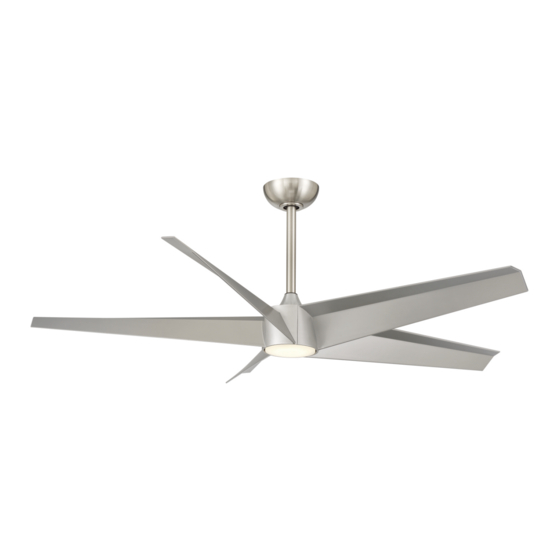
- Page 1 URBAIN...
- Page 3 04728 INSTALLING THE LIGHT KIT PLATE INSTALLING THE LED LIGHT KIT...
- Page 4 MORE NOT LESS KH968 RC400...
- Page 5 1. Fan body 12. Receiver(8 pcs wire nuts) 13. blade fixing ring 2. 20W LED light kit A. Blade fixing ring hardware 3. Fan blade(5 pcs) #8-18*10mm screws (11pcs) 4. Canopy B. Mounting hardware 5. Light kit plate #8-32*25mm screw(2pcs) 6.
- Page 6 Minka Minka...
- Page 8 Aire withthe fan will void the Minka Warranty. (Fig.6) Step 2. Remove the hitch pin and lock pin from downrod assembly. And remove hanger ball from downrod assembly by loosening set screw, removing the cross pin and sliding ball off rod. (Fig.7) Step 3.
- Page 9 Note:The universal hand held remote control System is equipped with learning frequency function which has 32 code combinations to prevent potential interference from other remote units.The frequency on your Receiver and Transmitter units have been preset at the factory.(Fig.12).No frequency change is necessary,should you desire to install another fan within the same home or area with a seperate frequency code please see the “frequency interference”troubleshooting section of this instruction manual to learn how to change the frequency.
-
Page 10: Installing The Light Kit Plate
(Fig.15) (Fig.15) (Fig.15) RECEIVER CANOPY HANGER SCREW BRACKET SCREW CANOPY COVER FIG.15 INSTALLING THE LIGHT KIT PLATE Step 1. Remove 3 screws from motor.(Do not discard)(Fig.16) Step 2. Raise the light kit plate against the light kit adapter, get the wire through the hole of light kit plate. Screw back the removed screws on step 1.(Fig.16) LIGHT KIT LIGHT KIT... - Page 11 light kit plate (Fig.18) Blue to Blue Step 3. Screw back the 3 previously removed screws and tighten the light kit.(Fig.19) LIGHT KIT PLATE SCREW MODULE FIG.17 FIG.18 MODULE SCREW FIG.19...
- Page 12 light light kit BLOCK SLOT LIGHT SHADE FIG.20...
- Page 13 Counter clockwise for summer weather operation or clockwise for winter weather operation FIG.21...
- Page 14 Summer/winter operation Note:Speed settings for warm or cold weather depend on factors such as room size, ceiling height and number of fans. Summer weather(counter clockwise rotation) Winter Weather(clockwise rotation) (COUNTER CLOCKWISE DIRECTION) FIG.22 FIG.23...
- Page 16 Learn Mode setting procedure. Note: If Multiple fans require to be controlled by a single remote transmitter Minka Recommends Using the Learn Mode setting. Power to both fans will need to be restored at the same time and Press the Learn button on the remote control so that both desired fans can receive the remotes...
- Page 17 3.74 0.14 5.59 2699 0.83 56.41 5757 4,324 Minka...
- Page 18 MKA20090702...
Need help?
Do you have a question about the AIRE URBAIN and is the answer not in the manual?
Questions and answers