Table of Contents
Advertisement
Quick Links
Read this manual. Understand all safety and operating instructions. Failure to comply
with the warnings and instructions may result in serious injury, illness, or death.
MARK 7® RELOADING PRIMER XPRESS USER MANUAL VERSION 1.1, COPYRIGHT
ALL RIGHTS RESERVED
Mark 7® Primer Xpress
Instruction Manual v 1.1
1
Advertisement
Table of Contents

Related Manuals for Mark 7 Primer Xpress


Summary of Contents for Mark 7 Primer Xpress
- Page 1 Instruction Manual v 1.1 Read this manual. Understand all safety and operating instructions. Failure to comply with the warnings and instructions may result in serious injury, illness, or death. MARK 7® RELOADING PRIMER XPRESS USER MANUAL VERSION 1.1, COPYRIGHT ALL RIGHTS RESERVED...
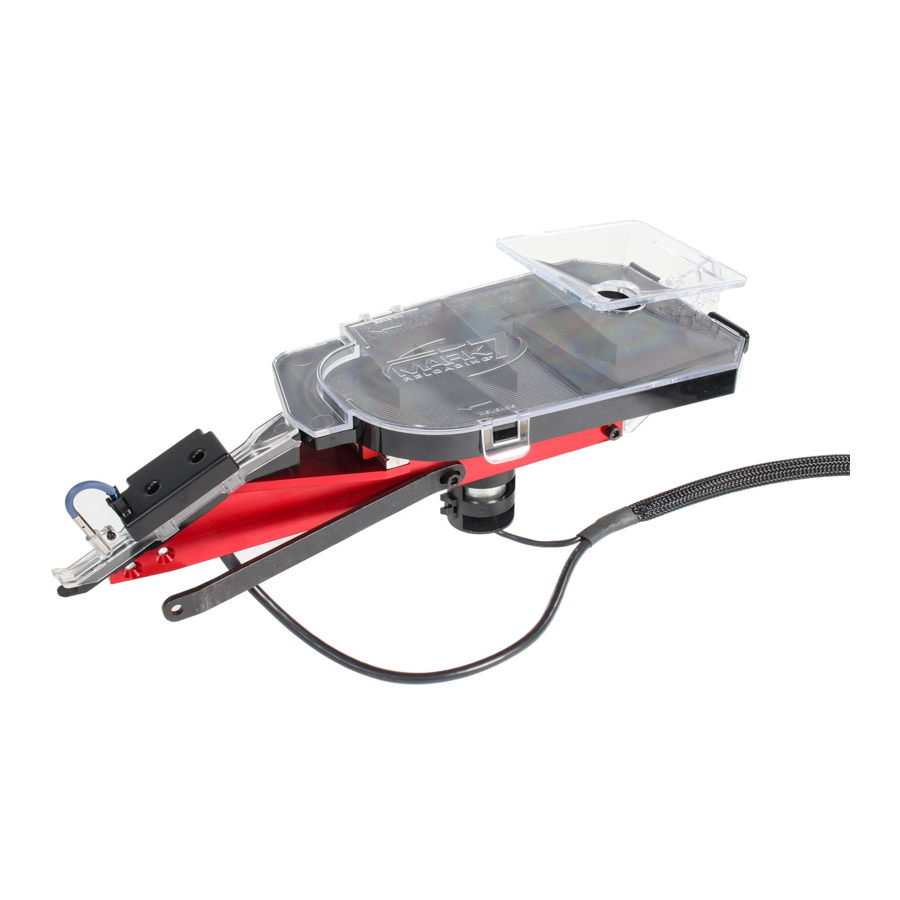
- Page 2 Mark 7’s Automated Primer Xpress is a totally new, patent pending technology which provides nearly 100% successful primer orientation for your loading machine. This completely unique design features an oscillating primer reservoir which effortlessly orients primers and allows continuous primer feeding. No more stopping your machine to reload primers using clumsy tubes! Simply add more primers into the built-in funnel without interruption to your loading operation.
-
Page 3: Table Of Contents
Two versions of the Primer Xpress are offered. One for the APEX-10 and one for Evolution presses. • Primer Xpress for APEX-10 includes fully assembled Primer Xpress unit with wiring harness, control box, power adapter, dual I/O cable, steel safety shield and mounting hardware. -
Page 4: Apex-10 Version Assembly
Assembly APEX-10 Press Figure 1. Priming Tube Assembly removal 1) Remove the priming tube assembly from the press by removing the two flat head screws on the primer tube base. Primer Xpress Instruction Manual Version 1.1... - Page 5 2) Remove plastic primer disc cover (201-1403) and loosen the shuttle disc retaining screw (301-1602) several turns. Remove the plastic insert (201-1428) from the slot in the shuttle housing. See Figure 2. MARK 7® RELOADING PRIMER XPRESS USER MANUAL VERSION 1.1, COPYRIGHT ALL RIGHTS RESERVED...
- Page 6 Figure 3. Primer Xpress exploded view 3) Slide the Primer Xpress primer chute into the slot in the shuttle primer housing where the insert (201-1428) was removed and under the shuttle disc. Make sure it is fully seated in the slot. Attach the chassis (101-1183) to the shuttle housing using the supplied mounting screws (301-1273).
- Page 7 6) Attach the plugs from the wiring harness into the receptacles in the back of the control box marked Motor and Sensors. 7) Plug the power adapter into the receptacle in the back of the control box marked DC12V. MARK 7® RELOADING PRIMER XPRESS USER MANUAL VERSION 1.1, COPYRIGHT ALL RIGHTS RESERVED...
-
Page 8: Evolution Version Assembly
Note: The shuttle disc priming assembly has the small primer disc installed when received. If you want to use large primers, first change the primer punch, primer punch bushing and the shuttle disc following the instructions titled “Primer Size Change”. Figure 5. Primer Xpress installed on an Evolution Primer Xpress Instruction Manual Version 1.1... - Page 9 Feed Tube. Power off Autodrive (if installed) and move Tool head to down position. Loosen and remove the Main Screw, Main Washer, Tool Head and Spring (see below). Main Screw Main Washer Tool Head Spring Case Feed Tube MARK 7® RELOADING PRIMER XPRESS USER MANUAL VERSION 1.1, COPYRIGHT ALL RIGHTS RESERVED...
- Page 10 3. Remove Front and Back covers, then remove Priming End Stop. Underneath the Back cover remove the Shoulder Screw and underneath the Front cover slide out the Primer Slide. Primer Slide Shoulder Screw Front cover Back cover Priming End Stop Primer Xpress Instruction Manual Version 1.1...
- Page 11 5. Place the Shuttle Disc Priming assembly onto the press frame and secure it using the two supplied hex head screws (301-1125 & 301-1170). The 301-1125 will be installed from below the press frame and 301-1170 will install from the top. MARK 7® RELOADING PRIMER XPRESS USER MANUAL VERSION 1.1, COPYRIGHT ALL RIGHTS RESERVED...
- Page 12 The third hex head screw (301-1197) passes through the stabilizing brace and into the shuttle housing. Apply upwards pressure on the back of the Primer Xpress chassis as the mounting screws are tightened.
- Page 13 Figure 6. Primer Xpress exploded view on Evolution MARK 7® RELOADING PRIMER XPRESS USER MANUAL VERSION 1.1, COPYRIGHT ALL RIGHTS RESERVED...
-
Page 14: Primer Size Change
4) Remove the 2 screws (301-1125 & 301-1170) holding the body of the priming mechanism to the press frame and the 1 bolt (301-1423) connecting the link arm from the press to the primer mechanism. Be careful not to lose the bushing in the link arm. Primer Xpress Instruction Manual Version 1.1... - Page 15 Bushing from the priming mechanism. Replace the punch with the provided desired size punch and reassemble the unit in reverse order from above. Be sure to install the correct size Primer Bushing and Primer Disc. MARK 7® RELOADING PRIMER XPRESS USER MANUAL VERSION 1.1, COPYRIGHT ALL RIGHTS RESERVED...
-
Page 16: Control Box Functions
The power light will be on when the power switch on the back of the unit is in the On position and will go off when the switch is moved to the Off position. The auto light will be on when the unit is running and the start and stop sensors are working. Primer Xpress Instruction Manual Version 1.1... -
Page 17: Operating The Primer Xpress
7) Press the Start/Auto and begin operating your press. Refill the hopper with primers as needed while reloading. MARK 7® RELOADING PRIMER XPRESS USER MANUAL VERSION 1.1, COPYRIGHT ALL RIGHTS RESERVED... -
Page 18: Autodrive Setup
Autodrive Setup Using the provided Dual I/O cable, plug one end into the Autodrive port on the Primer Xpress control box and the other end into Port #1 on the Autodrive. See Figure 10. The Autodrive will detect the Primer Xpress under PrimerSense. If either the upside-down primer sensor or the low primer sensor trigger, the machine will stop and send a notification to the tablet. -
Page 19: Setting The Upside-Down Primer Sensor
Note: Large and small primers will need different settings for the sensor height. Sometimes even different brand primers of the same size may require sensor adjustment. MARK 7® RELOADING PRIMER XPRESS USER MANUAL VERSION 1.1, COPYRIGHT ALL RIGHTS RESERVED... -
Page 20: Troubleshooting
Troubleshooting • The Primer Xpress should be level side to side. If not level, adjust the press feet to correct this. • If primers settle on one side of the hopper and do not move down the guides, the press feet may need to be lowered slightly on the opposite side of where the primers settle. - Page 21 Adjust Figure 15. Primer Disc Spring Plunger Adjustment MARK 7® RELOADING PRIMER XPRESS USER MANUAL VERSION 1.1, COPYRIGHT ALL RIGHTS RESERVED...
Need help?
Do you have a question about the Primer Xpress and is the answer not in the manual?
Questions and answers