Table of Contents
Advertisement
Advertisement
Table of Contents

Related Manuals for Kodak C525P


Summary of Contents for Kodak C525P
- Page 1 KODAK SMART BABY MONITOR C525P EN_C525P_V1...
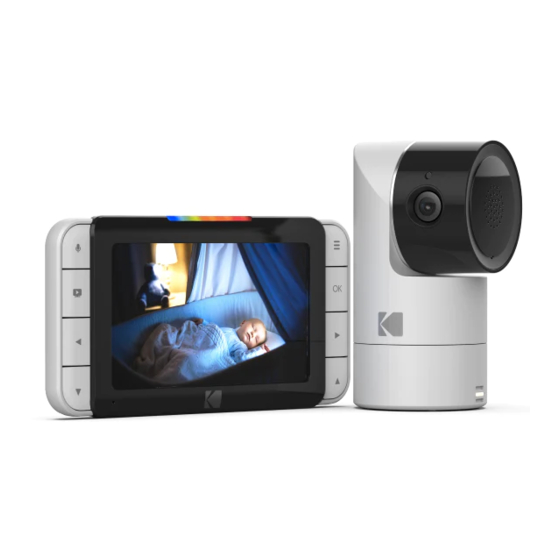
- Page 2 WELCOME ASSEMBLY Thank you for buying the KODAK SMART BABY Check List: MONITOR. With the Baby Monitor’s Parent Unit or your mobile device, now you can monitor your baby sleeping in C525P another room anywhere, anytime! Please keep your original dated sales receipt. You will need to produce a copy of it to confirm your warranty status.
- Page 3 PARENT UNIT OVERVIEW Keys Battery Status Indicator : Press and hold to speak to your baby Antenna : Press to enter/exit the Menu mode Volume Up : Press to turn on/off the LCD display Volume Down : Press to confirm Power On/Off Slider : Press to scroll/pan left Display...
- Page 4 LED BEHAVIORS FOR PARENT UNIT The first LED lights up The first LED lights When the third and When the fifth and blue/purple when up in when it’s fourth LED light up in sixth LED light up the adapter is plugged charging and the yellow, the Camera red,...
- Page 5 CAMERA OVERVIEW KODAK SMART BABY MONITOR C525P IR Sensor Pan function Power ON/OFF Switch (330°) Camera Lens LED Power Indicator 12. Holes for Wall Mount (with resolution HD(720p)) 13. Micro-SD Card Cover Charging Socket Lens Frame with Tilt (Only up to 32GB - Class 10...
- Page 6 INSTRUCTIONS OF HOW TO WALL MOUNT YOUR C525P CAMERA First, put the screws on the wall. The diame- Place and match the wider holes on the base ter of the screws should be at least 5mm and of the camera with the screws.
- Page 7 LED Behaviors for Camera(C525P) Camera is OFF, connected adapter: Solid Red Camera powering up: Solid Blue for first few seconds Camera locating router: Blue blinking every one second Camera connected to router: Solid Blue Camera in pair mode: Blinking Blue & Red Firmware upgrading.
- Page 8 ESSENTIAL GUIDELINES FOR THE INSTALLATION OF YOUR BABY MONITOR • Before using your Camera and the Parent Unit monitor uses router mode connection” together, you must first establish a radio link • Insert one of the in-box batteries into the Parent Unit. between them.
-
Page 9: Table Of Contents
TABLE OF CONTENTS Safety Instructions Cleaning Your Device Getting Started Troubleshooting 2.1 Camera Power Supply “KODAK Smart Home” In-App Setup 2.2 Parent Unit Power Supply 2.3 Registration (Pairing) Monitoring Your Baby Via the App Using the Baby Monitor 3.1 Setting Up 10. -
Page 10: Safety Instructions
1. SAFETY INSTRUCTIONS • This Baby Monitor is not and shall not be deemed WARNING: to be a substitute for responsible adult supervision. • Retain this User Manual for future reference. Strangulation Hazard: Children have STRANGLED in cords. • Never place the Camera or cords in the cot or Keep this cord out of the reach of children (more than 3ft within reach of the baby (the Unit and cords should away). -
Page 11: Getting Started
The Parent Unit comes with a built-in Li-ion battery and should be charged for 6 hours. Charging C525P Camera should be charged for 8 hours. Charging the rechargeable battery pack fully before use is the rechargeable battery pack fully before use is recom- recommended. -
Page 12: Registration (Pairing)
2.3 Registration (Pairing) The Camera is pre-registered to your Parent Unit. The Parent Unit will auto detect and pair to the You do not need to register it again unless the Camera. Parent Unit will then display live stream Camera loses its link with the Parent Unit. If you upon successful pairing. -
Page 13: Using The Baby Monitor
3. USING THE BABY MONITOR Please read these instructions carefully, and be aware that this Baby Monitor is only intended as an aid. It is not a substitute for responsible adult supervision. 3.1 Setting Up 3.2 Power On or Off the Camera •... -
Page 14: Power On Or Off The Parent Unit
3.3 Power On or Off the Parent Unit 3.5 Video ON/OFF • To turn on the parent unit, slide the ON/OFF switch • Press VIDEO ON/OFF key to turn the LCD to the ON position to switch on the Parent Unit. The display On or Off, Turning off the LCD display does power indicator lights up in green. -
Page 15: Parent Unit Menu Options
4. PARENT UNIT MENU OPTIONS Parent Unit Menu Keys Take Snapshot/ View Snapshot Set 12 or 24 hour Time Format Add / Delete / View Camera Set network connectivity between Camera and Parent Unit Select Melody to playback on Camera Router Mode Set Temperature Scale &... - Page 16 Parent Unit Status Bar 9 10 12 13 23°C 58% 18:30 Wi-Fi Signal Talk Key 15. Extender in Use with (appears as you press on the talk back key on Local Time Home Mode (available the parent unit) when the Camera(camera) is 16.
-
Page 17: Snapshot
4.1 Snapshot 4.2 Add (Pair) a Camera Prerequisite: This feature needs Class 10 Micro-SD card 4.2.1 Camera Registration to be inserted in the Camera. (see page 28) When the camera pairing icon “ ” appears; Press “ ” on the Parent Unit for the menu bar. press and hold the pair button on the Camera Press the “... - Page 18 4.2.2 Delete a Camera 4.2.3 View Camera Press “ ” on the Parent Unit for the menu bar. Press the “ ” button of the Parent Unit for the Press “ ” or “ ” button to select (CAMERA) menu bar. icon , and press “...
-
Page 19: Set Wi-Fi Network Connection Between The Camera And The Parent Unit
Camera and Parent Unit by using the Wi-Fi router as • Both the Camera and the Parent unit must be a bridge. Please pair the camera via Wi-Fi with KODAK connected to the internet via same primary Smart Home App to get the latest firmware version for WiFi SSID. - Page 20 4.3.1 Router Mode 4.3.2 Direct Mode Note Note In this mode, the Parent Unit will always connect via Wi-Fi In this mode, the Parent Unit will always connect router to access the camera. directly to the camera Press “ ” on the Parent Unit for the menu bar. Press “...
- Page 21 Note To disable the Home Mode so that the user can access When Home mode is active that the Kodak Smart Home the camera via the application, switch to Direct Mode first app usage scenarios will not work.
- Page 22 4.3.4 Fast switching between all connecting cameras Note B) Unlock PTZ keypad on the monitor When the monitor connect to multi Cameras (cameras), user can use this shortcut to switch between the connecting Press “ ” and " " for 5 seconds cameras quickly After 5 seconds, release them and PU will show icon “...
- Page 23 Suggested Set up to get the best range when using the Router Mode. Page | 44 Parent Unit Options Introduction...
- Page 24 Below Setup may not help to extend the range between Parent Unit and Camera using Router mode. Direct mode is recommended in this case. Page | 46 Parent Unit Options Introduction...
-
Page 25: Set 12 Or 24 Hour Time Format
4.4 Set 12 or 24 hour Time Format 4.5 Melody Note Press “ ” on the Parent Unit for the menu bar. Please pair the camera via Wi-Fi with KODAK Smart Home Press “ ” or “ ” button to select (MELODY) , App to get the latest firmware version for this feature. -
Page 26: Temperature
4.6 Temperature 4.6.1 Temperature Out of Range Alert NOTE: Press “ ” on the Parent Unit for the menu bar. The Temperature reading may take 15 minutes to display Press “ ” or “ ” button to select after the camera is switched on. (TEMPERATURE) , and press “... -
Page 27: Brightness
4.7 Brightness 4.8 Camera Loop Prerequisite: This feature require more than one registered camera on the Parent Unit (You can add up to 4 additional Press “ ” on the Parent Unit for the menu bar. cameras on the parent unit, whereas with the mobile app you Press “... -
Page 28: Zoom
4.9 Zoom 4.11 Voice Activation Normal audio will resume once the audio level is Press “ ” for the menu bar. higher than the VOX audio threshold set. You can Press the “ ” or “ ” until (ZOOM) is set 4 different VOX audio threshold levels highlighted.
Need help?
Do you have a question about the C525P and is the answer not in the manual?
Questions and answers