Advertisement
Quick Links
Advertisement

Related Manuals for METRON daeg SPO2


Summary of Contents for METRON daeg SPO2
- Page 1 daeg SPO2 Simulator User Manual Version 1.15_2 Updated 22/01/2007...
- Page 2 Warranty and Product Support Fluke Biomedical warrants this instrument against defects in materials and workmanship for one full year from the date of original purchase. During the warranty period, we will repair or, at our option, replace at no charge a product that proves to be defective, provided you return the product, shipping prepaid, to Fluke Biomedical.
- Page 3 Notices All Rights Reserved Copyright 2006, Fluke Biomedical. No part of this publication may be reproduced, transmitted, transcribed, stored in a retrieval system, or translated into any language without the written permission of Fluke Biomedical. Copyright Release Fluke Biomedical agrees to a limited copyright release that allows you to reproduce manuals and other printed materials for use in service training programs and other technical publications.
- Page 4 Every product returned for refund/credit must be accompanied by a Return Material Authorization (RMA) number, obtained from our Order Entry Group at 1-800-648-7952 or 1-425-446-6945. Repair and calibration: To find the nearest service center, go to www.flukebiomedical.com/service In the U.S.A.: Cleveland Calibration Lab Tel: 1-800-850-4606 Email:...
-
Page 5: Table Of Contents
Table of Contents daeg Specifications ......................... 7 daeg Quick Start ..........................9 Unit Setup ............................. 11 Operation............................13 Troubleshooting ..........................19... - Page 6 This page was intentionally left blank. www.metron-biomed.com...
-
Page 7: Daeg Specifications
System rate accuracy: Order no: Light repeater dynamic range: System time resolution: 10 s 12700: daeg SpO2 Analyzer 1mcd + 13 dB – 60 dB (100 kHz maximum update rate) Receiver optical 3 dB bandwidth: Accessories: 600 – 1050 nm. - Page 8 This page was intentionally left blank. www.metron-biomed.com...
-
Page 9: Daeg Quick Start
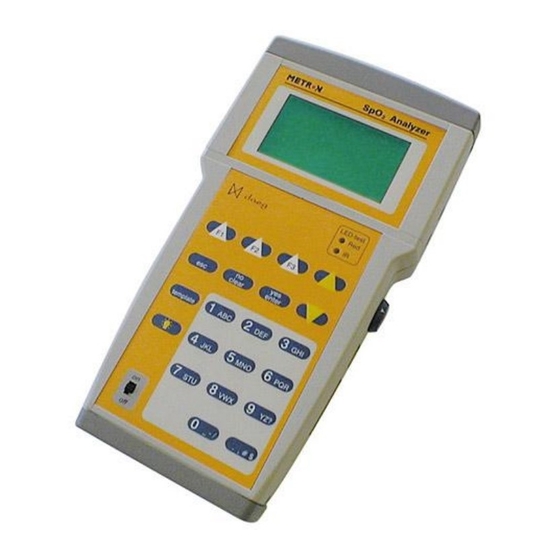
F1, F2, and F3 function . , # $ keys. 2. Adjust the active parameter using the yellow Up Release and Down arrow keys on the keypad, then press enter to confirm the change. Battery Compartment www.metron-biomed.com... - Page 10 This page was intentionally left blank. www.metron-biomed.com...
-
Page 11: Unit Setup
4 - AA batteries 1 – battery eliminator If any of these items are missing or damaged, please contact your local Metron office. Battery Installation Refer to the diagram below when installing the batteries. You will need to depress the tabs shown in the diagram below and remove the bottom dark gray piece of the chassis. - Page 12 This page was intentionally left blank. www.metron-biomed.com...
-
Page 13: Operation
Operation Power up Screen This screen is the first one that is visible when the unit is turned on. It indicates which version of the firmware is ---- METRON daeg --- installed. SpO2 Meter Analyzer Revision X.XX loading sim data... - Page 14 * STOPt PRINT the clock when you hear the alarm from your monitor. The (F3) button will generate a line of printout via the parallel port. Pressing the (esc) button will take you back to the Main Simulation Screen. www.metron-biomed.com...
- Page 15 -- PROBE ANALYZER –- Pressing (DIODE) runs the test. This test gives a descriptive message as to the condition of the probe’s LEDs and sensing elements. It tests the Probe OK! probe for electrical shorts and open circuits. DIODE CONTI SENSI www.metron-biomed.com...
- Page 16 Red and IR light being seen by the sensor. IR : XX % The scale is from 0 – 100. For repeatability purposes, do not hold your probe open or squeeze it shut. Just let it Red: XX % rest in its normal position. DIODE CONTI SENSI www.metron-biomed.com...
- Page 17 (F3) Saves the changes and takes you back to the Main Lcode: 101 Simulation Screen. Rval :0.48@SpO2:100 SAVE & The saving procedure may take up to 5 minutes. Do not SpO2- SpO2+ QUIT turn off the power during this time. www.metron-biomed.com...
- Page 18 This page was intentionally left blank. www.metron-biomed.com...
-
Page 19: Troubleshooting
Confirm that the “Make” is properly selected. Confirm your selection by pressing the (ENTER) key after changing the value. The monitor is not reading any values. Check all connections and verify if the “Red” and “IR” lights on the daeg are illuminated. www.metron-biomed.com... - Page 20 This page was intentionally left blank www.metron-biomed.com...
Need help?
Do you have a question about the daeg SPO2 and is the answer not in the manual?
Questions and answers