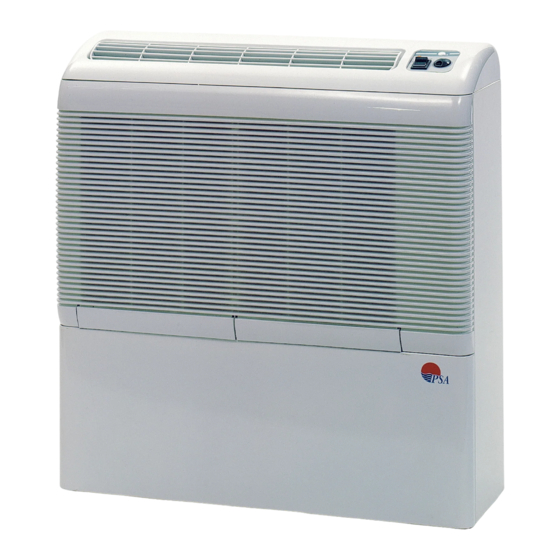
Summary of Contents for Zodiac DT 850 E
- Page 1 DT 850 E Instructions for installation and use - English Dehumidifier Translation of the original instructions in French More documents on: www.zodiac.com H0369900_REVC - 2021/01...
- Page 2 WARNINGS Carefully read the instructions in this manual before using the unit. • Before handling the appliance, it is vital that you read this installation and user manual, as well as the "Warranties" booklet delivered with the appliance. Failure to do so may result in material damage or serious or fatal injury and will void the warranty.
- Page 3 WARNINGS ASSOCIATED WITH ELECTRICAL APPLIANCES • The power supply to the appliance must be protected by a dedicated 30 mA Residual Current Device (RCD), complying with the standards and regulations in force in the country in which it is installed. •...
- Page 4 • Before beginning work on the cooling circuit, stop the appliance and wait for a few minutes before fitting the temperature and pressure sensors. Some elements such as the compressor and piping may reach temperatures in excess of 100°C and high pressures with the consequent risk of severe burns.
- Page 5 being released. If you have any doubts, contact the manufacturer. • The recovered refrigerant must be sent to the refrigerant supplier in its recovery cylinder with a waste transfer note. Do not mix different refrigerants in the recovery units, and in particular in the cylinders. •...
-
Page 6: Table Of Contents
CONTENTS ❶ Specifications 1.1 I Description 1.2 I Dimensions and marking 1.3 I Technical specifications ❷ Installation 2.1 I Installing the appliance 2.3 I Electrical connections ❸ Use 3.1 I Operating principle 3.2 I User interface presentation 3.3 I Starting the appliance ❹... -
Page 7: ❶ Specifications
❶ Specifications 1.1 I Description DT 850 E Anti-vibration studs (round) Anti-vibration studs (rectangular) Screw Plugs Mounting bracket : Included 1.2 I Dimensions and marking 750 mm 345 mm Suction grid Blower grid User interface... -
Page 8: I Technical Specifications
1.3 I Technical specifications DT 850 E Voltage 220-240 V / 1N / 50 Hz Nominal absorbed intensity* 4.30 Maximum current input (at start-up) mm² Minimum cable section** Dehumidifying capacity* Nominal power input* ³/h Air flow (at maximum speed) Sound pressure at 1 m... -
Page 9: ❷ Installation
• This ventilation ensures the hygienic renewal of air, the removal of any chloramines or other corrosive chemicals present in the air, and the elimination of excessively hot air, whilst contributing to the dehumidification of the room. : DT 850 E : Condensates drain with siphon... - Page 10 2.1.2 Positioning the appliance • The appliance can be installed on the floor or fixed to the wall using the supplied mounting bracket • Make sure that the device is perfectly horizontal in both these cases. • If the device is installed on the ground: - Fix the 2 supplied round anti-vibration studs in the intended locations at the bottom corners of the appliance's rear panel.
-
Page 11: I Electrical Connections
2.3 I Electrical connections • The appliance is only suitable for a grounded socket (2P + E wall socket), 220-240 Volt (50 Hz) connection voltage. If the power supply is not earthed, do not plug in your appliance until the appropriate earthing has been installed by a qualified professional. -
Page 12: I Starting The Appliance
3.3 I Starting the appliance • The appliance must have filters fitted when operating. • Avoid opening doors and windows when using the appliance. • Power on the device by plugging in the power cable, • Press the button : the fan speed and desired humidity level indicators light up (last active settings), •... -
Page 13: ❹ Maintenance
❹ Maintenance 4.1 I Maintenance • Before performing any maintenance operation on the appliance, carefully read the safety instructions, see "4.1.1 Safety instructions for appliances containing R290 refrigerant". • Before any maintenance work on the appliance, you must cut the electricity supply as there is a risk of electric shock which may cause material damage, serious injury or even death. - Page 14 - no electric component or live wiring is exposed while charging, overhauling or draining the system; - the system must be grounded at all times. Repair of insulated components • When repairing insulated components, all power sources must be disconnected from the equipment on which the work is being carried out before removing the insulating cover, etc.
- Page 15 supply before starting work. 1. Familiarise yourself with the equipment and how it operates. 2. Electrically isolate the system. 3. Before starting work, check the following points: - mechanical handling equipment is available if needed to handle the refrigerant cylinders; - all personal protective equipment is available and used correctly;...
-
Page 16: ❺ Troubleshooting
❺ Troubleshooting • Before you contact the retailer, carry out these few simple checks using the following tables if a problem occurs. • If the problem is not resolved, contact your retailer. • : Actions to be performed by a qualified technician only 5.1 I Appliance behaviour The appliance is discharging •... - Page 17 5.2 I Schéma électrique / Electrical diagram / Schaltplan / Bedradingschema / Esquema eléctrico / Esquema eléctrico / Schema elettrico...
- Page 18 Français English Deutsch Nederlands Español Português Italiano Sonde de Sonda de Sonda de Ambient Sonda di SENSOR température Raumtemperatur- und Omgevingstemperatuur- temperatura temperatura temperature and temperatura e di ambiante et Luftfeuchtigkeitsfühler en vochtigheidssensor ambiente y de ambiente e humidity sensor igrometria hygrométrie higrometría...
- Page 19 Pour plus d’informations, enregistrement produit et support client : For more information, product registration and customer support: www.zodiac.com ©2021 Zodiac Pool Systems LLC. All rights reserved. ZODIAC® is a registered trademark of Zodiac International, S.A.S.U., used under license. All other trademarks are the property of their respective owners.


Need help?
Do you have a question about the DT 850 E and is the answer not in the manual?
Questions and answers