Table of Contents
Advertisement
Quick Links
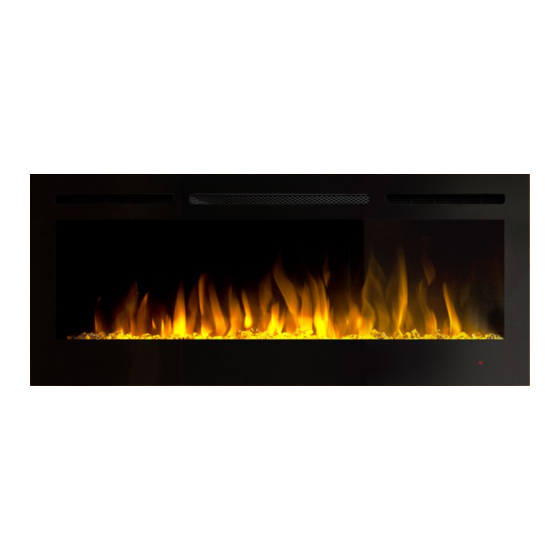
DEEP FULLY RECESSED ELECTRIC FIREPLACE
VL-VESTA-70
Model# :
VL-VESTA-50
OWNER'S MANUAL
50"/ 70"- Wall Mounted/Recessed Electric Fireplace
AC 220-240V 50Hz 1400-1600W
Read and understand this entire owner's manual, including all safety
information, before plugging in or using this product. Failure to do so could
WARNING
result in fire, electric shock, or serious personal injury.
Keep this owner's manual for future reference. If you sell or give this
CAUTION
product away, make sure this manual accompanies this product.
Advertisement
Table of Contents

Related Manuals for visionLINE VL-VESTA-50


Summary of Contents for visionLINE VL-VESTA-50
- Page 1 DEEP FULLY RECESSED ELECTRIC FIREPLACE VL-VESTA-70 Model# : VL-VESTA-50 OWNER’S MANUAL 50”/ 70”- Wall Mounted/Recessed Electric Fireplace AC 220-240V 50Hz 1400-1600W Read and understand this entire owner’s manual, including all safety information, before plugging in or using this product. Failure to do so could WARNING result in fire, electric shock, or serious personal injury.
-
Page 2: Important Safety Information
IMPORTANT SAFETY INFORMATION! WARNING Read all instructions before using this fireplace! DO NOT operate any fireplace with a damaged cord or plug or after the fireplace malfunctions, has been dropped or damaged in any manner. Discard fireplace, or return to authorized service facility for examination and/or repair. - Page 3 NEVER leave this fireplace unattended. ALWAYS unplug this fireplace when not in use. ONLY use this fireplace on a 220-240V AC 10-Amp grounded circuit. NEVER overload the circuit. If this fireplace trips the circuit breaker, unplug all other appliances on the same circuit before the next use.
-
Page 4: Parts And Hardware
Parts and Hardware B – Wood Screws C – Drywall Anchors A – Fireplace RC – Remote Control D- Logs and stones set (Fixed on ember bed) E - Crystals F-Pebbles G- Plastic Tray H- L bracket I- ST4x12 screws Installation and Assembly Step 1. - Page 5 Failure to do so could result in electric shock, fire, or personal injury. Wall Recessed Installation STEP 1. Select a dry wall to open a hole for fireplace box. Size of holes as below chart Model No. VL-VESTA-50 1185mm 450mm 170mm...
- Page 6 Figure ( B ) STEP 2. Place the fireplace to a soft clean place. using the screw driver to take off the TWO screws in both sides. Figure (B) Figure ( C ) STEP 3. Have two adults to pull the trim up, then take them out of the fireplace box. Figure (C)
- Page 7 Figure ( D ) STEP 4. Using the screw driver to take off the 2 screws as above Figure (D), have two adults to take out the glass panel Figure (E) and move it to a clean soft place to avoid the scratching. NOTICE: If you prefer initial ember bed, you can skip this step.
- Page 8 STEP 5. Have two adults to lift the fireplace box and put it into the opened hole. Fixing the FOUR wall screws in each side of the fireplace box. Figure (F) Figure ( F ) STEP 6. Place the Decorative Crystals or Pebbles on the designed slot and even with them,Figure Figure ( G ) STEP 7.
-
Page 9: Wall Mounted Installation
Wall Mounted Installation STEP 1. Take off wall bracket from the behind of fireplace, and keep it for next step. see below Figure (A). Figure ( A ) - Page 10 STEP 2. Fix wall bracket with Mounting screws (B) , Drywall Anchors(C), and spirit level (not included). Make sure wall bracket is horizontally fixed on wall. See Figure(B) and (C). Figure(B) Figure(C)
- Page 11 STEP 3. Hang fireplace on wall bracket by two adults. Make sure fireplace is securely hang on wall. See figure (D) Figure (D) STEP 4. Take off one screw on the bottom of fireplace and fix L bracket(H) on bottom of fireplace with ST4x12 screw(I).
-
Page 12: Operation
Operation Read and understand this entire owner’s manual, including all safety information, before plugging in or using this product. Failure to do so could result in electric shock, fire, serious injury, or death. Power Plug the power cord into a 220-240 Volt 10 Amp grounded outlet (see IMPORTANT SAFETY INFORMATION on Pages 2 and 3). - Page 13 Remote Control &Touch Panel Operation BUTTON FUNCTION ACTION & INDICATION ON: Enables control panel functions and 1. Press once. Indicator light turns on. remote control. Turns on flame effect. Power turns on. All functions enabled. OFF: Disables control panel functions and 2.
-
Page 14: Temperature Limiting Control
Settings: EMBER LIGHT BRIGHTNESS button : L4- Brightest (default) Dimmer and brighter the brightness of L3-Bright ember bed light. L2-Medium L1-Low EMBER LIGHT L0-Off BRIGHTN L5-Gradual brightening effect from L1-L4 When the fireplace is first turned on, a slight odor may be present. This is normal NOTICE and should not occur again unless the fireplace is not used for a long period of time. -
Page 15: Care And Maintenance
Store fireplace in a clean dry place when not in use. WARNING! NO SERVICING of the internal or electrical parts should be performed by the consumer. Do not service the unit yourself. Visionline Fireplaces 444 Swan Street Richmond Victoria AU...
Need help?
Do you have a question about the VL-VESTA-50 and is the answer not in the manual?
Questions and answers