Table of Contents
Advertisement
Advertisement
Table of Contents

Related Manuals for IBM 6736-HB0


Summary of Contents for IBM 6736-HB0
-
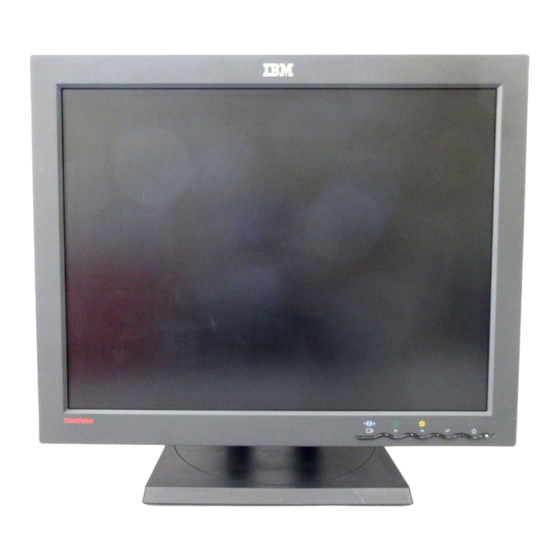
Page 1: Color Monitor
Color Monitor L200p English User’s Guide... - Page 2 First Edition (February / 2003) Note : For important information, refer to the Monitor Safety and Warranty manual that comes with this monitor. ii i...
-
Page 3: Table Of Contents
Safety (Read first)...2 Setting up the monitor ...3 Product Description...3 Handling Instructions ...3 Workplace preparation ...4 Adjusting the Monitor Position ...5 Working Practices ...6 Caring for your Monitor ...6 Connecting your Monitor...7 Switching on your Monitor...8 Device Driver Installation...9 Windows 95/98 ...9 Windows 2000/Me...10 Windows XP...11 Automatic Image Setup...12... -
Page 4: Safety (Read First)
í í í... -
Page 5: Setting Up The Monitor
Setting up the monitor Product Description This monitor requires a computer with a suitable on-board sub-system or Video Adapter card that can support UXGA 1600 x 1200, SXGA 1280 x 1024, XGA 1024 x 768, SVGA 800 x 600, or VGA 640 x 480 at 60Hz. In addition to your monitor, your option package includes the following: User's Guide and Installation Files CD •... -
Page 6: Workplace Preparation
3. Before adjusting your monitor for the first time, remove the locking clip Workplace Preparation This section gives advice Height on what you should Position the monitor so that the top of the screen is slightly below your eye consider before you set up level when you sit at your workstation. -
Page 7: Adjusting The Monitor Position
Adjusting the Monitor Position With the IBM Flat Panel Monitor, you can adjust its Viewing Angle position in various ways for You can tilt the screen forward and backward as shown below in Figure A. maximum comfort. Swivel You can swivel the screen to the left or the right as shown below in Figure A. -
Page 8: Working Practices
• Gently wipe the covers and the screen with a soft cloth. • Remove finger marks and grease with a damp cloth and mild detergent. • Never use flammable cleaning materials to clean your IBM monitor or Do not use solvents or abrasives. -
Page 9: Connecting Your Monitor
Connecting your Monitor 1. Turn off your computer and all attached devices. Next, unplug the Be sure to read the ‘Safety’ Information located in the power cord(s) to your computer and all attached devices. Monitor Safety and Warranty Information Manual before 2. -
Page 10: Switching On Your Monitor
3. Connect the power cord to the monitor and then plug the power cord into a properly grounded outlet. Next, reconnect the power cord(s) to your computer and all attached devices. Switching on your Monitor 1. Switch on your computer. 2. -
Page 11: Device Driver Installation
9. Ensure that the CD drive letter is selected, and then select the DRIVERS folder. 10.Select IBM L200p monitor and click OK. The files will be copied from the CD to your hard disk drive. 11.Close all open windows and remove the CD. -
Page 12: Windows 2000/Me
12.Insert the Monitor CD into the CD drive and click the Have Disk button. 13.Click OK. 14.Ensure that the CD drive letter is selected, and then select the 15.Select IBM L200p monitor and click OK. The files will be copied from 16.Close all open windows and remove the CD. 17.Restart the computer. -
Page 13: Windows Xp
14.Ensure that the CD drive letter is selected, and then select the DRIVERS folder. 15.Select IBM L200p monitor and click OK. The files will be copied from the CD to your hard disk drive. 16.Close all open windows and remove the CD. -
Page 14: Automatic Image Setup
In order to optimize the displayed image a set-up utility is provided on the on the setup CD displays a IBM Monitor CD. Operation of this utility is dependent on the operating test pattern of dots. It does not replace or modify the display system on your computer. -
Page 15: Image Setup For Dos
Image Setup for DOS If the monitor is in standby To set up the monitor automatically in DOS, do the following. mode (STANDBY ON), it may automatically turn off while 1. Turn on the monitor first; then turn on the computer. you are waiting for it to warm If the message CHECK SIGNAL CABLE is displayed, or if nothing is up. -
Page 16: Windows Me Or Windows Xp
Image Setup for Windows 95, Windows 98, Windows NT, Windows 2000, Windows Me or Windows XP If the monitor is in standby To set up the monitor automatically in Windows 95, Windows 98, Windows mode (STANDBY ON), it NT, Windows 2000, Windows Me or Windows XP, do the following: may automatically turn off while you are waiting for it to warm up. -
Page 17: Manual Image Setup
Manual Image Setup If the monitor is in standby Normally, you can complete the setup procedure using Automatic Image S mode (STANDBY ON), it however, if your screen image is still distorted after you perform Image S might automatically turn off the setup CD does not run on your system, perform M while you are waiting for it to warm up. -
Page 18: Adjusting Your Lcd Monitor
Adjusting Your LCD Monitor User controls USER CONTROL FEATURES The image is already optimized for many display modes, however the user controls can be used to adjust the image to your liking. The settings are saved after adjustment and when exiting the OSD and will be effective thereafter. -
Page 19: On-Screen Display (Osd) Controls
On-screen display (OSD) controls The settings adjustable with the user controls are viewed through the On - The LCD monitor needs Screen Display (OSD). Press the enter button [ time to become thermally menu. stable the first time you turn it on each day. - Page 20 OSD Icon Automatic Image Setup Manual Color Image Properties Scaling Description The IMAGE SETUP function is used to adjust the level of noise in the video signal which causes horizontal lines or areas on the screen where the image appears to be unstable and jitters or shimmers.
- Page 21 OSD Icon Use this button to make the analog or digital connector active. This feature is used when two computers are connected Input Signal to the monitor. The default setting is Image analog. Properties Display the detailed information of mode, model name and microcode. Information Options The language chosen affects only the...
-
Page 22: Further Information
Further Information Display modes The display mode the monitor uses is controlled by the computer. Therefore, If your computer has previously been used with you should refer to your computer documentation for details on how to a CRT monitor and is currently change display modes. -
Page 23: Power Management
The fluorescent lamps in the liquid crystal display contains a small amount of mercury. Dispose of it as required by local ordinances and regulations. 2000 ® Partner, IBM has determined that this product NERGY 2000 ® guidelines for energy efficiency. -
Page 24: Troubleshooting
Troubleshooting If you have a problem setting up or using your monitor, you may be able to solve it yourself. Before calling your retailer or IBM, try the suggested actions that are appropriate to your problem. Possible Problem Cause No power to Screen is monitor. - Page 25 Problem Screen is blank and power indicator is flashing green every 0.5 second CHECK SIGNAL CABLE message is shown and power indicator is steady amber. Image appears to be smeared For image problems, you Image appears may want to run MAGE to be discolored ETUP again before...
-
Page 26: Help And Service Information
If you are unable to correct the problem yourself, you may seek further help as follows: Call the IBM HelpCenter In other countries contact your dealer, retailer, or other IBM authorized If possible, stay by your computer. Your Technical Servicer. -
Page 27: Specifications
Specifications This color monitor (Type-model 6736-HB0) uses a 20.1-inch TFT LCD. Power consumption figures are for the monitor and the power supply combined. Weight Image Power Input Power Consumption Video Input Sync Input Communications Supported Display Modes Environment Height: 391.7 mm (15.42 inch) - Min 471.7 mm (18.57 inch) - Max... -
Page 28: Service Information
Service Information The following parts are for use by IBM service, or IBM authorized dealers, to support the customer warranty. Parts are for service use only. 31P9263 31P9264 31P9265 Model Type 6736 Video Description Hybrid FRU Monitor Hybrid FRU Stand... -
Page 29: Notices And Trademarks
Any reference to an IBM product, program, or service is not intended to state or imply that only that IBM product, program, or service may be used. Any functionally equivalent product, program, or service that does not infringe any IBM intellectual property right may be used instead. - Page 30 Trademarks The following terms, used in this publication, are trademarks or service marks of the IBM Corporation in the United States, other countries, or both; HelpCenter ® is a U.S Govt. registered trademark. NERGY ® ® Microsoft Windows , and Windows NT are trademarks of Microsoft Corporation in the United States, other countries, of both.
Need help?
Do you have a question about the 6736-HB0 and is the answer not in the manual?
Questions and answers