Advertisement
Quick Links
Advertisement

Related Manuals for Walker Edison BR5OKLD


Summary of Contents for Walker Edison BR5OKLD
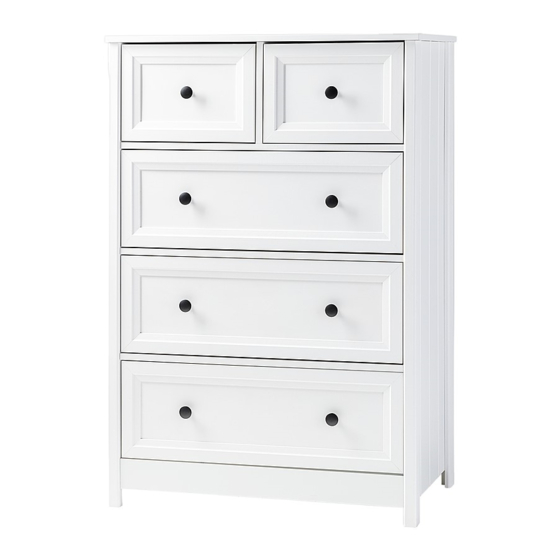
- Page 1 Item # : BR5OKLD Assembly Instructions Please visit our website for the most current instructions, assembly tips, to report damage or request parts. www.walkeredison.com Revised 11/2020 Copyright © 2018, by Walker Edison Furniture Co., LLC. All rights reserved.
-
Page 2: General Assembly Guidelines
General Assembly Guidelines and hammmer Copyright © 2018, by Walker Edison Furniture Co., LLC. All rights reserved. -
Page 3: Parts List
Center Panel Crossbeam Bottom Panel Larger Back Panel Smaller Drawer Bottom Larger Drawer Bottom Larger Drawer Side Smaller Drawer Side Smaller Front Drawer Larger Front Drawer Smaller Back Panel Copyright © 2018, by Walker Edison Furniture Co., LLC. All rights reserved. -
Page 4: Hardware List
5 pcs 330mm Slider 5 pcs 700mm Back Join 1 pc Ø 3,5x40mm Screw 2 pcs 15x15mm Fixer 4 pcs 330mm Slider 5 pcs 330mm Slider 5 pcs Copyright © 2018, by Walker Edison Furniture Co., LLC. All rights reserved. - Page 5 STEP 1. Secure cam bolts (F) into parts (1,2,3,12,13). Ø 6x35mm STEP 2. Insert dowel (A) into parts (4,5,6). Ø 6x30mm Copyright © 2018, by Walker Edison Furniture Co., LLC. All rights reserved.
- Page 6 STEP 3. Secure sliders (R1) to parts (1,4) and (L1) to parts (2,4) with screw (D). Attach feet (B) to parts (1,2) using nail (H). Ø5x14mm Ø 6x8mm Ø1,5x22mm 330mm 330mm Copyright © 2018, by Walker Edison Furniture Co., LLC. All rights reserved.
- Page 7 (C). Then attach sliders (L2 and R2) to part (11) us ing screw (C). Attach handle (I) using screw (E). Ø 3,5x14mm Ø M4x10mm Ø 30x20mm Ø 14x14mm 330mm 330mm Copyright © 2018, by Walker Edison Furniture Co., LLC. All rights reserved.
- Page 8 (C). Then attach sliders (L2 and R2) to part (10) us ing screw (C). Attach handle (I) using screw (E). Ø 3,5x14mm Ø M4x10mm Ø 30x20mm Ø 14x14mm 330mm 330mm Copyright © 2018, by Walker Edison Furniture Co., LLC. All rights reserved.
- Page 9 STEP 9. Attach part (4) to parts (6) using screw (N). Ø3,5x40 STEP 10. Attach parts (5,6) to part (2) using cam lock (G). Ø15mm Copyright © 2018, by Walker Edison Furniture Co., LLC. All rights reserved.
- Page 10 (1,2,4) using cam lock (G). Place brown tape from the top panel on the back of the furniture. Name and address of the supplier and date of production. Ø15mm Copyright © 2018, by Walker Edison Furniture Co., LLC. All rights reserved. P.10...
- Page 11 STEP 13. Joint part (7) with back support (M) and then attach parts (7) to frame using nails (H). Ø1,5x22mm 700mm Ø15x15mm STEP 14. Insert drawer into frame. Copyright © 2018, by Walker Edison Furniture Co., LLC. All rights reserved. P.11...
- Page 12 Name and address information for the manufacturer responsible for the anti-tip hardware and date of production can be found on the label on the back of the furniture. Copyright © 2018, by Walker Edison Furniture Co., LLC. All rights reserved. P.12...
Need help?
Do you have a question about the BR5OKLD and is the answer not in the manual?
Questions and answers