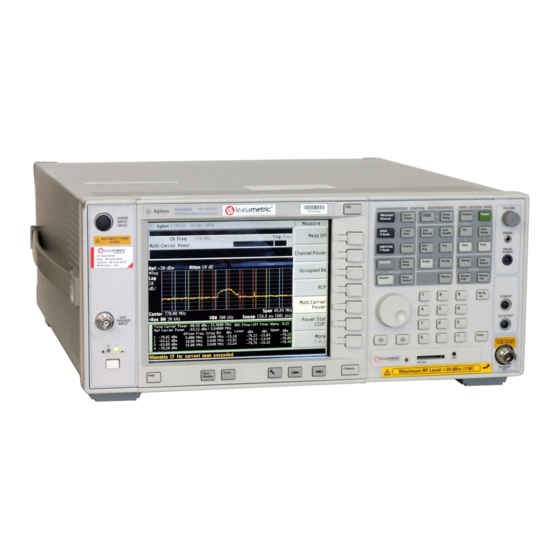
Agilent Technologies PSA Series Installation Notes
Spectrum analyzers usb retrofit kit, option 111
Hide thumbs
Also See for PSA Series:
- Service manual (436 pages) ,
- User and programming manual (434 pages) ,
- Manual (382 pages)

Related Manuals for Agilent Technologies PSA Series


Summary of Contents for Agilent Technologies PSA Series
- Page 1 Installation Note Agilent PSA Series Spectrum Analyzers USB Retrofit Kit, Option 111 Part Number E4440-90320 Printed in USA May 2006...
- Page 2 The information contained in this document is subject to change without notice. Agilent Technologies makes no warranty of any kind with regard to this material, including but not limited to, the implied warranties of merchantability and fitness for a particular purpose.
- Page 3 (see Note 2) Introduction This retrofit kit adds USB device side I/O to the PSA series spectrum analyzer. USB device side I/O provides a link for controlling the PSA and extracting data from it through a standard SCPI interface. This feature does not enable control of USB mass storage devices.
- Page 4 USB Retrofit Kit Option 111 NOTE 1. The installation of this kit requires that some performance testing be performed in order to assure the new option is functioning properly. This installation note includes a list of required Performance tests. Completing the performance tests does not guarantee the instrument meets all specifications.
- Page 5 Tools Required ❏ T-20 Torx driver ❏ T-10 Torx driver ❏ PSA Series Spectrum Analyzer Service Guide. This manual is available as part of the E444xAU Option OBW kits. ❏ Calibration software. Latest software information and downloads available at http://www.agilent.com/find/calibrationsoftware ❏...
-
Page 6: Installation Procedure
Installation Procedure Installation Procedure Preliminary Hardware Verification 1. Check for the presence of Option 115 or Option 117 by pressing System Show System and look at the option list. Option 111, Option 115, and Option 117 share the same PC assembly. NOTE 2. - Page 7 Installation Procedure Figure 1 Instrument Outer Case Removal Installation Note E4440-90320...
- Page 8 Installation Procedure Remove the Top Brace 1. Refer to Figure 2. Use the T-10 driver to remove the top screws (3) (one screw is under the security label), and the side screws (2) attaching the top brace (1) to the deck.
- Page 9 Installation Procedure Installing the USB Assembly 1. Locate the A6 (SCSI Interface board). When facing the rear panel of the instrument, the A6 board is in the right side of the instrument. 2. Remove the 6 screws from the rear plate of the A6 SCSI interface board. The plate will stay attached to the board.
- Page 10 Installation Procedure 3. Remove the A6 SCSI interface board. To do this, gently lift the board vertically from its socket on the PSA motherboard. Once the A6 SCSI interface board is unseated from the motherboard, it can be removed through the rear panel. Installation Note E4440-90320...
- Page 11 Installation Procedure 4. Insert the USB assembly as shown below. Make sure to firmly insert the connectors into the PSA motherboard sockets, but do not exert so much force as to break the connector. After installation, the USB assembly should look like this: Installation Note E4440-90320...
- Page 12 Installation Procedure 5. Put the rear plate in place on the PSA rear panel, and screw it into place as shown below. New screws are included in the kit. Installation Note E4440-90320...
- Page 13 Installation Procedure Installing the Digital IF Assembly 1. Locate the A7 Digital IF assembly. It is in the forth card slot from the power supply. Refer to Figure 3. Figure 3 A7 Digital IF Assembly Location 2. Remove the gray flexible coax cable for the Digital IF assembly, and remove the board assembly.
- Page 14 Installation Procedure Replace the Top Brace 1. Refer to Figure 2. 2. Carefully position the top brace on the deck. There is an alignment pin on the mid web/fan assembly that should match up with the alignment hole on the top brace. Make sure that no coaxial cables will get pinched underneath the brace.
- Page 15 Installation Procedure Install the Option Designator and License Keyword NOTE The option designator 111 and the license keyword must be entered into instrument memory in addition to the correct firmware before the hardware will function. 1. Locate the Option Upgrade Entitlement Certificate in the kit and follow the directions to redeem it.
- Page 16 Resolution BW Switching Display Scale Fidelity End of installation For assistance, get in touch with your nearest Agilent Technologies Sales and Service Office. To find your local Agilent office access the following URL, or call the following telephone number: http://www.agilent.com/find/assist...