
Related Manuals for Honeywell Home Lightwave DTS92E


Summary of Contents for Honeywell Home Lightwave DTS92E
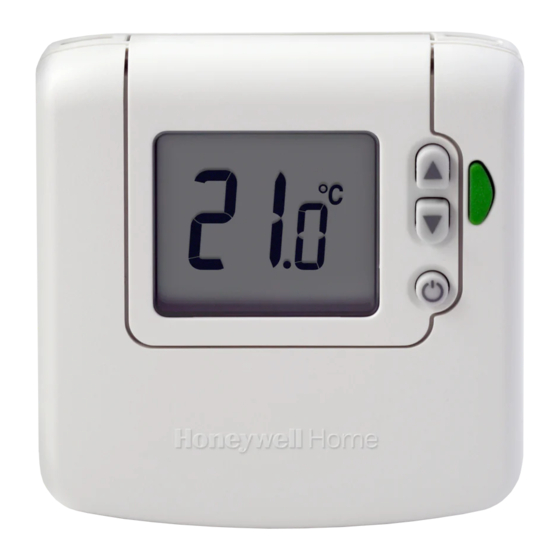
- Page 1 Product Manual for: Honeywell Home Wireless Room Thermostat DTS92E Installing the DTS92E The device takes 2x AA batteries. Before mounting DTS92 onto the backplate: Control Layout...
- Page 2 How to Clear the memory : 1. On the Thermostat, press and hold the POWER button for 2 seconds to put the unit into standby mode. 2. Press the UP and DOWN arrow buttons together till you see “Inst” on the screen. 3.
- Page 3 1. Open the Link Plus app, press the plus symbol (+) in the bottom menu and select “Devices”. 2. Select “LINK HONEYWELL HOME DEVICE”. 3. Give the device a name on the app, DO NOT press “LINK” yet, follow the next steps to put the Thermostat into binding mode first.
- Page 4 Locating the Room Thermostat For best performance, install in an open space where the DTS92E can sense the room temperature (away from radiators, fans, windows and doors), and where the signal strength is high. The Thermostat can be mounted on a wall or on the optional table stand. Leave at least 30cm distance from any metal objects and at least 1 metre from any other electrical equipment.
- Page 5 Mounting the Room Thermostat...
- Page 6 Basic Operation How to set and adjust temperature Switch ON/OFF (frost protection enabled) Heating Demand Indicator...
- Page 7 Pressing the green ECO button gives a timed period at a different, predefined temperature To set the ECO energy savings time period To exit ECO mode, press ECO button again...
- Page 8 Specifications Room thermostat Power supply : 2 x 1.5V IEC LR6 (AA) Alkaline cells Battery life : Minimum 2 years (with correctly specified alkaline cells). Battery low warning: Display indicates when battery power reserve is low. Unit will continue to function for a minimum of 4 weeks after the first indication is given. Battery replacement: Configuration settings stored in NVRAM, so are retained during battery replacement.
Need help?
Do you have a question about the Lightwave DTS92E and is the answer not in the manual?
Questions and answers