Table of Contents
Advertisement
Quick Links
Introduction
HC70 series thermostat is designed for heating systems especially floor heating, which
produced accordance with EN60730-1 and EN60730-2-9. The thermostat equipped with
matrix dot display. And it will be very easy to understand the settings and operation.
Technical data
Supply voltage
Maximum Load
Operating temperature
Storage temperature
Temperature range, room sensor
Temperature range, floor sensor
IP class
Terminals
Floor sensor with 3.5m cable
Dimensions
color
First time settings
The first time you switch on the thermostat, the screen shows product version number,
and then time, control mode and date must be set. You just need to follow the menu
directly.
Choose your time with the Up and Down buttons and confirm with OK.
Set the actual Hour and press the OK button. Then set the Minute. Press OK.
Set the actual date: Day. Confirm the settings with the OK button.
Operation quick reference
You now need to select the system load (0.1~3.5KW), i.e. the output of the heating system
powered by the thermostat. Select the appropriate load and press OK.
The next menu allows you to select the mode you want the thermostat to control. If the
thermostat is in the room to be heated, select Room/limit. If the thermostat is outside of
the room to be heated, select Floor. Once you have chosen the required setting, press OK.
You now need to select the actual sensor setting so that the thermostat can take this into
account during operation. Select the actual sensor setting and press OK.
The thermostat is now ready for use and your underfloor heating will operate in
accordance with the pre-programmed Event schedule. See Factory Settings for full details
of this.
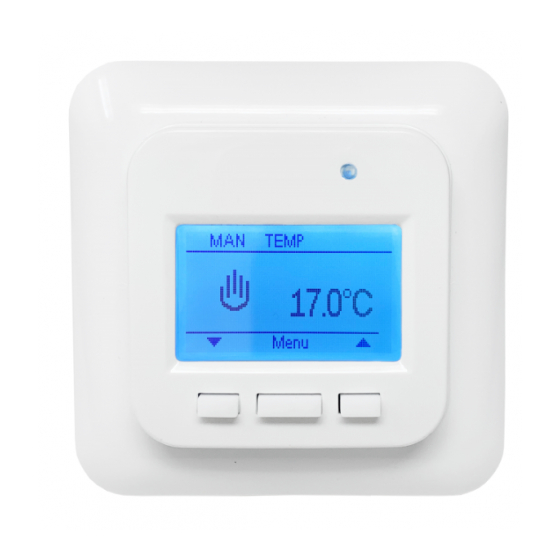
Heatcom Thermostat HC70
Electric floor heating thermostat
100~240VAC 50/60Hz
16A
0~50℃
-10~60℃
5~35℃
5~40℃
Floor sensor, room sensor or room sensor with floor
sensor as a limiter
IP21
Max. 2.5 mm
NTC, 100K / 25℃
82 mm×82 mm×56mm
Polar white RAL 9010
1
2
Advertisement
Table of Contents

Related Manuals for Heatcom HC70 Series


Summary of Contents for Heatcom HC70 Series
- Page 1 Electric floor heating thermostat Introduction HC70 series thermostat is designed for heating systems especially floor heating, which produced accordance with EN60730-1 and EN60730-2-9. The thermostat equipped with matrix dot display. And it will be very easy to understand the settings and operation.
- Page 2 Operating table menu Appearance reference Display interface Navigation buttons General Operation When the thermostat has powered on, the version Number will be displayed, and hold the menu button for 3 seconds, the thermostat will turn off, all the settings, including time and date will be saved.
- Page 3 Operation mode The thermostat has three different modes of temperature control: Room Mode, Floor Mode, Room mode with floor limits. Auto mode , Select Auto if you want the temperature to be controlled automatically via the 4-event schedule Room mode with floor limits. Hold mode , Select Manual to cancel the programmed Event schedule (e.g.
- Page 4 1: 7 days of a week programs respectively. 2 events- wake, sleep for each day. Program setting: 1. Press the OK button to activate the Program setting. 2. Choose the days for which you want to change the Settings, Mon-Fri or Sat-Sun using the up or down Button.
- Page 5 Time Temp. Time Temp. 2 events 6:30 22℃ 23:00 18℃ 1: 7 days W ake Time Temp. Time Temp. 2 events 6:30 22℃ 23:00 18℃ Time and day Press OK and set the actual time in hours and minutes. The day will then be displayed. Set the day and confirm with OK.
- Page 6 turned on. Press OK and set the function to on. Confirm with OK. Control mode Set the type of regular used system. There are 3 options: Floor reg. : The thermostat regulates floor temperature only. A floor sensor must be connected.
- Page 7 Factory Reset Allows all the settings to be reset. Your personal settings will be erased. Press YES and choose Reset in the menu. Press NO and cancel the factory reset Child lock Allows you to lock the thermostat settings if you do not want the settings to be changed or something.
- Page 8 Exit Returns to initial display. Error alert If a fault or an error occurs, the thermostat will display an error code as follows: E1: Internal sensor E2: External sensor defective or short- circuited. defective or short- circuited. Wiring diagram...
Need help?
Do you have a question about the HC70 Series and is the answer not in the manual?
Questions and answers